Melamine cabinets- How did this ever get to be a “thing”? Our last house was built in 1996 and had the bright white plastic-y melamine or thermafoil cabinets. As a matter of fact, most homes in our neighborhood had them. Melamine cabinets are made by using heat to seal paper saturated with a plastic like resin onto plywood or fiber board. The problem with this finish is that the adhesion breaks down after a few years and the finish starts peeling off the cabinets.
We get multiple calls each year to fix/paint melamine cabinets. In my opinion, the only way to fix them is to reface your cabinets with new doors and drawers, and that is just what we did in this kitchen renovation I am sharing with you today.
You are watching: Melamine Cabinet Refacing Kitchen Renovation
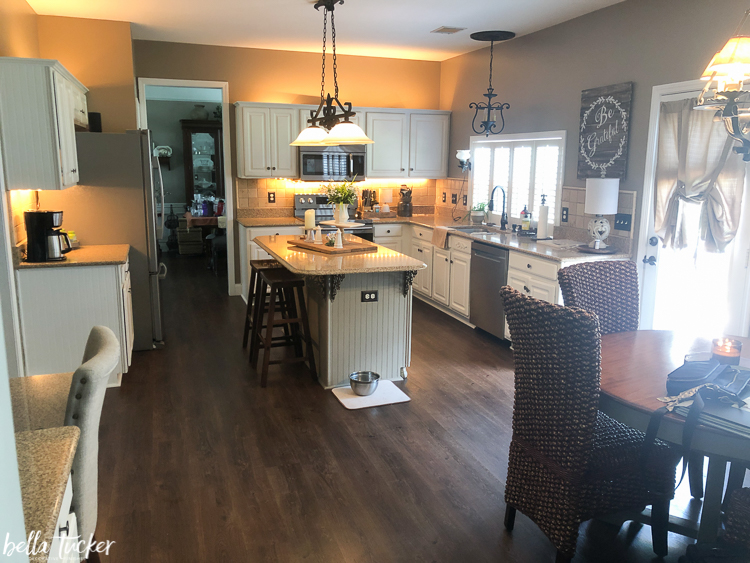
Here’s what the kitchen looked like before:
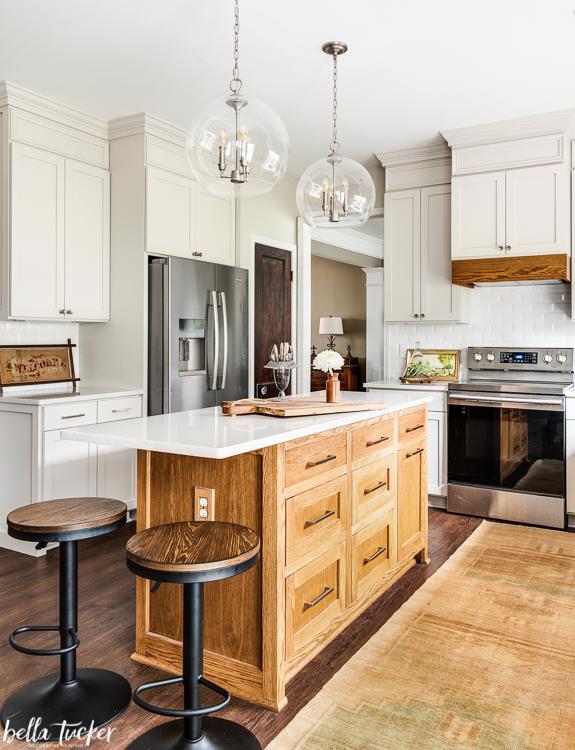
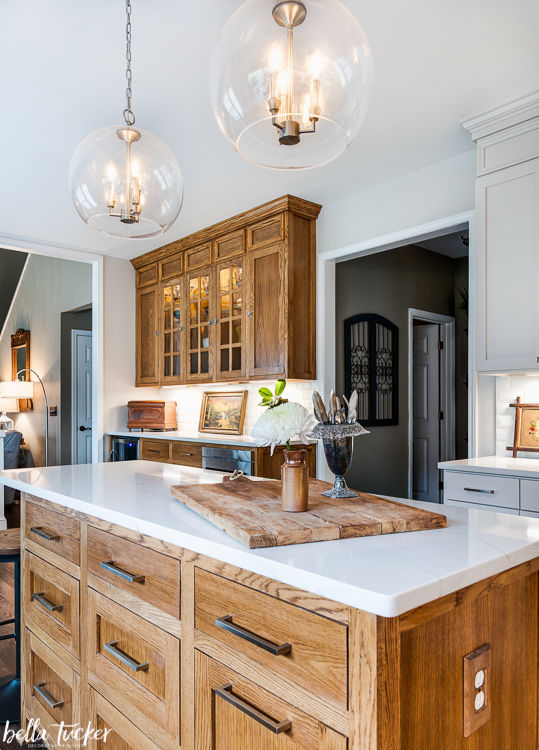
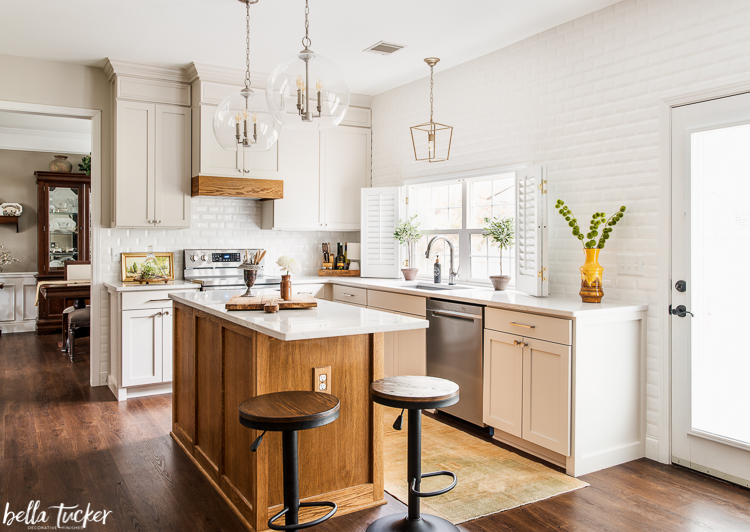
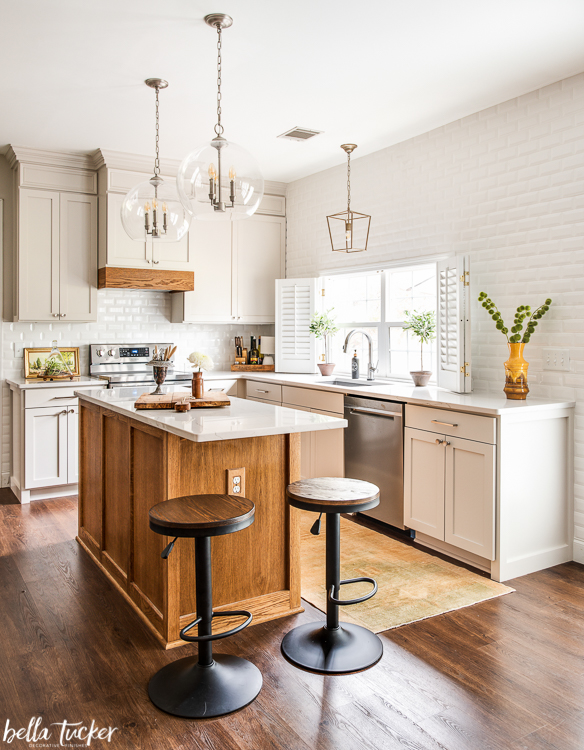
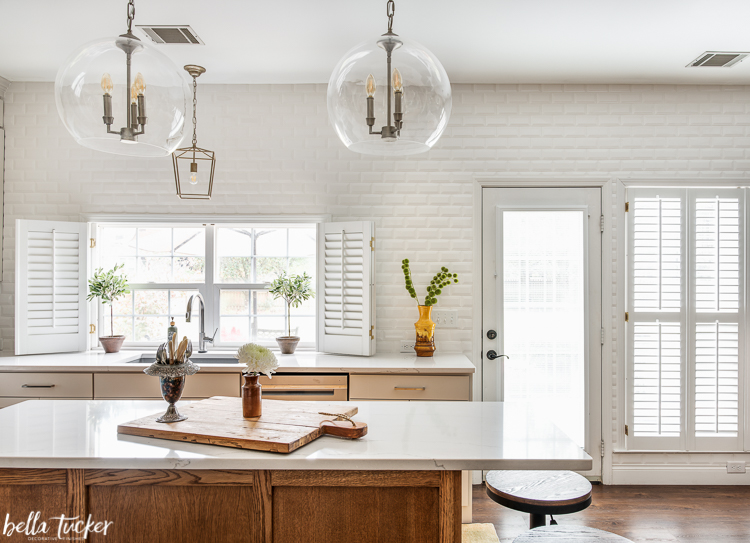
And here is what it looks like after the kitchen remodel:
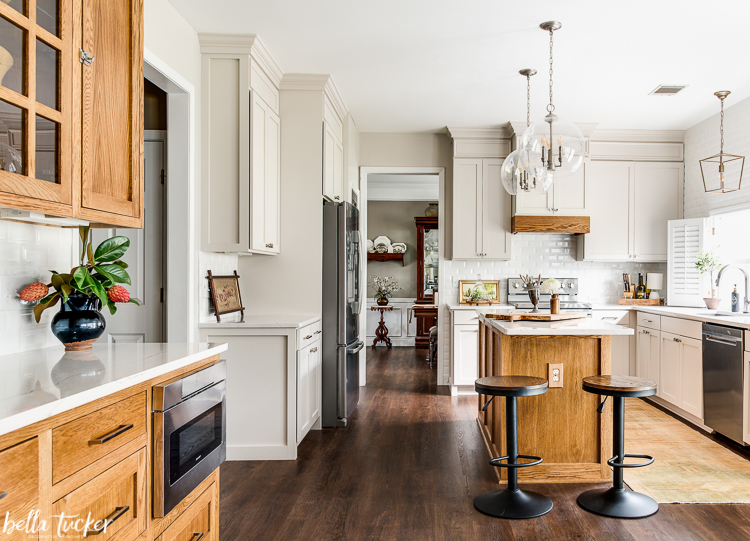
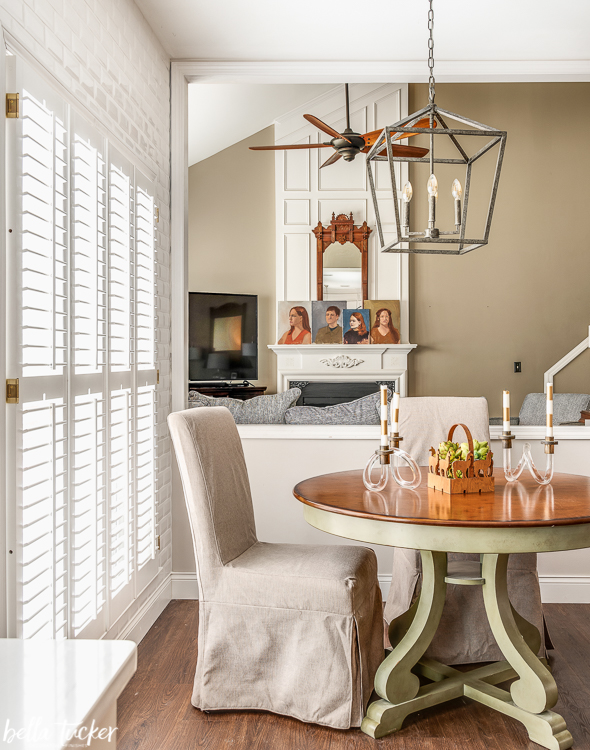
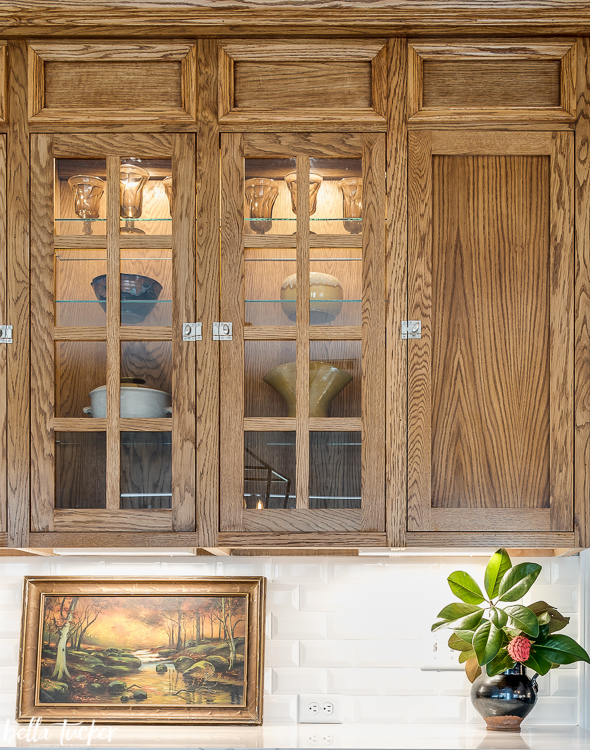
Why is refacing melamine cabinets the best option?
- It was going to cost thousands of dollars to paint these cabinets. It didn’t make sense to throw good money after bad. Paying to paint sub par materials. Our client knew this was going to be her ONLY kitchen renovation in her lifetime of owning this home. Painting the current cabinets would not be an upgrade, it would be a BAND AID.
- In order to properly paint peeling melamine cabinets you need to remove the plastic coating. ON EACH ONE OF THEM. This requires hours and hours of labor. Working with a heat gun to remove the plastic coating and then sanding and cleaning to remove any adhesive. The labor costs were about the same as the price to purchase new doors/drawers.
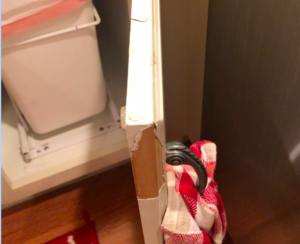
This is what happens with the melamine finished doors. - The door style was dated. The square detail on the front of the doors had rounded corners. That is a detail we don’t see except on melamine/thermafoil doors. Even if we painted the melamine doors, they still couldn’t hide the fact that they were literally plastic doors and the next buyers would know.
- The original cabinets were short. In order to bring the kitchen up to date, we needed to extend the height of the cabinets and that would require new, taller doors.
Kitchen Remodel Details
Our client knew what she wanted. She was able to show us inspiration photos to give us style direction. But, she is not the cook in the family. We worked with her husband on the function of the space. One of the things he said was that he would be cooking at the stove while someone was trying to use the microwave and they would be on top of each other. We also found out that bottled water was taking up a lot of space in their current refrigerator. We also saw that the trash can was taking up a lot of floor space on the end of the cabinet.
Here’s how we solved those problems:
- We removed the old desk area that was really not being used and didn’t have adequate storage. It was replaced by a functional butler’s pantry. We installed an under counter beverage fridge and a drawer microwave solving two of their problems noted above. We added upper cabinets for additional storage.
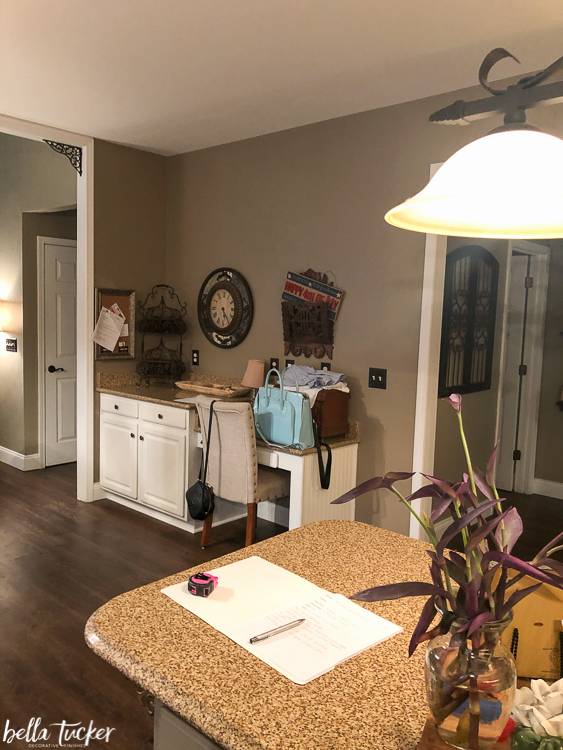
Desk area before renovation 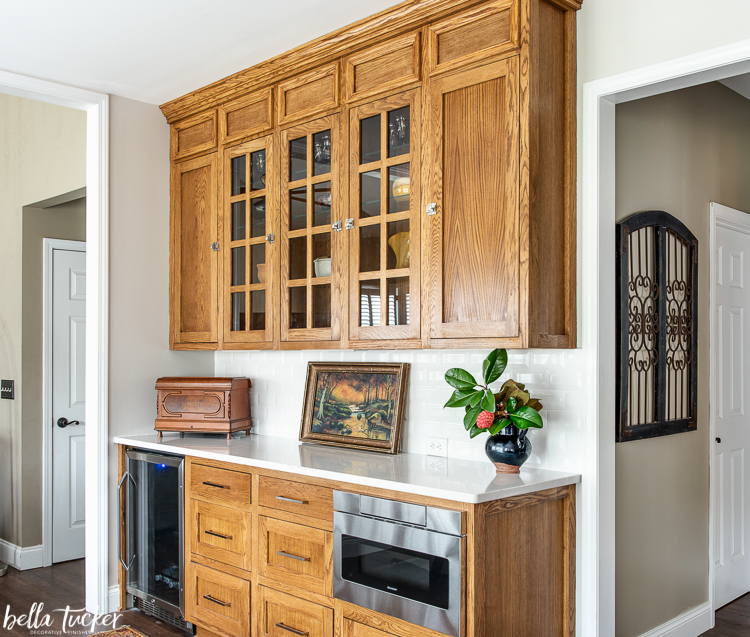
New addition to the kitchen is this functional butler’s pantry 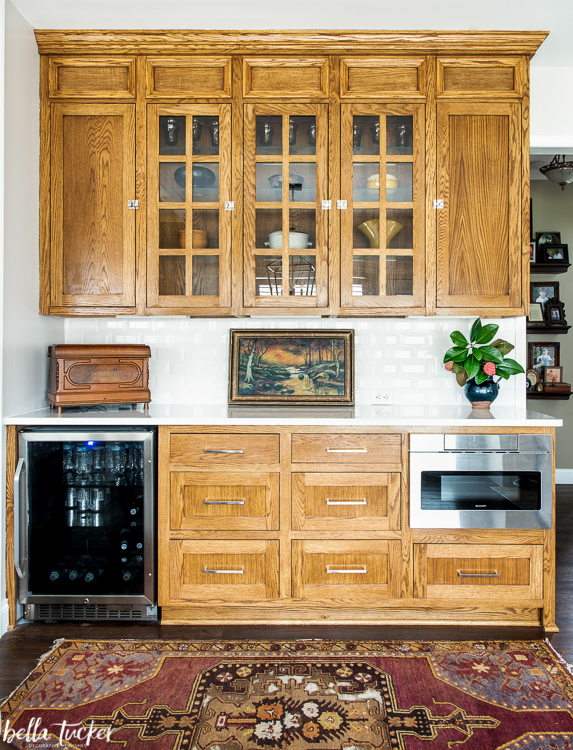
New Butler’s pantry with beverage fridge and microwave drawer. - We replaced the old island with a new island that includes organized storage for the most used prepping, cooking and serving items with much more functional drawers. We also installed a pull out trash can to free up floor space. We re-oriented the island overhang. Before they were sitting in barstools on the back of the island and that was interfering with the opening of the refrigerator. We moved the overhang to the end of the island where the barstools would be out of the flow of traffic.
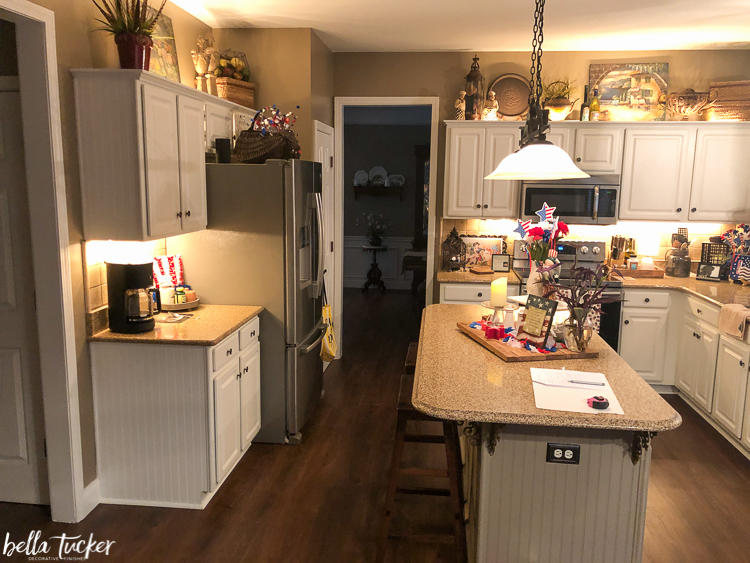
Island before renovation 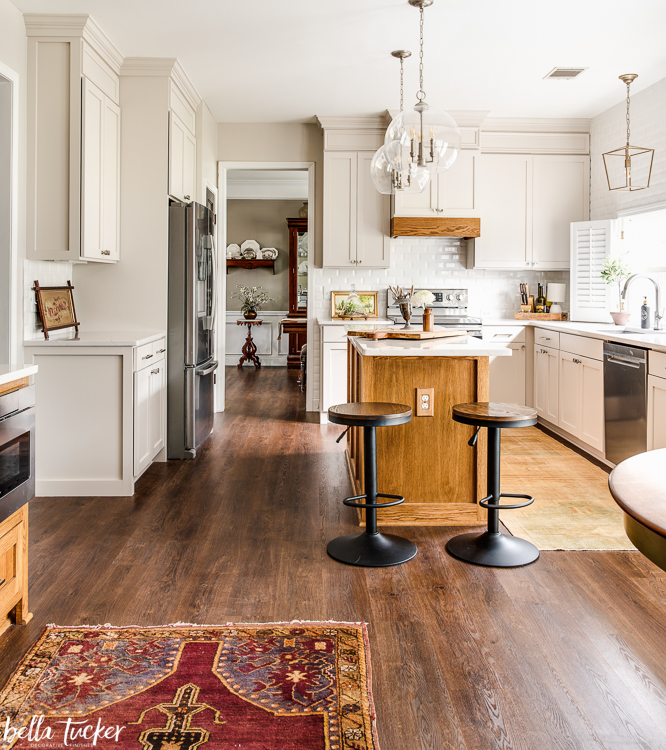
Kitchen with new island and barstools on the end.
Read more : How to Dispose of Small Kitchen Appliances
Additional Kitchen Updates
- We replaced all the doors and and drawers with updated wood shaker style doors. We also paneled the ends of the cabinets with wood details.
- We replaced all the upper cabinets to raise the cabinets to the ceiling.
- We installed a new vent hood over the cook top and framed it with a piece of warm stained wood.
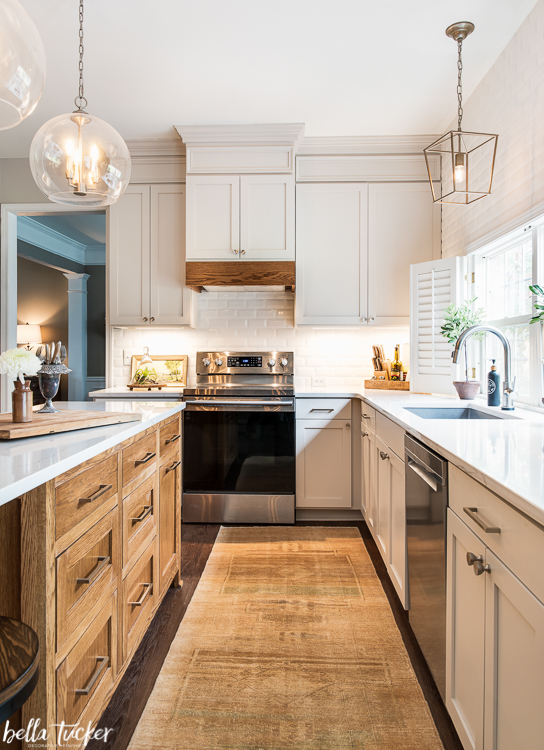
New Stove Hood and cabinets that go all the way to the ceiling. - We painted the perimeter cabinets to unify everything.
- We installed new quartz countertops.
- We installed a beveled subway tile backsplash.
- We built in the refrigerator and pulled the upper cabinet forward.
- We installed new lighting fixtures and added under-counter and in-cabinet lighting.
- Replaced cabinet hardware.
- Installed new granite composite single bowl sink and new kitchen faucet.
- Replaced the white pantry door with a vintage stained wood door.
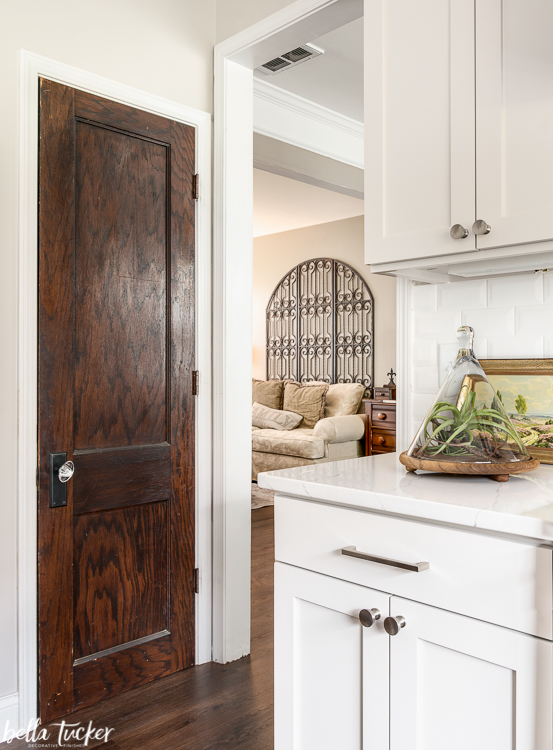
Vintage pantry door
Lightening up the kitchen
This kitchen before was dark. Very dark. My goal was to lighten it up. A lot! The homeowners like their privacy, so they wouldn’t let me remove the blinds, but I was able to convince them to do a gorgeous wall of white beveled tile that creates a reflective surface for the new brighter kitchen lights to bounce off of. It creates a beautiful, bright, clean, inviting space.
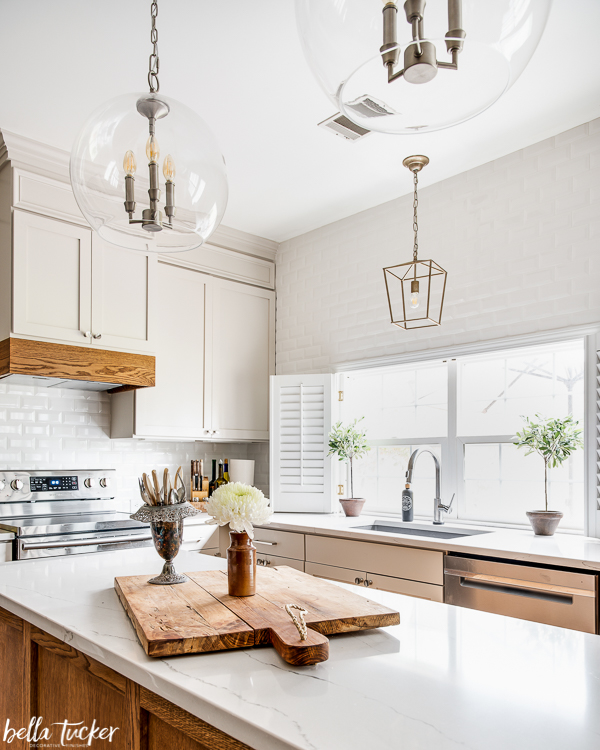
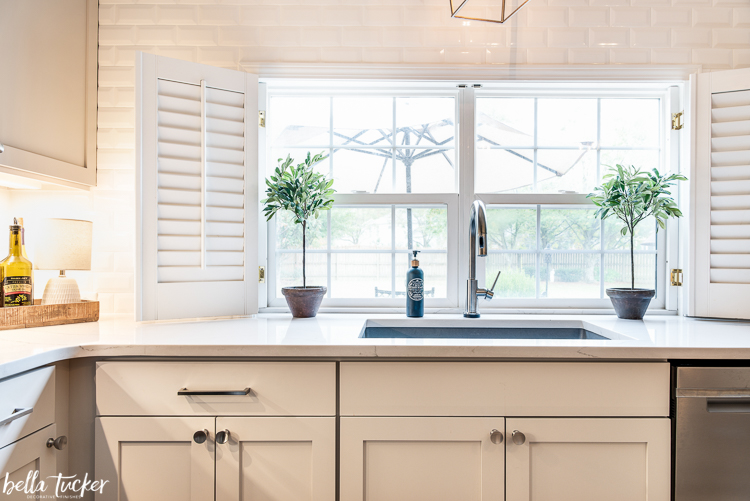
After photos by Leslie Brown of Visible Style.
We solved our client’s problems, created a beautiful updated kitchen, and stayed on budget. We’d love to do the same for you!
Do you have a kitchen that needs an update? We would love to help you fall in love with your kitchen too. Whether you are ready for a full kitchen update or just in need of cabinet refinishing, we would love to help. We do everything from custom cabinet refinishing and painting to full kitchen project management and design. Fill out the form below if you’d like more information.
Want to shop some of our favorite kitchen items? Shop our Amazon store. If you buy any of these items we make a small commission- but it never costs you a penny. FIND OUR STORE HERE
Need more kitchen remodeling inspiration? Check Out These kitchen makeovers:
Read more : How to adjust the temperature of your water heater
A Grown Up Kitchen
Traditional Kitchen Remodel
Brentwood Kitchen Re-design
Fixer Upper Style Kitchen Makeover
Tuxedo Kitchen Update
Source: https://gardencourte.com
Categories: Kitchens


