Sharing is caring!
Not only do kitchen cabinets play a vital role in the functionality of your home, they actually impose a major impact on your kitchen’s appearance. In case you have been living in a cave for the past five years, tall cabinets are all the rage.
You are watching: How to Make Kitchen Cabinets Taller
Designers and contractors are implementing designs in which the kitchen cabinets go all the way to the height of the ceiling. I think tall cabinets have become a major trend because they create the illusion of taller ceilings. Who doesn’t want a larger and grander kitchen? Adding height to our existing kitchen cabinets made such an impact on the overall design and I am so glad we decided to invest a little bit extra to make it happen.
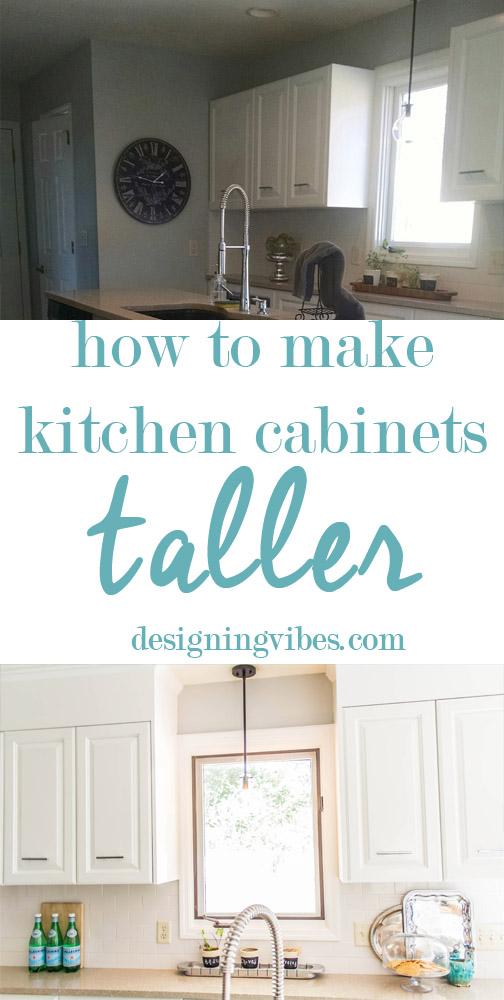
After we painted the cabinets in our kitchen (and by “we” I mean we hired a contractor), painted the walls and added subway tile backsplash, I still felt that our kitchen looked unfinished. My mom had recently renovated her loft condo and had hired someone to add height to her cabinets by using molding and trim…..they turned out amazing! That’s when we decided we wanted to try something similar.
Here is what our cabinets looked like before we made them taller….
Before:
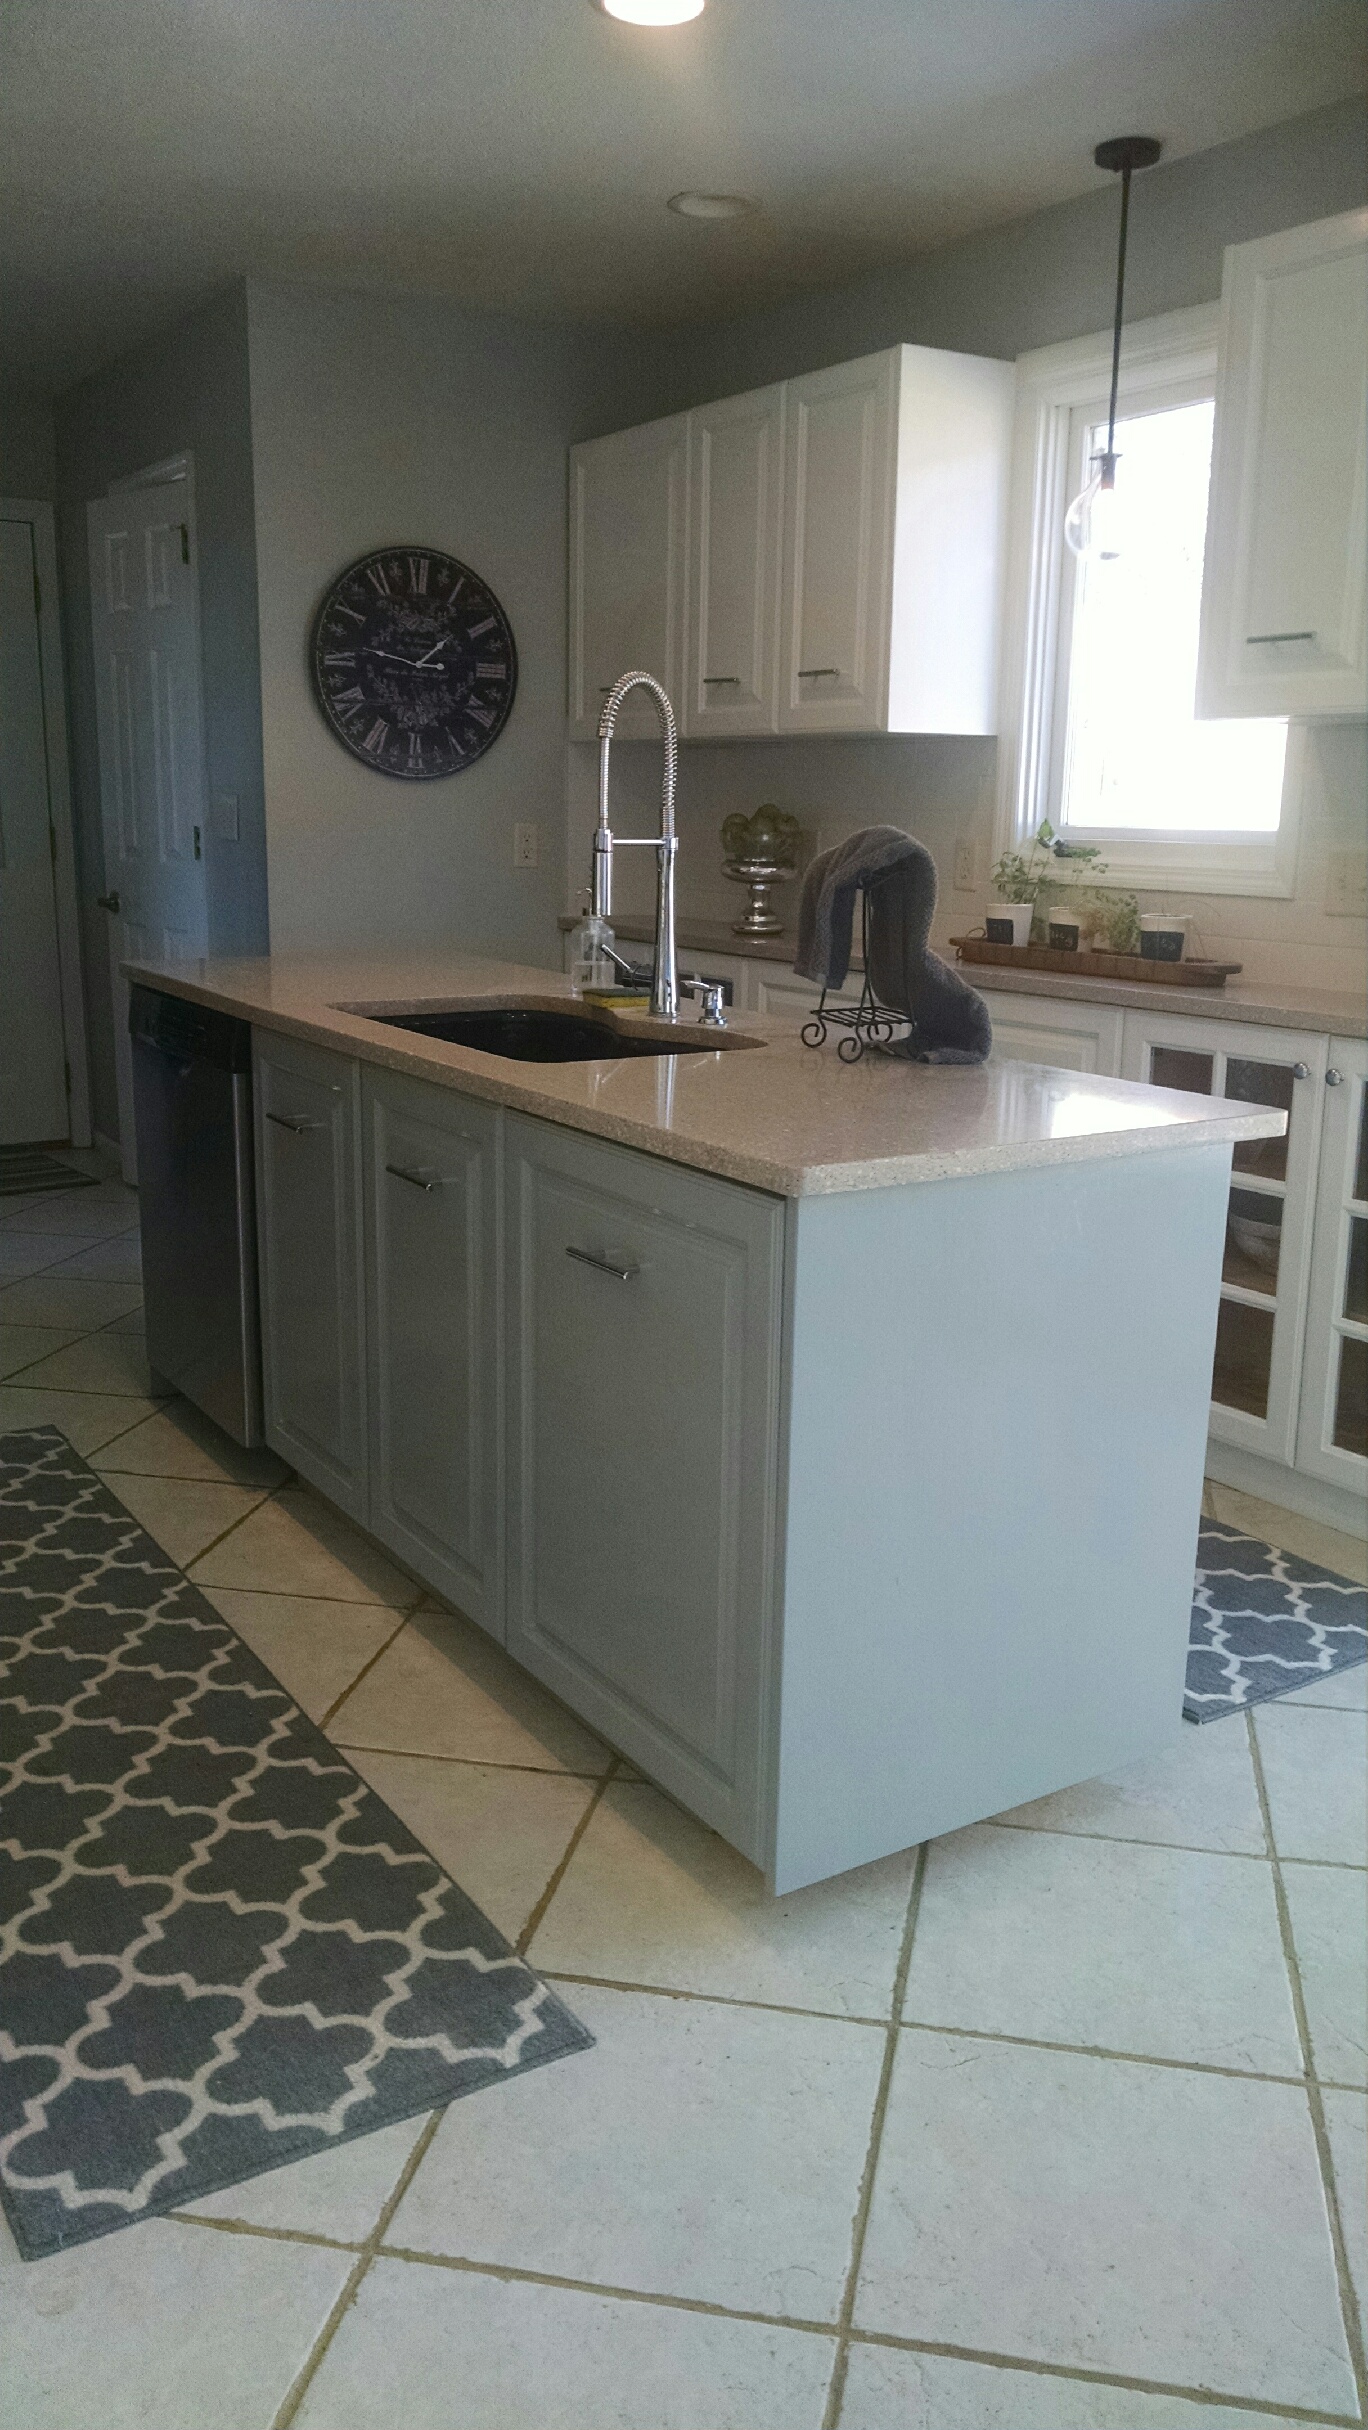
Sorry about the poor quality image…this was before I started my blog and owned a decent camera. Anyhow, as you can see, the cabinets looked “unfinished”, and while there were plenty of tutorials on how to add height to your cabinets, all of those tutorials included “partial overlay cabinets”…our cabinets were “full overlay cabinets”(where the door of the cabinet covers the entire face of the cabinet frame).Unfortunately the approach my mom used on her cabinets wasn’t going to work either.
Read more : How to get rid of mosquitoes inside the house: 7 ways for a mosquito-free home
This is when I consulted with my contractor and told him that we wanted to take our cabinets to the height of the ceiling- using the most affordable approach possible. This is when he suggested MDF and Crown Molding.
For those of you lucky ducks that own “partial overlay” cabinets, you can get much more creative with the materials you use. I know a lot of people add decorative molding or trim where the MDF board will meet the existing cabinet. For my cabinets, however, I could not use any decorative molding at the intersection of the MDF board and existing cabinet because of the “full overlay” design- the door would not be able to open as it covers the entire face of the cabinet frame. Therefore, our design had to be more “plain-Jane” with crown molding only on the very top of the MDF Board, where it meets the ceiling.
Materials Used:
- Pre-Primed MDF Board of desired height
- Crown Molding
- Nail Gun and Nails
- Miter Saw
- Caulk
- Paint that matches the color of your existing cabinets
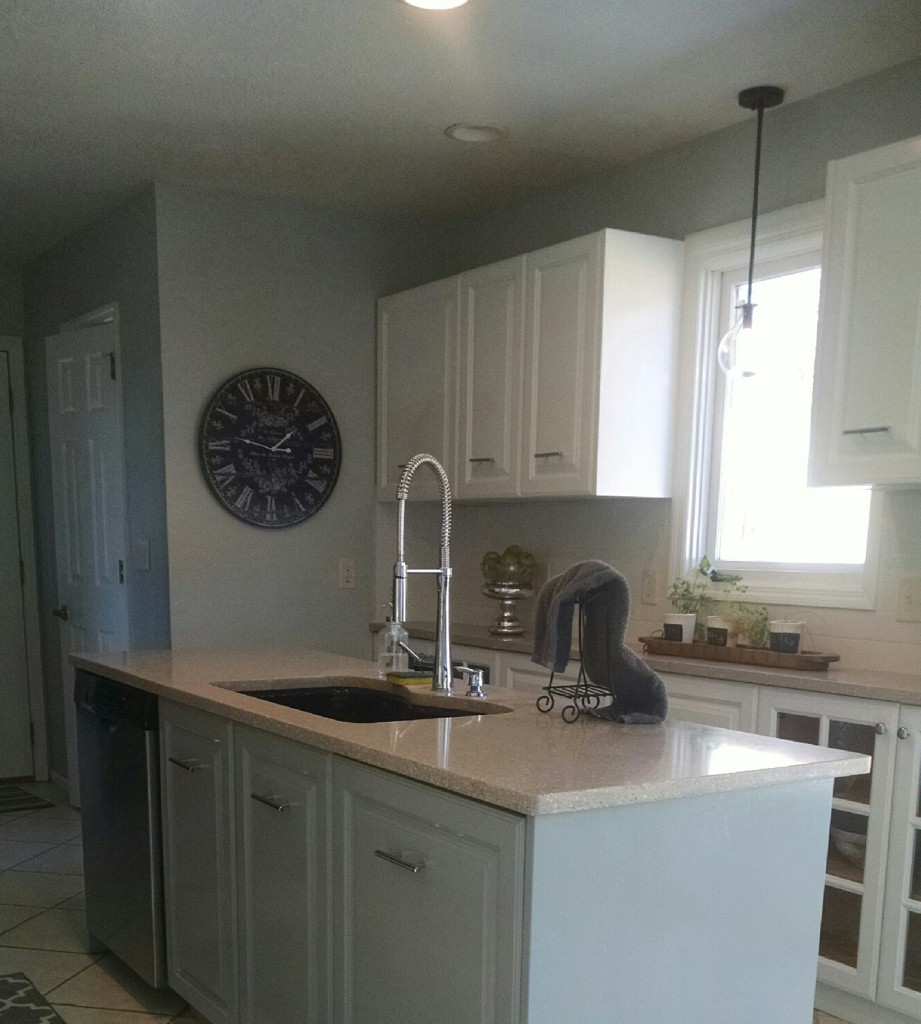
So here is how he did it….
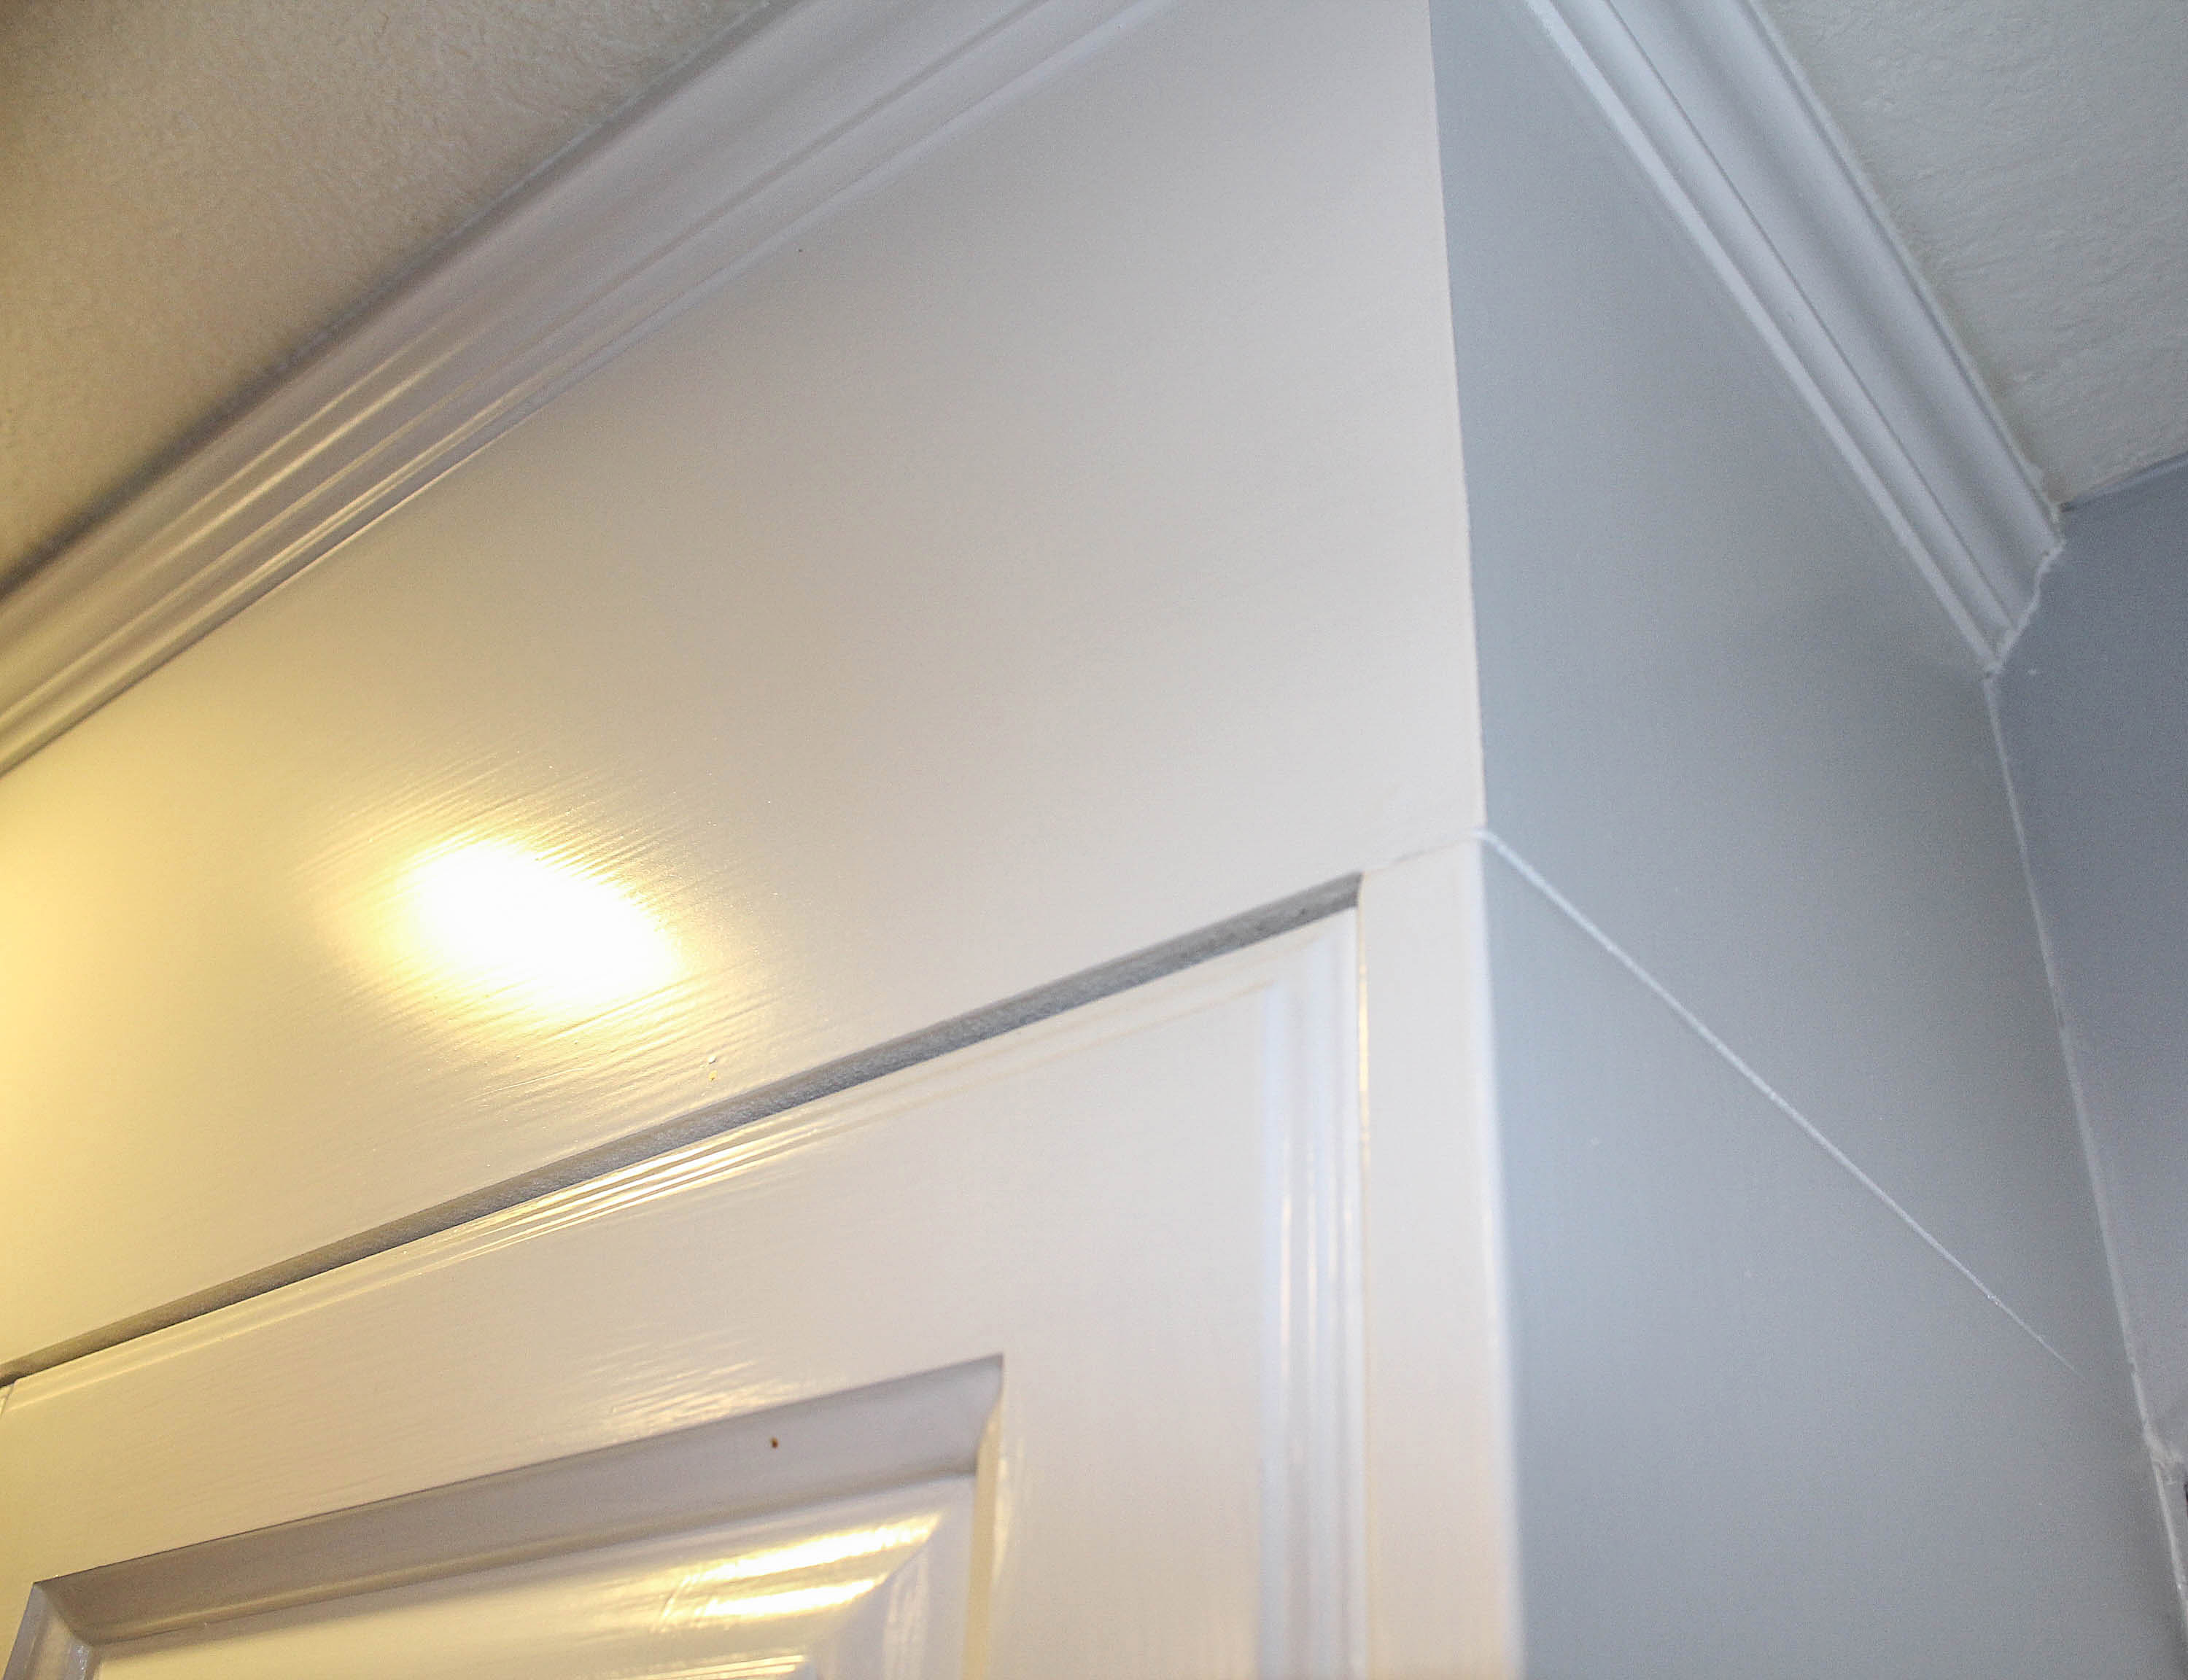
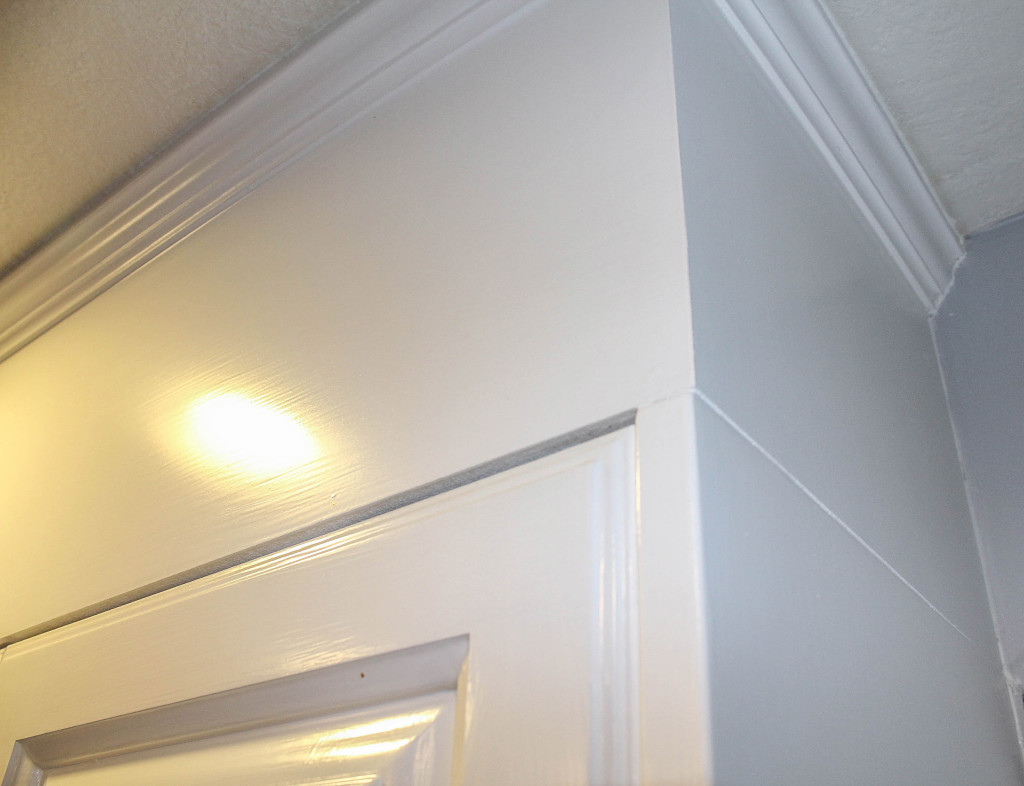
Basically, with a nail gun, he attached pre-primed MDF board to the side frame of the cabinets. After the MDF board was attached, he added the crown molding …which filled in the space between the mdf moard and the ceiling. You can go with whatever style of crown molding you prefer. Because the architecture of our home is contemporary/ modern, I chose to keep it simple….I didn’t think chunky, ornate molding would make sense. For sizing the MDF and molding to the frame of the cabinets, he made all of the necessary cuts using a miter saw.
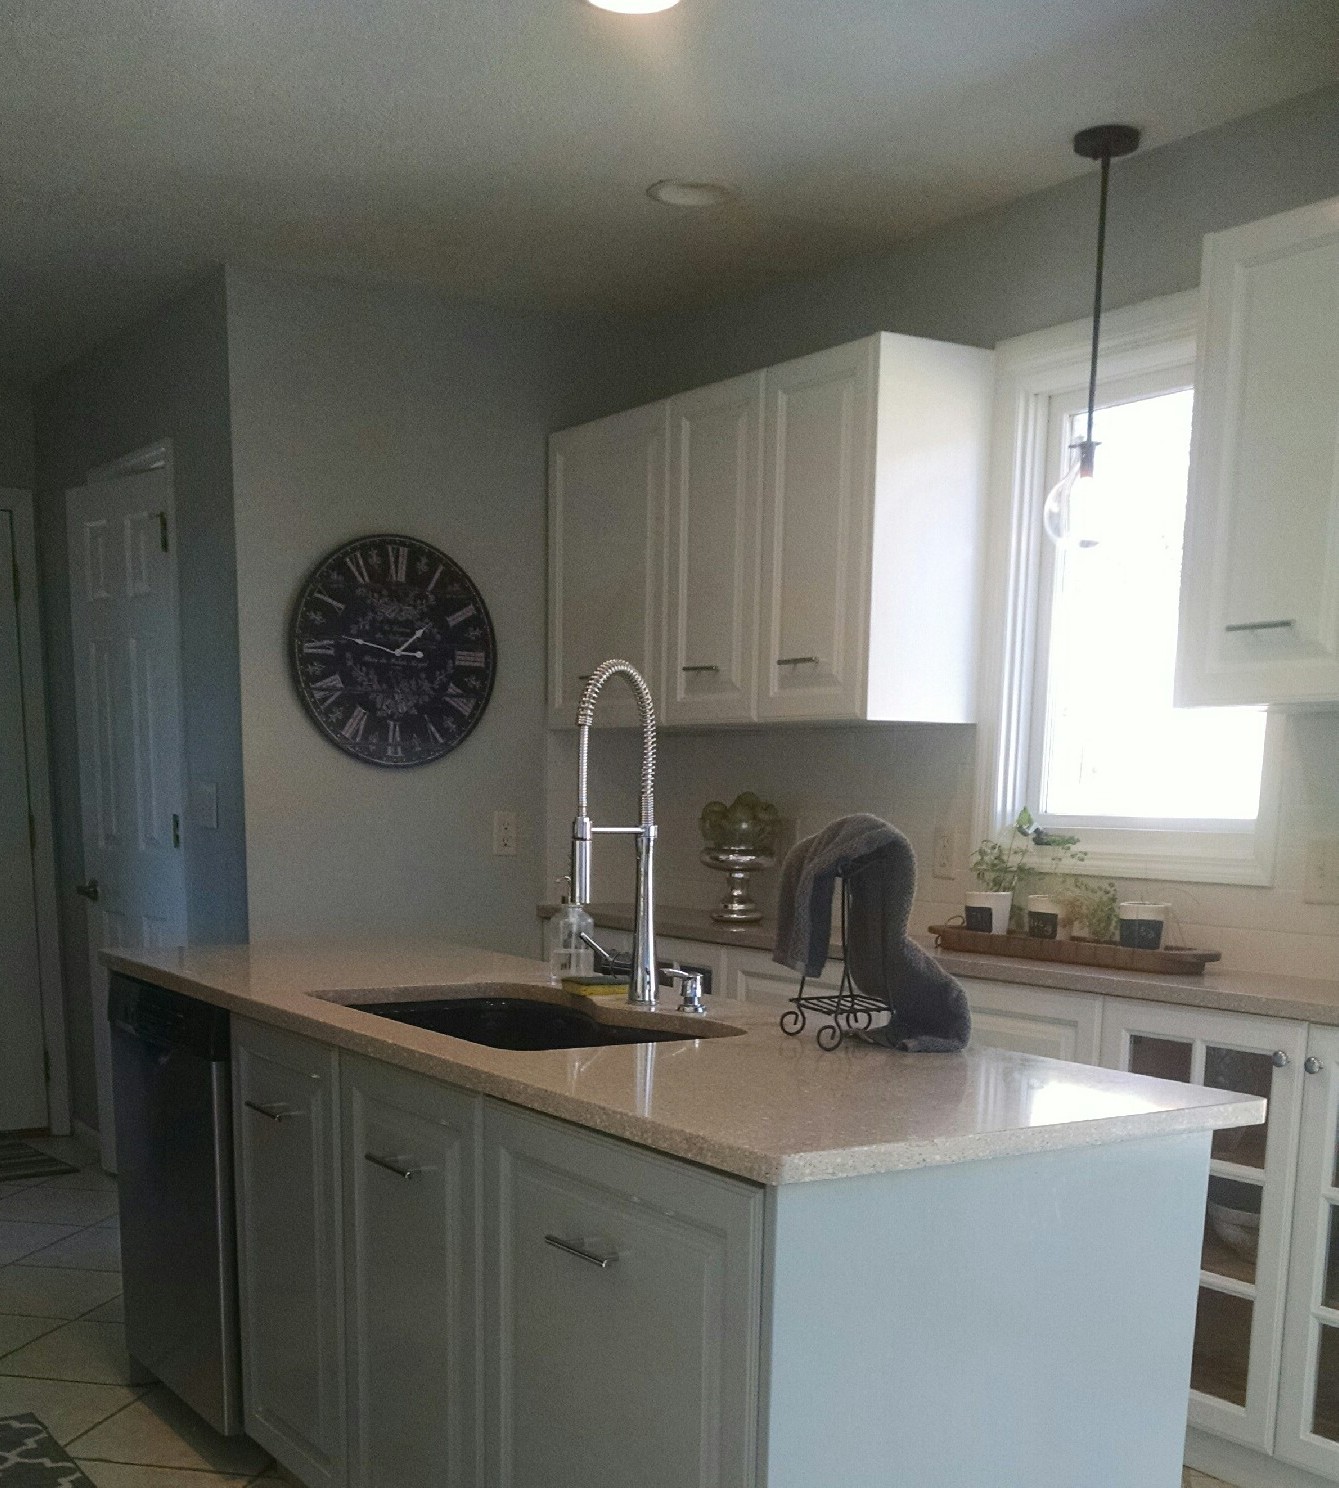
Once everything was securely in place, he caulked the nail heads and the gaps. Last, he painted the mdf and molding with the same paint used on our cabinets (which was an oil-based, ultra-white paint).
Because I did not execute this project myself, I do not feel comfortable giving you a detailed tutorial, but hopefully you get the idea. For a more in-depth post, you can visit My Uncommon Slice of Suburbia’s post here . Just keep in mind, if you have “full overlay” cabinets like mine, you are going to have to adapt the way in which you attach the mdf board.
Read more : Blog
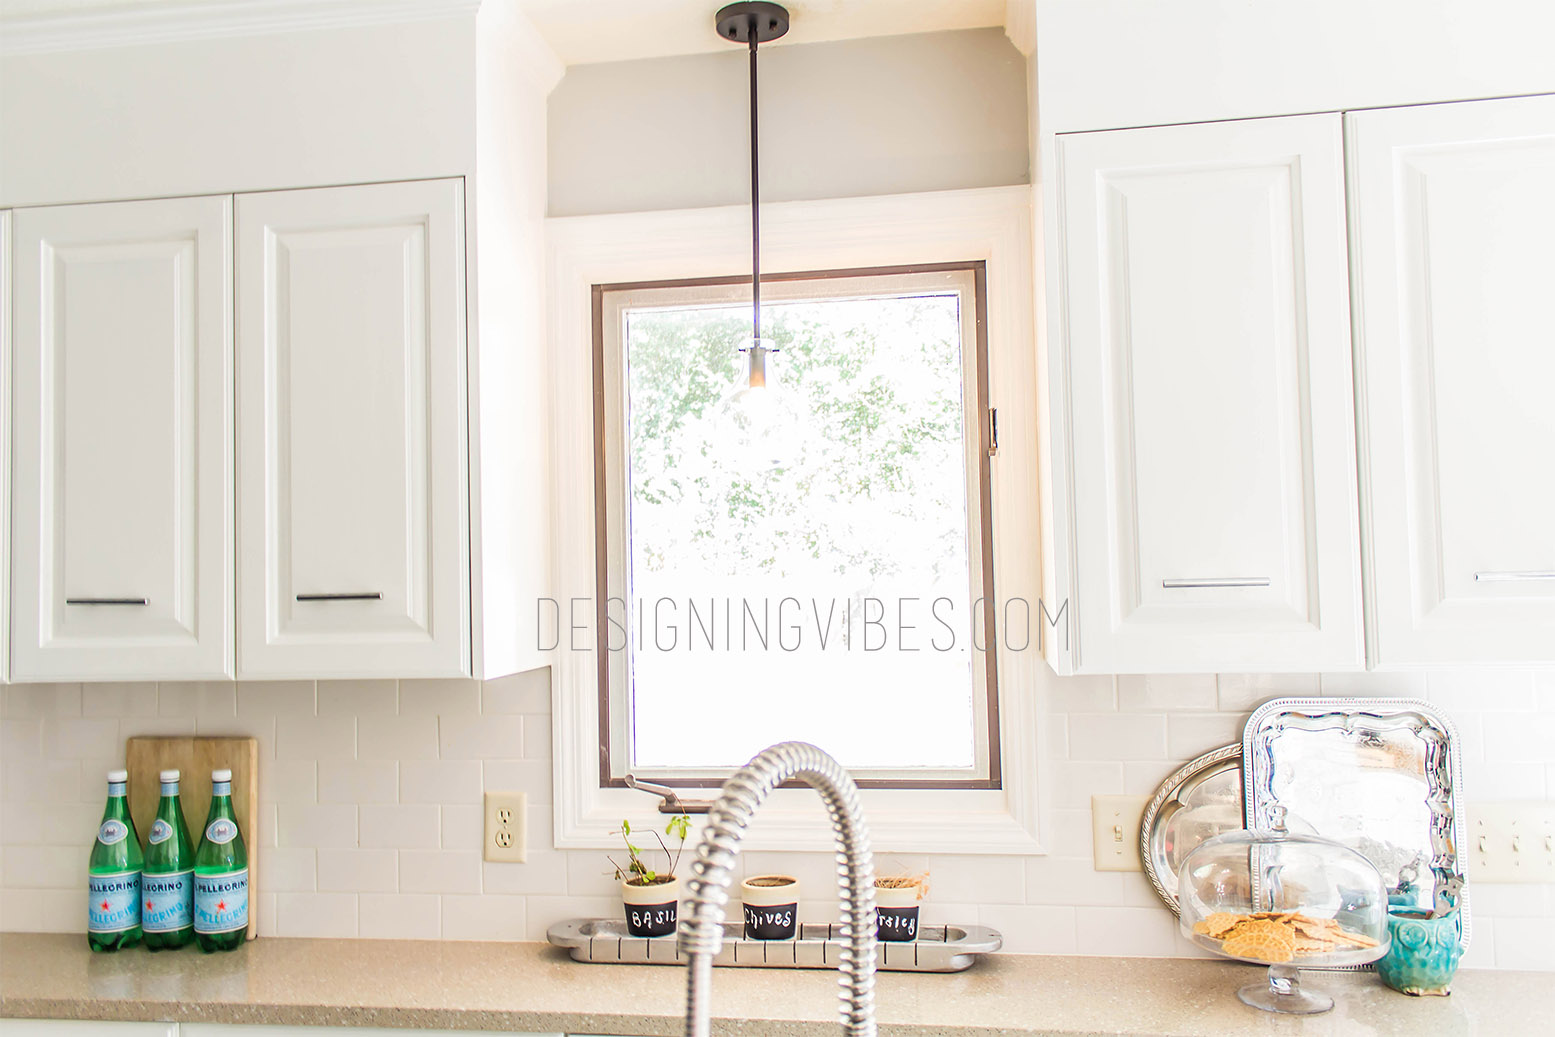
We love the finished product. Not only do the cabinets look more finished, the kitchen ceilings look taller.
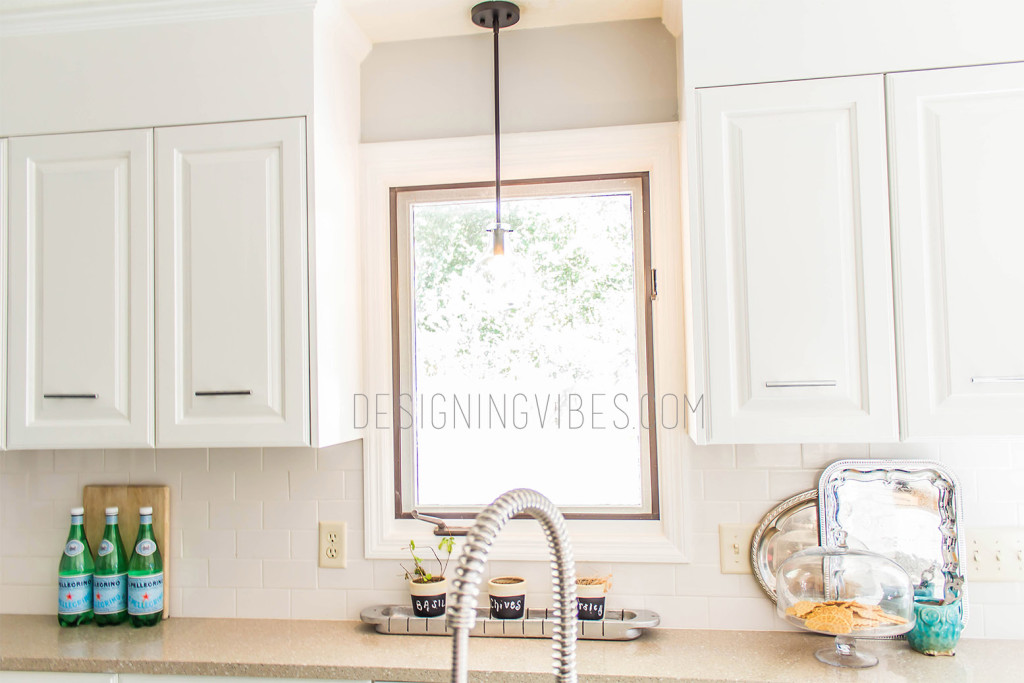
Choosing to keep our existing cabinets and simply “add to” them with MDF board, which is super inexpensive, saved us thousands of dollars. We easily could have completed this project ourselves, but , at the time, we had so many other projects in the works.
And here is a “Before and After” from when we first moved in, to our current progress.
For the full details on our entire kitchen transformation, click here
Now get out there and design some good vibes! Please be sure to share the love and Pin this post.
Sharing is caring!
Source: https://gardencourte.com
Categories: Kitchens

