I wanted to make a climbing wall tower out at the farm to teach my kids bouldering and climbing. Using some construction lumber and some outdoor plywood, I show you how to make an awesome backyard climbing wall.
- Dig Some Holes
- Frame Interior Structure
- Cover in Plywood
- Add Climbing Holds
1. Dig Some Holes
I am starting this climbing tower by mapping out the placement of some support holes. The tower is going to fit some sheets of plywood, so I spaced the hole locations 4 feet and 8 feet apart. I rented an auger from a local machinery shop and drilled the four holes about 18 inches deep. I’m treating this project like a deck, so check your local regulations and utility locations before you dig.
You are watching: Making a Backyard Climbing Wall
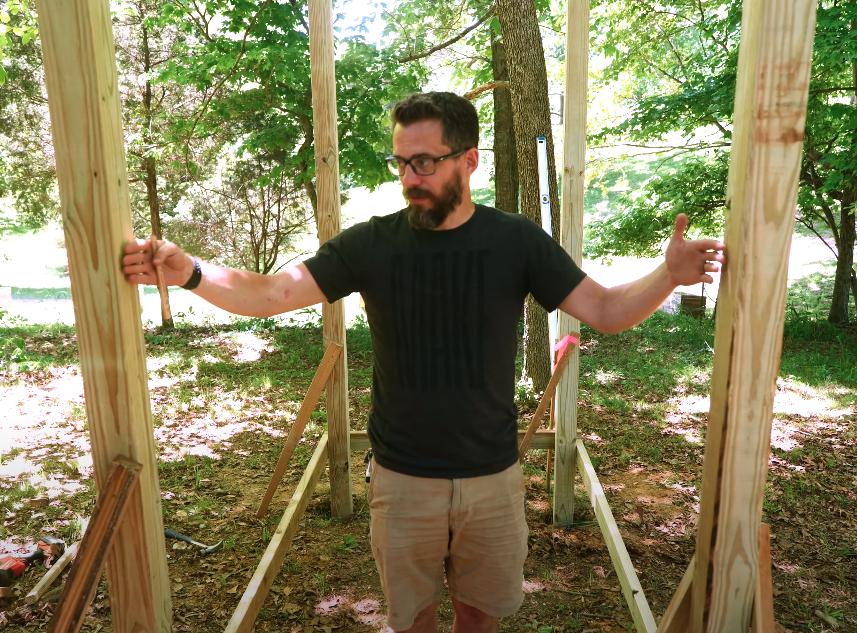
In these holes, I placed some 10 foot long 4×4 posts. Once I attached some supports to the posts, ensuring they were plumb and 90 degrees to each other, it was time to permanently set them. To set the posts, I used some rigid expanding foam. This cool foam rapidly fills the holes and cures super solid, it’s pretty cool. You can totally use concrete to set the posts, but this works too.
 2. Frame Interior Structure
Read more : How to Install an Outdoor Water Spigot
With the main posts set, I can fill in the space between them with some support structure. Similar to house framing, I built some 2×4 walls and used structural screws to fix them in place. This wall-like structure will give the climbing surface something to adhere to later on. Rather than making four sides that were vertical, I cut some sections and mounted them at odd angles. Climbing walls are more fun when they have irregular faces.
3. Cover in Plywood
I used exterior plywood to sheet the entire climbing tower. Because I made some of the wall panels odd angles, I had to divide the sheets up into smaller, custom pieces. Using a digital angle gauge and a tape measure, I was able to cut each piece to match its odd shape on the climbing tower. Before I permanently attach the panels, I marked the location of the support braces on the back of each piece. This way, I can take them off, lay them down and drill the climbing hold holes without hitting the underlying structure.
4. Add Climbing Holds
Now that the panels are marked and on the ground, I drill the holes for the climbing hold hardware. Most of them use heavy duty T nuts that are hammered in from the backside. These nuts allow you to drive a bolt through the climbing hold into the T nut without having to access the backside of the wall. I bought a few boxes of random climbing holds from Amazon, which came with mounting hardware.
Read more : How to Remove Mold and Mildew From Outdoor Cushions (5 Simple Methods)
If you are making a climbing wall, BUY MORE HOLDS THAN YOU THINK. I’ve built 6 climbing structures and each time I have to buy more. Once all the climbing holds are attached, I mounted the panels back on the tower using framing screws. After I did some durability testing, it was all ready for the kids.
The Kids (and I) Love It!
I built this climbing wall because: 1. It’s Awesome, 2. To encourage the kids to go outside, & 3. I want to connect the Zip Line to it. Like I mentioned, I’ve made lots of climbing structures and I really like this one. It is high enough to be challenging, but accessible enough that it can be made with hardware store lumber. I love that the kids are getting some exercise while hanging out in the trees at the farm. I encourage you to make a climbing structure for your backyard, they are a lot of fun.

Source: https://gardencourte.com
Categories: Outdoor


