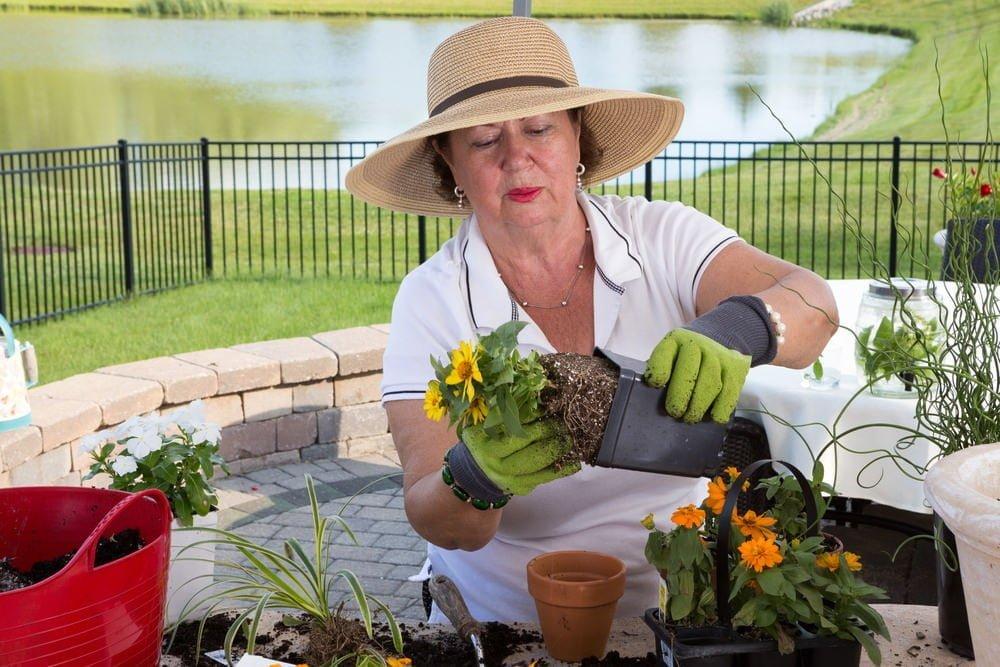
Eventually, most healthy outdoor plants outgrow their containers. When that happens, they must be repotted or their health will suffer.

You’ll know it’s time to repot your container plants when you see roots matted near the surface of the soil or protruding from the drainage holes of the pot. You might also notice poor flowering, stunted growth or soil that dries out quickly after watering. Sometimes, your plants may simply look top-heavy or ready to burst from their containers.
Fortunately, repotting your outdoor container plants is a simple and quick gardening task, especially with our helpful step-by-step guide.
Step No. 1: Select and Prepare New Containers for Your Outdoor Plants
First, you must select new pots for your outdoor plants. Choose containers that are one size larger than your current planting pots. Although you may be tempted to select larger pots, resist that urge. Choosing a container that’s too large for your outdoor plants will result in an imbalance between root growth and healthy growth above the soil.
Read more : LED Flood Light Buyers Guide
To stop soil from spilling out the bottom of your new planters each time you water, cover the drainage holes. You can use a coffee filter or mesh screen. A shard from an old planting pot can also work, but be sure to place it with the convex side facing upward so that it doesn’t seal the drainage holes.
Fill your new containers about one-third of the way with a high-quality potting soil mix to ready them for your outdoor plants. Be sure to use a mix that’s designed for container gardening. Soil mixtures designed for garden planting don’t have the necessary nutrients or texture to keep your container plants healthy over time.
Step No. 2: Liberate Your Outdoor Plants from Their Old Pots
This step can be tricky, especially if your outdoor plants are long overdue for repotting. You’ll need to use plenty of finesse and a little bit of elbow grease. Watering thoroughly in advance can help make this task easier, albeit more messy.
For small to medium plants, tipping them on their side (or inverting them) is the usually the best method for removal. Keep one hand on the bottom of the container and use the other to slowly wiggle or shake the plant loose.
If your container plants are too large or heavy to move or tip, use your gardening trowel to gently loosen the soil at the top of the pot. Then carefully grasp the base of the plant, wiggle slightly and gently pull upward to tug it loose.
Read more : 25 Creative DIY Business Sign Ideas
If the roots have grown extensively through the pot’s drainage holes, you may need to snip them off to free the plant from its container intact.
Loosen the Roots and Place Your Outdoor Plants in Their New Pots
Once you’ve removed your plants from their containers, you’ll probably see that the roots are packed tightly into a ball. To promote healthy growth, you must loosen the root ball slightly.
Massage the roots gently with your fingers to break up tangled clumps. If you notice any broken or damaged root areas, use your garden clippers to trim away damaged areas. Some gardening experts also recommend using pruning shears to trim away the bottom of the root ball, but that’s optional.
Now, place your plants in their new containers. Make sure they’re centered and upright, then fill up the pots with your potting soil mixture, pressing loosely against the roots. Finally, water the plants until the soil compresses around the roots. In a week or two, you may want to top off the pots with a little extra soil, if you notice that the dirt has settled too much.
For more expert gardening tips, visit Millcreek Gardens in Salt Lake City today. Our friendly and experienced staff can help you with every aspect of caring for garden, landscaping and outdoor plants.
Source: https://gardencourte.com
Categories: Outdoor


