How To Make A Rolling Island From A Dining Table!
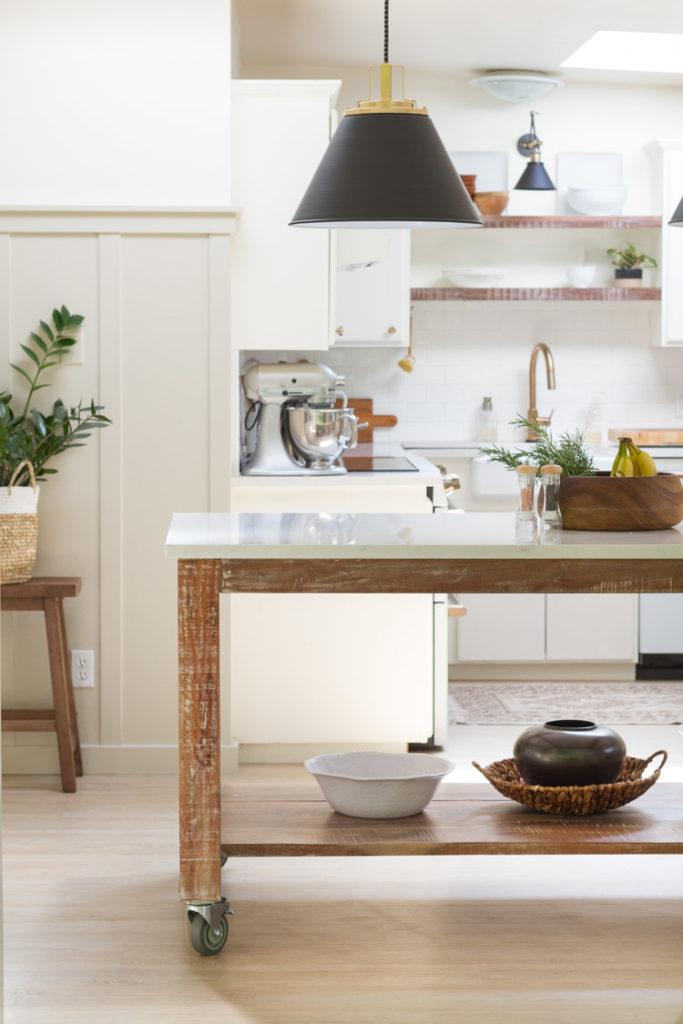
DIY For A Kitchen Island
*This post contains affiliate links.
You are watching: DIY Rolling Cart Island Made From A Dining Table
Hello there friends! I don’t have a ton planned to share here on the blog throughout the summer as I really am enjoying slowing down with my family. But I will be stopping in here and there with a few ongoing projects that I want to or have been meaning to share! One of those has been this little island of our and and how it was actually a DIY piece in our kitchen!
Read more : An All Natural Way To Get Rid of A Smelly Sponge
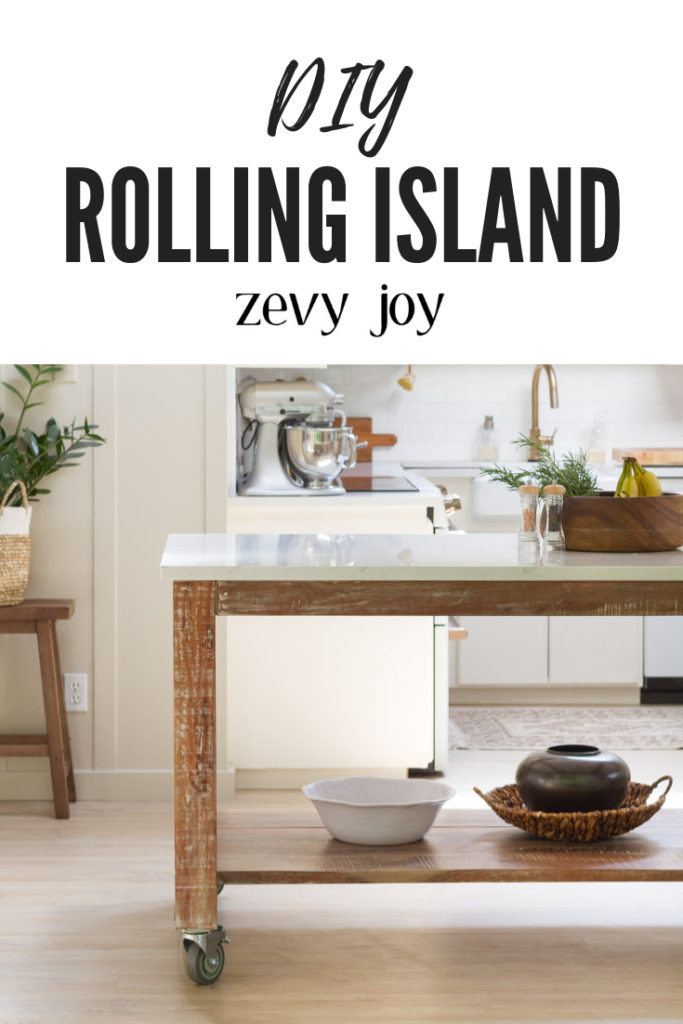
It all started as a dining table that I really liked and wanted to convert into one of those cool rolling cart islands I have seen around. There are a couple ways this project can go. As a rolling island with or without a shelf. Here below you can see both options.
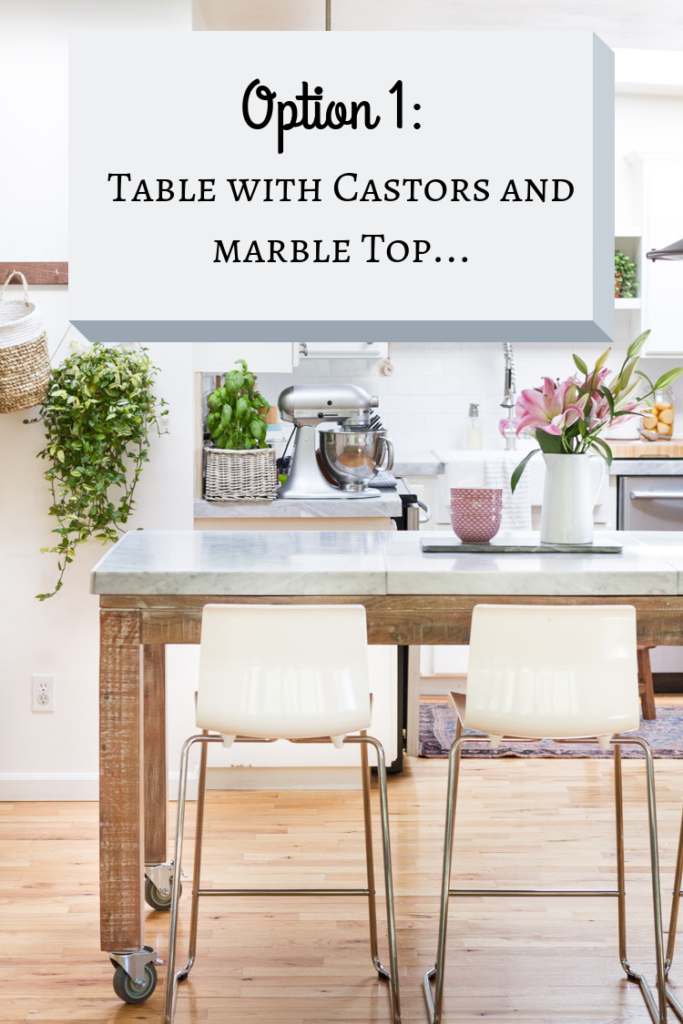
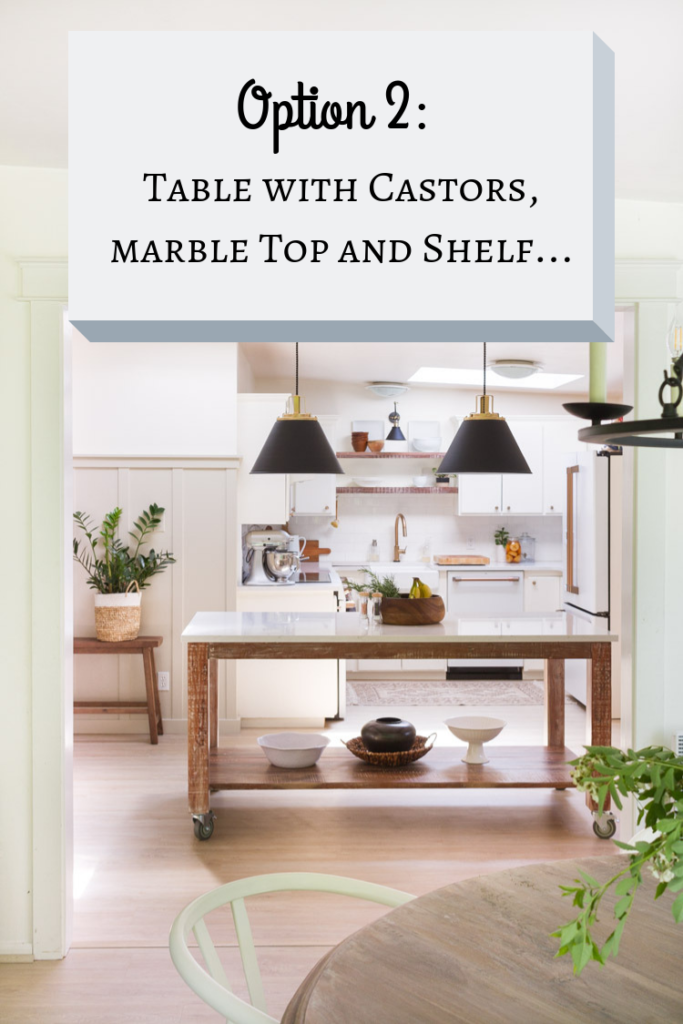
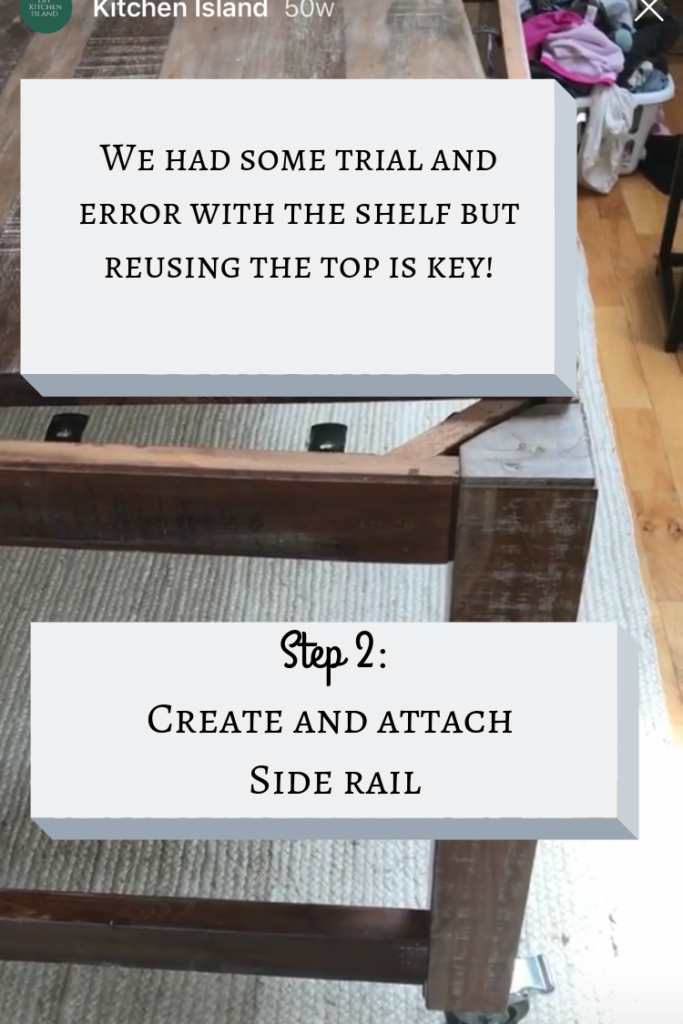
Please excuse the quality of the DIY photos below. Funny as it may seem, I didn’t think to grab photos of the process to share (as a blogger, what was I thinking… lol). But I did video the process on Instagram. So I snap shot those videos to share the process here. My husband was the master of tools and craftsmanship for this project, so I won’t be going into those specifics, but rather the process of how it all came together.
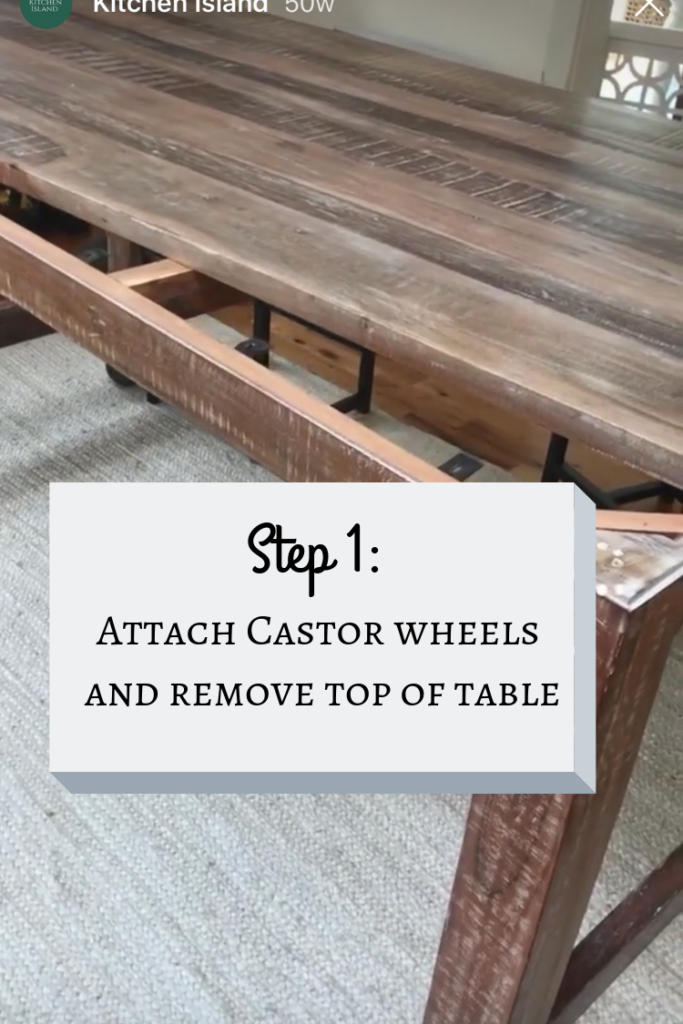
I made sure to pick out a table that had simple lines and most importantly a table top that could be removed. I couldn’t find the exact table but shared some similar options below. In order to make the table the height we needed, we added these castors (shown below as well) to each leg. The island could be done just like this and simply have countertop stone or material on top of the table top itself. Or the tabletop surface would be pretty on its own. But we wanted it to have a shelf, so we then removed the table top. This would make the matching shelf we would install in the next couple steps. We made sure to measure out enough for the shelf itself and the left overs became the side railing I will talk about below.
Read more : How To Weigh Packages At Home?
We needed something that would hold the shelving up so my husband cut wood (from the top) to size and attached it to the sides as railing.
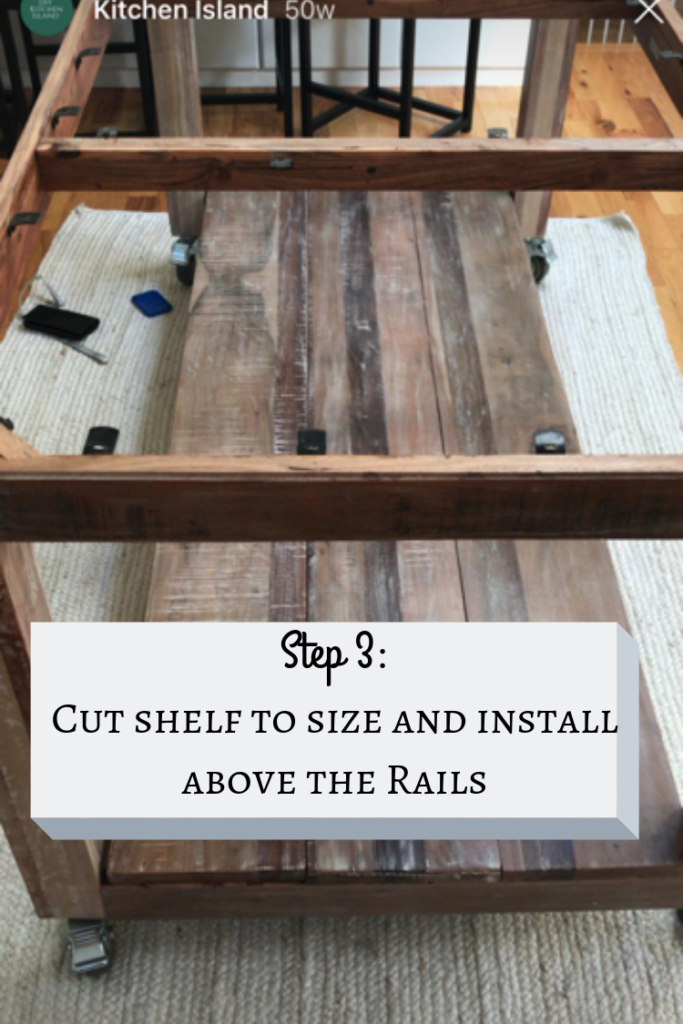
Lastly, we cut the shelf to size. I actually wanted the look of planks so we had a local hardware company help us cut them longwise. This is tricky without the proper tools and was not a necessary step. Then my hubby made sure they were fixed to the railing so they would not slide around. Again, we topped it all of with our custom quartz countertops, but there are a lot of fun ways to finish this piece off. The base could be a white table with butcher top counters, or wood base with concrete top etc… We did want to make sure the table could hold the weight and all that stuff needed to be factored in when making this plan as well.
And there you have it! This was a budget friendly way to make an island that feels custom made! We have truly enjoyed its versatility and how it fits in with our home now.
Source: https://gardencourte.com
Categories: Kitchens


