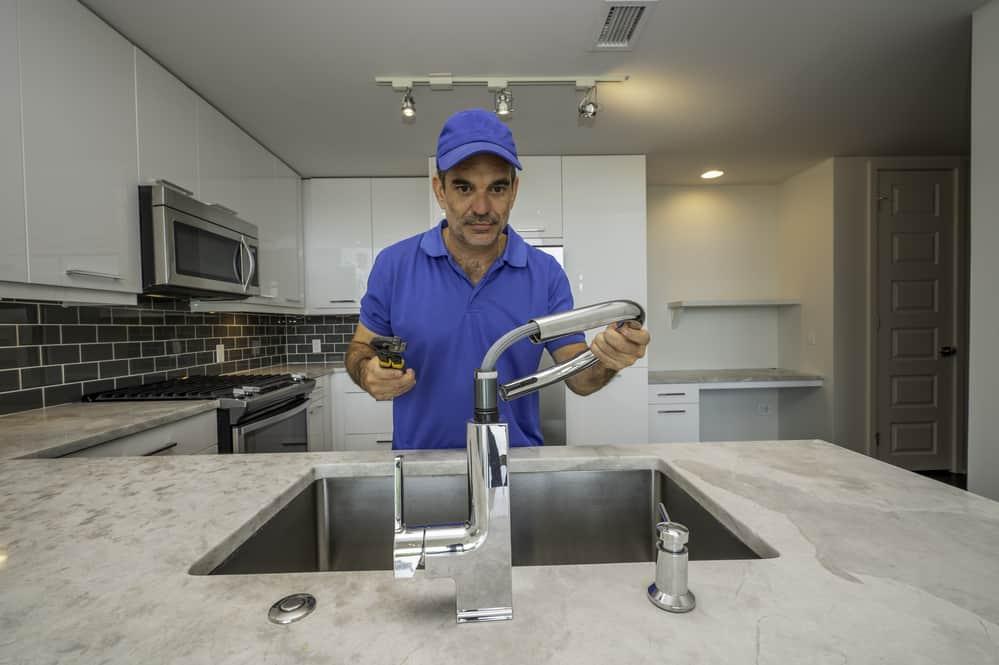
Kitchen faucet sprayer hoses make things a lot easier, whether you’re rinsing the sink or cleaning dishes. Removing the sprayer hose, either to replace it or add in a new sprayer to your kitchen sink faucet, is relatively simple and can be done in a reasonable chunk of time.
- How To Tighten A Loose Moen Single Handle Kitchen Faucet
- Appliance Brands – Who owns who?
- How High Upper Cabinets Should Be From Your Floor And Countertop
- How to Get Rid of Fruit Flies That Have Taken Over Your Kitchen
- Is Your Kitchen Temperature Correct? Here's What To Know When It Comes to LED Lighting
Before You Start
If you are replacing the sprayer hose due to issues with the sprayer head, such as leaking, you might be able to fix the problem without a replacement part. Mineral deposits within the spray nozzle can lead to a faulty sprayer.
You are watching: How to Remove a Sprayer Hose From a Kitchen Faucet
So, before you get carried away buying replacement parts and getting up close and personal with the cabinet beneath the sink, try cleaning the sprayer head. Warm vinegar can help dissolve any calcified minerals that might be causing issues.
All you need to do is soak the sprayer’s head in a bowl of warm vinegar for a while to loosen and dissolve the blockage. This should help clear out the nozzle and allow the sprayer to work correctly. Now, if it doesn’t, go ahead and buy your replacement parts.
What You’ll Need
Read more : Here Are the Best Feng Shui Colors for Your Kitchen (by Bagua Areas)
For this project, you’re going to need a few items, including:
- Plumber’s putty
- Adjustable wrench
- Appropriate type of replacement kit
Remove The Old Hose
Start by turning off the water supply. You might want to clear out the cabinet beneath your sink so that you have ample room to work. Once the water is off and the cabinet is cleared out, verify that the water is off by testing the sprayer and faucet. This will help clear out the water remaining in the lines.

Look beneath the sink and locate the sprayer hose. Trace the hose back to the faucet assembly. Using the adjustable wrench, loosen the mounting nut that connects the sprayer hose to the sink, then disconnect and remove the assembly.
There are several different sprayer hose connection types. Some faucets have a snap-on connection between the sprayer hose and the outlet tube. If this is the case, you can quickly connect and disconnect it. To do so, unhook the clip and set it aside for replacing the hose later.
If you’re replacing the kitchen faucet sprayer as well, remove the old sprayer by pulling it out and turning the head counterclockwise. Remove the gasket as well.
Replace The Sprayer
Read more : Top Commercial Kitchen Exhaust Cleaning Services
Before replacing the sprayer, place a quarter-inch bead of plumber’s putty around the bottom lip of the sprayer’s base above the sink. Next, position the sprayer’s tailpiece in the designated hole in the sink deck.
Beneath the sink, use a friction washer on the tailpiece to secure the sprayer and screw in the mounting nut. Tighten the nut using your pliers. Once you have installed the new sprayer, remove excess plumber’s putty from around the sprayer base.
Connect The Hose
Screw the sprayer hose onto the hose nipple on the bottom of the faucet using your fingers. Then, hand tighten the hose nut. Using your pliers, tighten the nut another quarter of a turn. Be sure not to overtighten it.
If your faucet was a snap-on connection, use the clip to refasten the replacement.
Test The Sprayer

Once you’re finished, turn on the water supply and test the new sprayer. It should be in working order, but check for leaks to ensure that you correctly installed it.
Source: https://gardencourte.com
Categories: Kitchens

