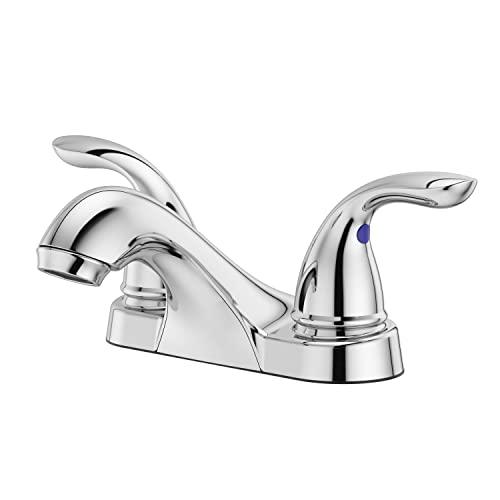
Price Pfister (now operating under the brand name Pfister) offers quite a few products for kitchen and bathroom use. Like any product, your Pfister bathroom faucet will tire out after a while. To fix it, you’ll probably need to access the inside of the faucet.
Or, maybe you’re replacing the entire thing and want to remove it altogether. Either way, here’s a quick guide for removing your Price Pfister bathroom faucet. This is a project that most homeowners can complete pretty easily without the help of a plumber.
You are watching: How To: Price Pfister Bathroom Faucet Removal
How Do I Remove A Price Pfister Faucet?
The removal process for Price Pfister faucets varies based on the particular model you have. That said, there are a few constants, so we can offer some generic steps to expedite the removal process.
Here’s what you’ll need:
- 3/32” Allen wrench
- Adjustable wrench
- Channel-lock pliers
- Bucket
- Towel
If your faucet is set up differently and the directions below don’t clear things up for you, check with your owner’s manual. If you don’t have the manual anymore, look up your specific model online. Then, you can look at the exact parts diagram and how it’s all assembled.
Older faucets can be harder to identify, so if you’re having a tough time removing the tap, reach out to Pfister’s customer support. They’ll ask you for a photo of your faucet, then can help you identify it and get you started with the removal process. Pfister’s website says they usually respond within 24 hours of receiving the query.
Turn Off The Water
Before you start disassembling the faucet, start by turning off the water supply to the faucet. You can do this by turning the water off at the shut-off valves beneath the sink. Turn them both clockwise until you meet resistance.
If your sink doesn’t have shut-off valves, you’ll probably have to turn off the water at the main shut-off valve.
Read more : 4 Tips to Keep Mice Out of Your Kitchen
After you turn off the water, drain the lines by opening the handles. Let the excess water drain, then turn the handles into the off position. Next, cover the drain with a towel, so you don’t lose any parts.
Remove The Handles

If the handles on your faucet are separate from the spout, you need to loosen and remove them. There are a few different types of handles, so the removal process varies.
Some models have a set screw securing the handle. Check the back of the handle for a small hole. If you find one, you have a faucet with a set screw design. Use a 3/32” Allen wrench to loosen the set screw and remove the handle.
You might not find a set screw, as not all models feature one. If you can’t find one, the handle will simply twist off. To remove the handle, grasp the handle hub (base) and rotate the whole thing counterclockwise.
Set the handle and screws (if applicable) aside.
Disconnect The Supply Lines
After removing the handles, you need to remove the hot and cold water supply lines from the faucet. Get a bucket ready, just in case there’s residual water left in the lines. If you drained the water lines before starting, there shouldn’t be much, if any.
Disconnect each supply line from the valve body on each side using an adjustable wrench. Drain excess water into the bucket.
Remove The Mounting Hardware
Read more : Cozy Fall Tea Towel: Cricut Flour Sack DIY
After the water lines are out of the way, you can disconnect the mounting hardware. This is the part that secures the valve body to the countertop. Pfister uses two common types, but the removal method is relatively similar.
Using an adjustable wrench or a pair of channel locks, rotate the mounting hardware counterclockwise (to the right). Remove the hardware and set it aside.
Take Apart The Quick-Connect
Once you disconnect the mounting hardware, your next step is to remove the quick-connect. For this part, you won’t need any tools. A Y-shaped piece should be at the center of the connection where the spout extends.
Start at the bottom, where the two supply lines are connected. Remove each line by pressing the colored tabs and pulling on the hose simultaneously.
Next, remove the part that connects to the spout. Press slightly on the entire piece, pushing it upward toward the counter. Pull down on the colored ring at the top of the Y while pulling the entire piece back toward the bottom of the cabinet.
It’s a compression connection – by pushing up on the piece, you alleviate tension, allowing the ring to disengage the part.
Remove The Spout Hardware
To remove the mounting hardware, use an adjustable wrench. The process is the same as above – grip the hardware with an adjustable wrench and rotate it counterclockwise. Set the part aside.
Lift The Faucet Off The Counter
After removing the remaining hardware, you can lift the spout and valve bodies directly up from the counter. If you’re installing a new faucet, make sure you clean any dirt, grime, or caulk from the installation site before you install the new faucet.
Source: https://gardencourte.com
Categories: Kitchens

