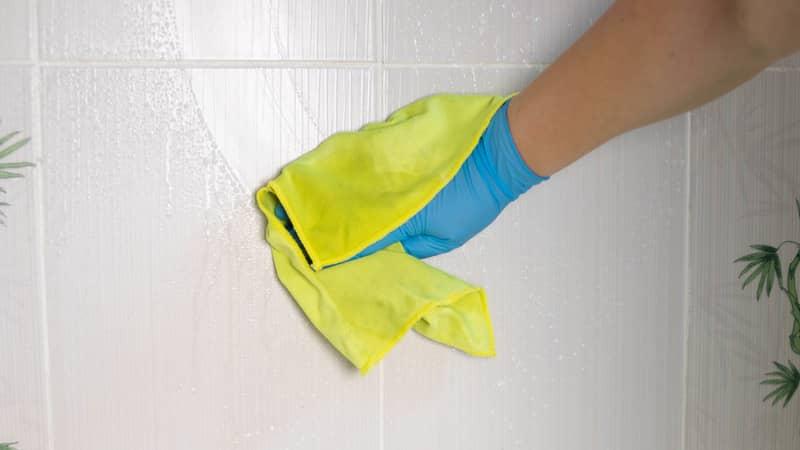
There are plenty of reasons to go DIY on your cleaning products.
Maybe you want to save some money, or maybe you just want to use natural cleaners. Chemical cleaning products may also leave residue or cause long-term wear and tear.
You are watching: What Is The Best Homemade Tile Grout Cleaner?
What is the best homemade tile grout cleaner? Here are some of our favourites:
- Castile soap
- Baking soda with water
- Baking soda and hydrogen peroxide
- Lemon juice and cream of tartar
- Vinegar and dish soap
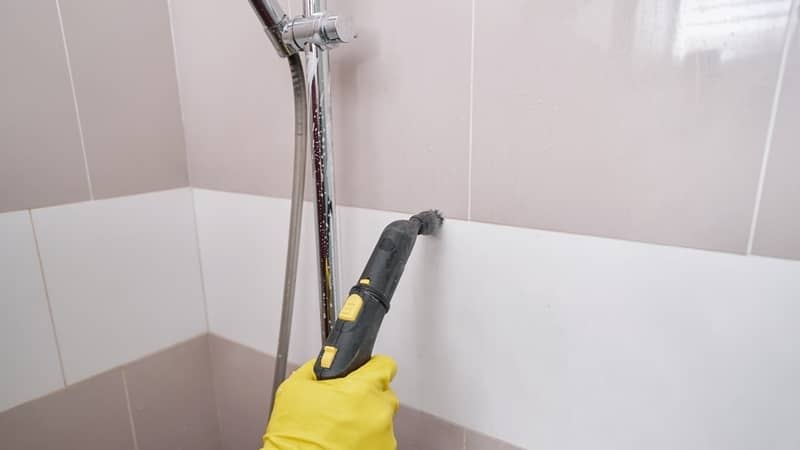
You can also double up by using a steam cleaner afterwards.
Choose your preferred homemade grout cleaners and get ready. Also, be mindful of your knees – stretch in between sections!
Why Clean Grout Lines?
Even if you’ve cleaned your tiles, if you don’t tackle dirty grout, your floors will look less than pristine.
Grout also picks up dirt and grime over time – soap scum in the bathroom or spilled food in the kitchen. Plus there’s general wear and tear from walking over the floors.
Regular grout cleaning can prolong the lifespan of the material and prevent it from becoming a health hazard. When combined with efficient tile cleaners, the results will have you… floored.

Before Cleaning Grout
Always know the material of your tile floors! It will determine what cleaning solution you can use.
For example, if you have stone tiles, do not use non-corrosive substances. Anything too acidic like vinegar could cause the stone to discolour.
A scrub brush will be more effective than an old toothbrush, although both will do the trick. Avoid using metal tools and brushes since these could chip and damage your grout.
Of course, there are methods to clean grout without scrubbing as well.
Test your grout cleaner on a small, inconspicuous spot so you can be sure it doesn’t discolour or damage the material.
And of course, if you want to skip any grout cleaning entirely – just get a house cleaning service near you to do it!
How Often to Clean Grout
Immediately: Wipe any spills, and pick up or vacuum away any debris and dirt.
Weekly: Mop the floor (and don’t leave any standing water).
Monthly: Use one of your homemade grout cleaner recipes to deep clean.
Every 6 months: Reseal your grout.
How to Make Homemade Grout Cleaner
Maybe you’re too lazy to pop down to the shops for a commercial cleaning product.
Or maybe you’d prefer to use more natural methods for grout cleaning.
Here are some DIY grout cleaners that you can make right at home – just add some elbow grease to the mix!
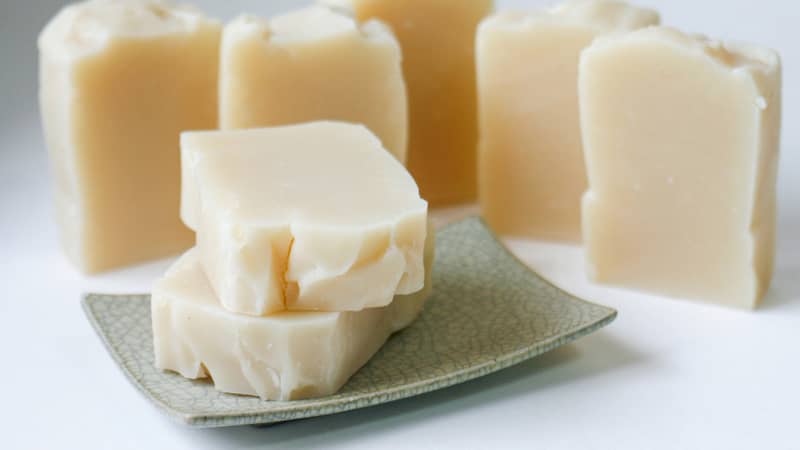
1. Cleaning grout with Castile soap

If your grout is only mildly dirty, then you can use Castile soap!
Read more : 13 of the Most Effective DIY Dog Repellent Recipes
It’s a plant-based soap that’s incredibly versatile, usable for cleaning your body as well as multiple household surfaces.
Dilute the soap per instructions on your package, then use it to clean the grout.
Scrub, then rinse the area and let it dry for 24 hours.
2. Cleaning grout with baking soda and water
Another simple and effective homemade cleaner is simple baking soda and water.
This is most effective for mild dirt – the abrasive nature of baking soda helps scrub off any grime on the surface.
Simply mix equal parts baking soda with water into a paste.
Dip your scrub brush or sponge into the paste and use it to clean the grout. Wipe with a wet cloth or rinse the residue off, then allow to dry.
NOTE: Because baking soda isn’t acidic, it’s safe to use on marble or stone tile when mixed with water.
3. Cleaning grout with baking soda and hydrogen peroxide

This method is best for discoloured grout that was previously white or light-coloured.
The hydrogen peroxide will help lighten stains and clean dirt.
Mix two parts baking soda with one part hydrogen peroxide into a thick paste. You can also add a few drops of dish soap (an anti-grease one works great).
Spread the mixture on your bathroom grout, shower grout, or other surfaces.
You can add extra baking soda as you go along.
Let the mixture sit on the grout for 15 minutes, then employ your scrubbing power.
Rinse with clean water, then let the grout dry for 24 hours. Apply a sealant once done.
NOTE: Do not use this method on stone or marble tiles.
4. Cleaning grout with lemon juice and cream of tartar
Lemon juice is a natural whitener, so it’s great for lightening stains.
This method is best for small spots instead of the entire floor.
Mix a tablespoon of cream of tartar with a squirt of lemon juice. The consistency should resemble runny toothpaste.
Apply the solution to the dirty grout and let the paste sit for 15 minutes. Scrub the area, then wipe with a damp cloth to clean.
NOTE: Do not use this method on stone tiles.
5. Cleaning grout with white vinegar and dish soap
Does vinegar really clean grout? Yes!
This two-ingredient homemade grout cleaner is great for quick-and-easy jobs. It’s also good for deterring mould and mildew due to the properties of vinegar.
Read more : DIY Anti-Aging Face Cream
Mix equal parts vinegar and warm water in a spray bottle, then add 1/4 to 1/2 cup of dish soap.
Carefully spray the vinegar solution onto your grout lines and let it sit for 5-10 minutes.
If you want some extra oomph, you can sprinkle baking soda before spraying.
Wipe the grout with a damp cloth or rinse with clean water.
NOTE: Do not use this method on stone tiles.
Cleaning Grout with a Steam Cleaner

A steam cleaner is a powerful tool for cleaning many surfaces, including tiles and grout!
It’s not quite “homemade,” but if you already have one in your home, then it’s very effective.
Steam cleaners work by heating water to over 90ºC, then blasting the resulting steam out of the nozzle.
Check to see what model you own, since some may be floor-only and will not work on shower or bathroom grout.
Use one of the above homemade grout cleaners to clean the tile grout. This will get rid of any excess grime and dirt that will block the steam from reaching the grout.
Switch on your cleaner and use back-and-forth strokes with a nylon brush on the grout. Work one section at a time (and if you’re cleaning walls, work top-down).
Rinse or mop each section to clear away any dirty water to prevent it from settling into the grout. Change the water in your steam cleaner as needed.
Let the grout dry for 24 hours before sealing.
NOTE: Some steam mops have attachments that you can also use for grout!
Can I Mix Bleach to Clean Grout?
Avoid mixing bleach with any substance except plain water.
Some websites recommend a mixture of bicarb soda and bleach, which is usually harmless – but since bicarb soda is an alkaline substance, it could react to form potentially hazardous gases.
Absolutely do not combine hydrogen peroxide or vinegar with bleach. This will create a toxic chemical reaction that is potentially fatal.
If you do choose to do grout cleaning with bleach, then dilute the product per instructions before use.
Tips for Homemade Grout Cleaners
Avoid using too much water when you clean grout, since it’s a porous material. Moisture can seep into the grout and cause it to disintegrate, or trigger the development of mould and mildew. That will damage the integrity of your floors.
For white grout, do not use coloured cleaning products that could stain the material. Conversely, if you have coloured grout, avoid bleach and peroxide cleaners. These will bleach your grout and remove the colour.
Wear protective accessories when cleaning, especially if you’re using chemical products like hydrogen peroxide. At the very least, use rubber or cleaning gloves, and perhaps goggles and a mask.
Safely dispose of any leftover homemade grout cleaner once you’re finished cleaning. Even if you’re using natural methods, these solutions are one-time-use only and cannot be kept in storage. Gas could build up in the container and cause it to explode.
Do not clean grout that is cracked, chipped, or loosened. Water will seep into the material and cause further damage. Instead, it is best to remove and replace the grout, especially on the bathroom or kitchen floor.
What is the best mixture to clean grout? It will depend on how dirty your grout is, and what material your tiles are. Any of these methods will be effective so long as you use it in the correct situation – and of course, put your back into it!
Source: https://gardencourte.com
Categories: Recipe

