Chalk paint is the perfect way to add some personality to any piece of furniture in your home! Today, I’m going to share how to make your own chalk paint.
I’m also going to talk about three different ways to make chalk paint with three totally different key ingredients. So if you’re looking for an easy diy project, read on!
You are watching: How to make chalk paint: Three of my favorite no-fail recipes!
Famous for its matte-dry look, chalk-style paints are becoming increasingly popular, and for good reason. It gives anything you use it on more personality and a vintage or rustic feel.
It’s also incredibly easy to use and requires little to no prep work.So it you hate sanding a project before hand, chalk paint is for you! It can also be easily given a distressed look for a more shabby-chic style if that’s what you’re into.
One of my favorite parts of chalk paint is that you don’t even have to go to your local store to buy it. Of course your local hardware store or even the home depot will have it. But if it saves you time and money, why not make it from the comfort of your own home. Most of us have a cup of latex paint on hand, and with a few other other simple ingredients, you can make your own paint!
Making it yourself also means that you can fine-tune the color to be exactly what you want. Here are just a few different tips on how to make chalk paint, as well as my favorite foolproof diy chalk paint recipe.
What are the Ingredients of Chalk Paint?
There are a few different ways of making chalk paint and each recipe has slight variances in ingredients.
However, the main things you will need is cold water, a fine powder to mix with it, and, most importantly, latex paint.
For the three best DIY chalk paint recipes, you’ll need either need one part baking soda, one part plaster of Paris, or one part calcium carbonate.
Depending on how/if you choose to add a finish once the paint has dried, you may also need polycrylic or wax. This would be an additional cost, but so important!
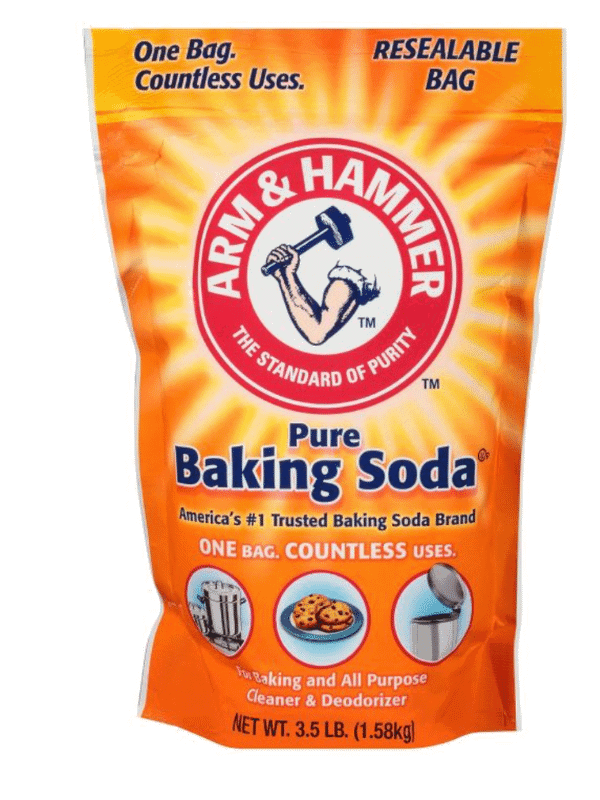
Can you Make Chalk Paint out of Baking Soda?
Yes, it is possible to make chalk paint at home using baking soda, alongside a few other key ingredients. This is one of my personal fav recipes to use when I’m making chalk paint! Keep reading and you’ll find my recipe!
.
Why Make Your Own Chalk Paint?
Making your own chalk paint can be much fun, easy, and cost-efficient. If you have the latex paint on hand, a lot of the other ingredients, like the baking soda recipe, can be found around the house.
Chalk paint is very adhesive — it may be the most adhesive paint out there. In addition, it’s more durable and lasts longer than almost any store-bought paint.
The color is customizable, and you can even control how thick or thin your paint will be. It can also be easily modified for use in a paint sprayer if you want. Although, it does require you to thin the paint a bit more.
Is Homemade Chalk Paint as Good as Store-Bought?
No… it’s better! Like I told Domino Magazine while being interviewed as a chalk paint expert, If done correctly, DIY chalk paint can be better than store-bought chalk paint by miles, and I’ve always preferred making my own paints over buying them from someone else.
Buying chalk paint at the craft store can be quite pricey.
However, making chalk paint at home has other benefits than just cost. For instance, being able to make small batches. This way you only make what you need and don’t have to worry about wasting or storing it.
One of the biggest benefits I have found for making chalk paint at home is that you have total control, especially over consistency.
I’ve found that some store-bought chalk paints can get lumpy fast if they aren’t already lumpy when you open them.
They also typically only come in a single thickness, which isn’t always what I need for whatever project I’m currently working on.
By making your chalk paint at home, you can be sure that you get it as smooth as possible, which means that it won’t be lumpy when you use it and it rarely dries weird like some store-bought paints.
You can also control how much thickening agent you use as well as how much water you need to add. Having that control is important depending on what project you are doing and if you want to use a sprayer.
The benefits to making chalk paint rather than buying
Buying store paints also restricts your color options significantly, which means you may not be able to find the exact shade or hue you need for your project.
That’s a frustration we’ve all dealt with. Being able to buy regular paint instead of being restricted to buying only chalk paint opens up your color choices rather greatly. I’ve found that mixing my paints at home or buying the exact shade at the store, has enabled me to achieve the exact color I need. Plus, the type of paint does matter. You may think that any water-based latex paint color will do, but I disagree. Using quality paint does make a difference. My favorite is sherwin williams.
Can you Make Chalk Paint out of Acrylic Paint?
While latex paint is recommended, acrylic paint can also work with certain recipes to make chalk paint, despite them being essentially opposites.
Read more : How To Use Horticultural Vinegar To Kill Weeds – Stop Weeds Naturally!
There are also hybrid acrylic-latex paints out there that you could use if you look hard enough for them. However, using latex paint to create and mix the perfect chalk paint is what I’ve found works best for me personally.
Acrylic-based chalk-based paints, I will admit, work pretty well for smaller projects or outdoor projects.
Most chalk paint recipes that use latex paint have a fairly high yield, which can be wasteful if you’re only painting a small item or only need to cover a small area.
Using an acrylic paint recipe also means you can divide the final product up easier to make a wider variety of colors out of one batch.
The biggest mistake when using Acrylic paint to make chalk paint
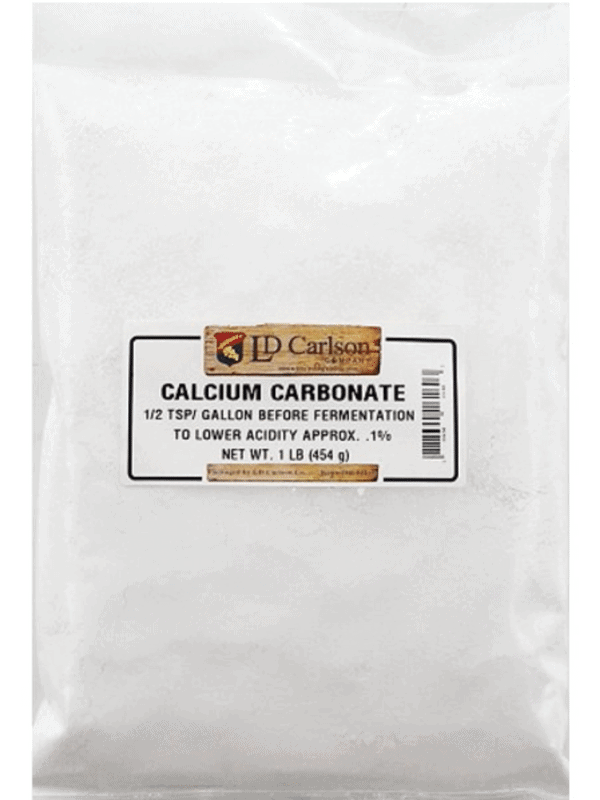
If you do want to make your DIY chalk paint from an acrylic paint base, it is highly recommended that you use calcium carbonate, as Plaster of Paris can harden the mixture — which often makes it unusable.
You should also make sure that the acrylic paint you use is all-purpose acrylic craft paint.
My Favorite Chalk Paint Recipes
Here we are, some of my favorite recipes for chalk paint! They are easy and great for customizing to your liking! So without further ado, here is my absolute favorite: Plaster of Paris recipe! This easy recipe will turn out every time.
Recipe #1: Plaster of Paris
- 1 Cup Latex Paint
- 4 tablespoons cold water
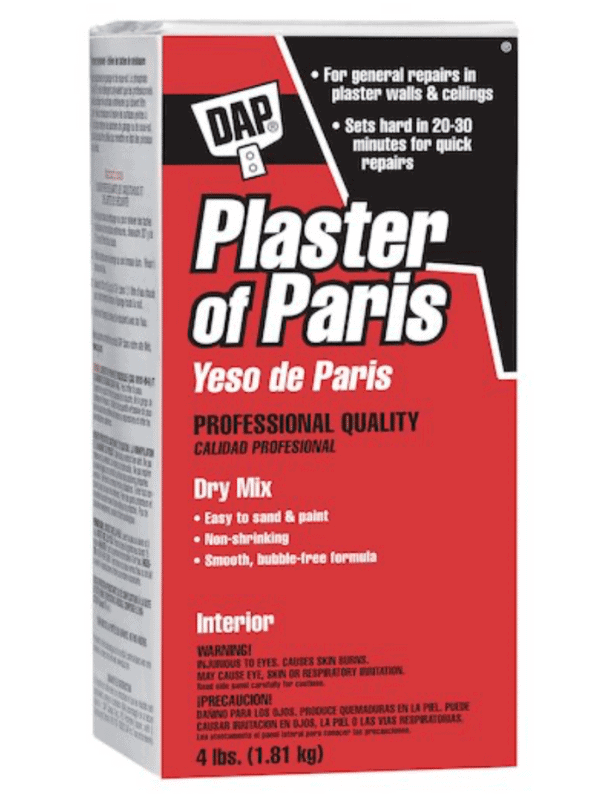
- ¼ cup of plaster of paris
In one bowl, I mix the water and Plaster of Paris together until it’s a smooth mixture with no lumps.
Then I take the other bowl, containing the latex paint, and pour the mixture into it, once again making sure there are no lumps when I’m done mixing them.
By the time I’m done, if I’ve managed to pull it off correctly, the paint looks almost exactly the same as when I started. This is normal.
It’s not until you use the paint that you’ll start noticing the difference. For a full quart of paint, multiply the ingredients by four. If over the duration of your project the mixture starts to harden, simply add a little bit of water until you’re back to the correct consistency.
If you’re looking for the best homemade chalk paint recipe, look no further!
Recipe #2: Baking Soda
- 1 Cup Latex Paint
- 3 tablespoons cold water
- ½ cup baking soda
This is about the same recipe as the plaster of Plaster of Paris, but it is replaced with Baking soda! Be sure that you mix out all of the lumps.
This recipe is perfect if you can’t get ahold of Plaster of Paris when you want!
If you want to use the Plaster of Paris recipe, switch out the baking soda for ¼ cup Plaster of Paris.
For the Calcium Carbonate recipe, exchange the baking soda for 4 tablespoons of calcium carbonate, and use just enough water to dissolve the powder
Recipe #3: Calcium Carbonate:
- 1 Cup Latex Paint
- 4 tablespoons cold water
- 4 tablespoon calcium carbonate powder
This recipe is very similar to the other two, but there is a slight catch.
The amount of water you use may vary, as you will just need enough water to dissolve the calcium carbonate powder. Make sure that it’s smooth, and you are all set!
For small projects, I recommend starting with a 2-ounce bottle of all-purpose acrylic craft paint, which will yield around the same amount of chalk paint.
If you find you need more when you’re done, you can always make more. You can’t unmix chalk paint once it’s been made.
You will need a single tablespoon of water, 2 ½ tablespoons of calcium carbonate powder, and an entire 2-ounce bottle of acrylic paint of your choosing.
Alternatively, if you want a more custom color, you can mix small amounts of various all-purpose acrylic crafting paints until you reach a total of 2 ounces.
When the mixture is finished, you can add more calcium carbonate if you need it to be thicker, or more water if you need the opposite.
The Final Steps
When your DIY chalk paint mixture is complete, whether it’s latex or acrylic, be sure to test it on a smooth surface, similar to the one you’ll be using for the final project. Let it dry, and adjust the paint if needed.
Once you have perfected the paint, begin applying your first coat in thin layers, letting it dry completely (about 24 hours) before moving on to the second coat. It is not recommended to exceed four layers of paint if you can manage it.
Once you have applied all the layers of paint you want, it’s time to a top coat. While you don’t have to do this step at all, it’s often a good idea because it can add durability to your project, making the paint last longer.
Distressing an finishing
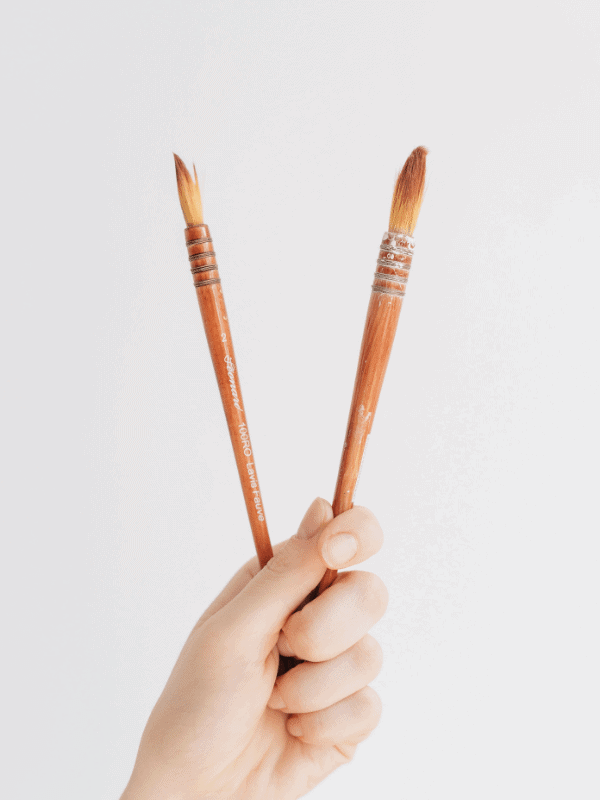
There are two common ways of finishing a DIY chalk paint project: Distressing it or sealing it with polycrylic or wax.
Read more : Gordon Ramsay Salmon, Definitely Savory Quick Crispy Salmon Recipe
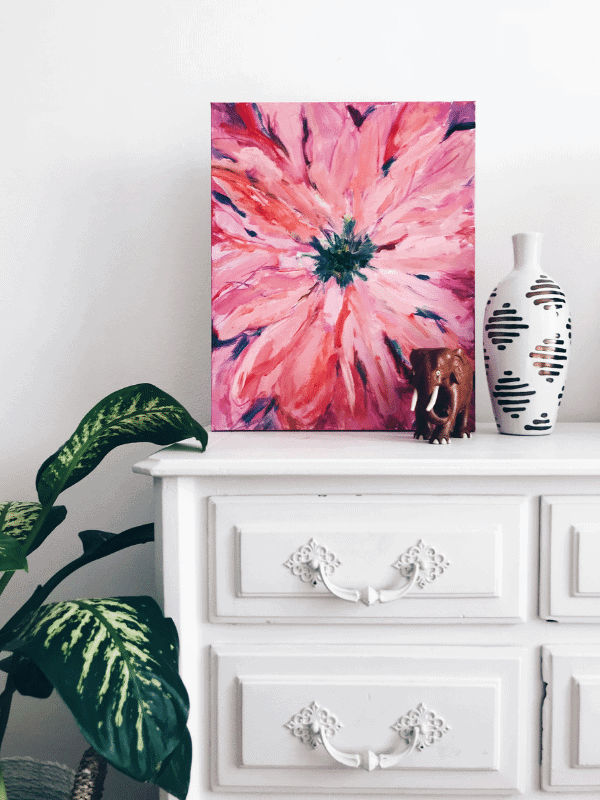
Distressing the paint on the final product gives it more of a vintage, shabby-chic look. It is important that whatever item you are distressing is clean and prepped.
There are a variety of aging techniques you could use, so be sure to look around at how it will turn out before you get started. (Nobody likes having to restart a project because of a silly little mistake!)
The most commonly used tools when aging a project (especially furniture) are drills, hammers, screws, and nails — which should all be used carefully.
However… things are going to be a little different this time. You won’t be using these tools to carefully assemble or deconstruct a project. You’ll be doing more of the opposite… to rough up your project making it look like an antique.
Can You Chalk Paint Over Chalk Paint?
Yes! Well, it depends how dark the color is. It’s easy to go from light to dark, but a little trickier to go from dark to light. The same concept applies when trying to stain over stain.
The problem with painting from dark to light with chalk paint is that most likely you’ll see some bleeding. No matter how many coats you apply, you’ll still see some bleed through.
The answer is… Shellac! Take a rag and dip it into the shellac and apply a thin coat over your project. Wait for it to fully dry and you’ll get full coverage! Shellac locks everything in sealing it off allowing you paint over without any bleeding.
Assembling your furniture
When assembling furniture, the reason people are so careful with their tools is partly that they want to avoid dents, scrapes, scratches, gouges, and what have you.
However, I am officially telling you to put your instincts aside and have fun with it! Within reason, of course! These tools can still be dangerous and we don’t want anyone getting hurt.
Take your tool of choice, and have at it! You have a hammer, start banging away! It’s that easy!
If you want a different-looking texture, that’s where the other tools come in. Lay a screw or two, maybe some nails, or even a drill bit on the surface and bang on those.
The different materials, patterns, and textures on these items will leave unique, interesting patterns on the surface.
And, there’s one more thing. This is also a great way to release some pent-up emotion if you’ve been feeling stressed lately.
Finishing up: The last step
The last and final step to using chalk paint is to finish it off with a top coat. What product you use really depends on what you want your overall finish to look like. If you prefer a matte finish, then either use a polycrylic or a wax coating. If you prefer something shinny, then use a polyurathane. Although, keep in mind that generally, chalk paint projects have a matte finish, making them look antique. So using a polyurathane may be counterproductive.
Do I have to apply a topcoat when using chalk paint?
And the answer is YES… if you want it to last of course! I recommend using either a wax finish or a Polycrylic. Again, using a polyurethane will give your furniture a shiny finish rather than a matte one. It also may yellow over time too.
To start, apply your wax topcoat with a thick round brush or even a simple paint brush will do. Work on one section at a time, making sure not to mixx any spots. Once you have covered your furniture piece thoroughly covered, use a rag (or clean your brush to reuse) and buff the wax. This really works the wax into the furniture.
The wax will take 24 hours to harden, but really it takes about 30 days to fully cure. So be careful in the mean time.
I usually recommend waxing your furniture every couple years to make sure it stays protected.
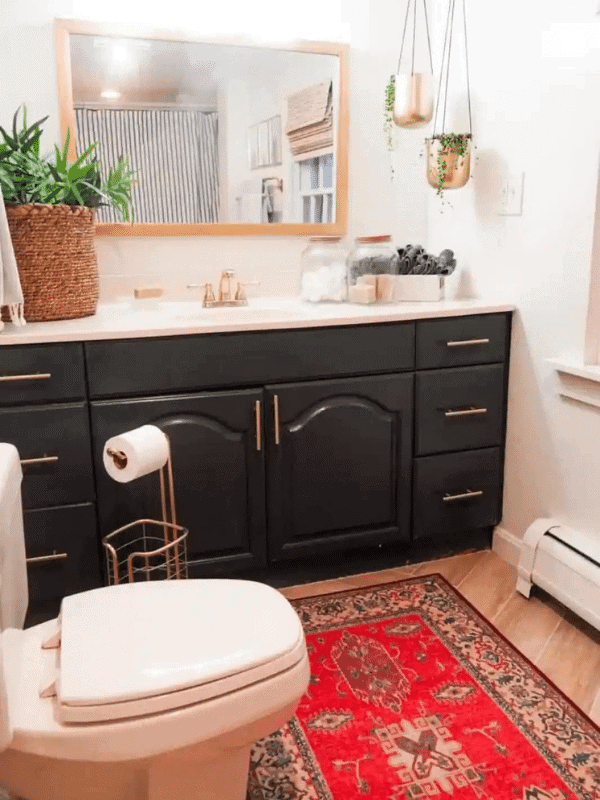
Want to shop the supplies for this project? Click the images below! *These links are affiliate links and when used I make a small commission. Thanks for supporting the brands that support this blog of mine!
Be sure to pin for later!
Enjoy your next chalk paint project!
Making your own Chalk paint may seem tricky at first. I know I was afraid of messing up the look of my favorite furniture peices. That’s why when starting, it’s best to take a trip to a thrift store. Buy something cheap to practice your favorite chalk paint recipes on. Then, when you find your favorite, take on that project you’ve been putting off.
Good luck in your many adventures. Thanks for reading!
Want to read more about updating your home on a budget? Check out my post below!
Painting Tile Floors: Pros and Cons:
Painting tile floors can have some awesome benefits and really spruce up your place, but it doesn’t come without some negatives.
One benefit is that it is a perfect quick fix and it saves money! It can be really satisfying to finish painting and like what you see. Though, it is not as long-lasting and durable as replacing tile would be.
Painting your ceramic floors can also show more dust and dirt than before painting it. I also learned from previous experience that you have to have the right process to make it last…
Chat soon,
Kori
Source: https://gardencourte.com
Categories: Recipe

