Learn how to make banquette seating for your kitchen with this step-by-step tutorial on a built-in kitchen bench.
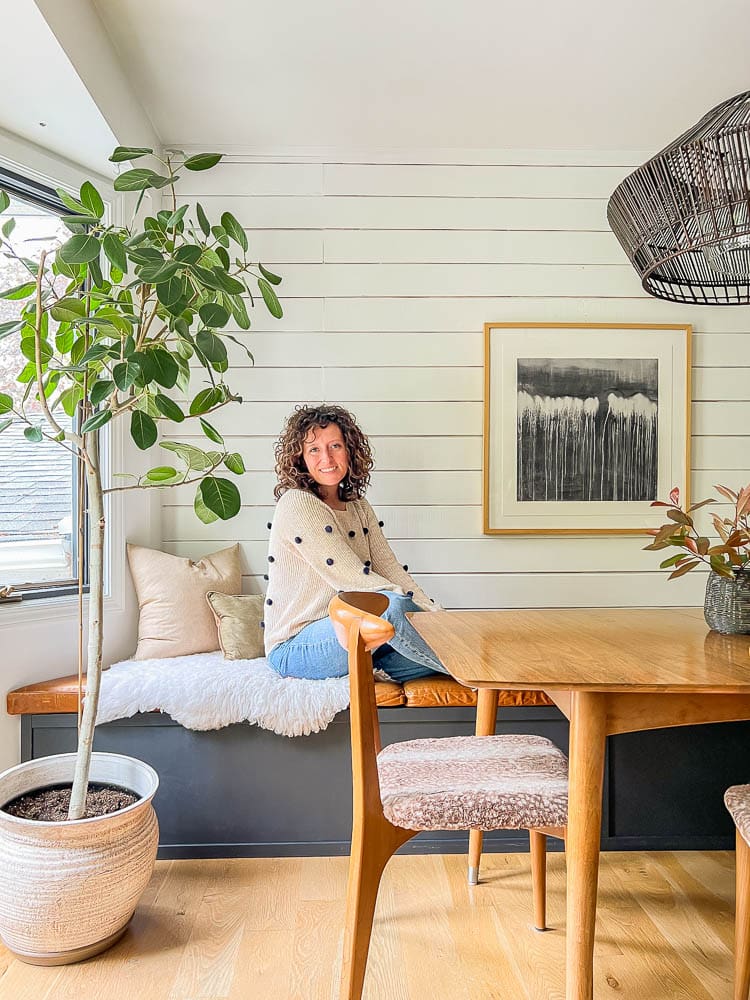
Adding a banquette bench seating to our eat-in kitchen was a great upgrade to our space. Since our kitchen isn’t an open concept space but is connected to our eat-in dining space, I knew that I wanted to create a space that felt like you could sit awhile. A place for reading, chilling on a device, homework, chatting, etc.
You are watching: How to Add Kitchen Banquette Seating With This Banquette Bench Tutorial
To achieve that type of space, I knew that the seating had to be really comfy and casual. Immediately, a kitchen banquette came to mind and we went with it.
Today, I’m sharing exactly how to make a built in bench, how much it costs to build the dining banquette (ours is pretty big!) and upholstery tips for the banquette seat.
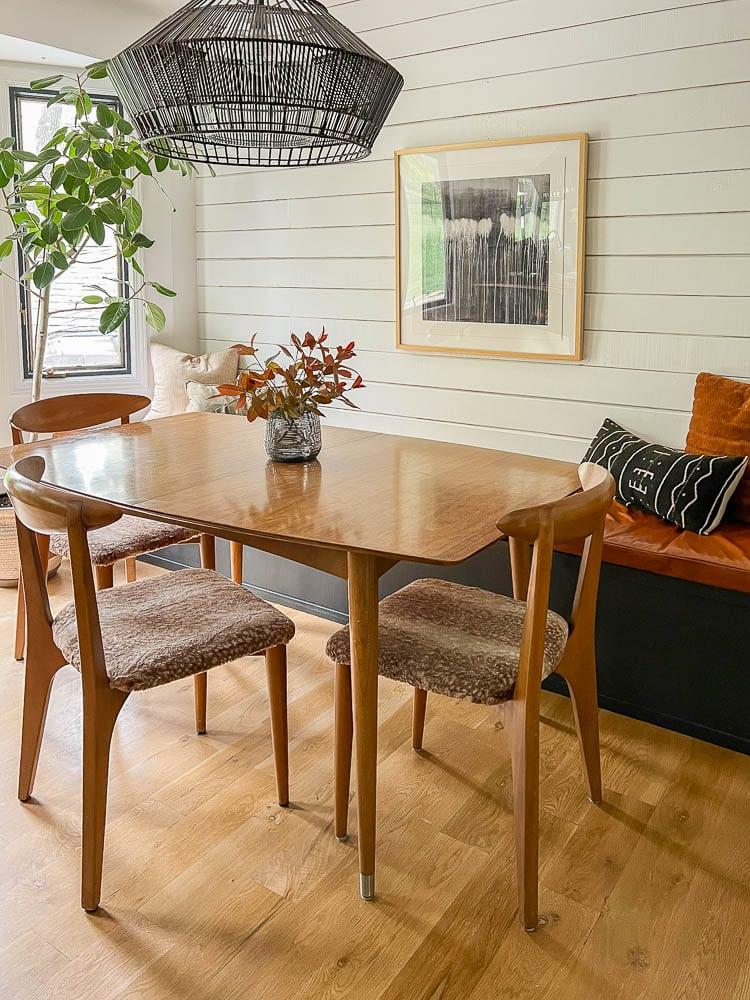
Banquette Seating In Kitchen
First off, let me say that we built this bench in 2015 and have, since then, improved it a bit. We added some trim along the front of the bench seating to help make it feel a bit more elevated in person.
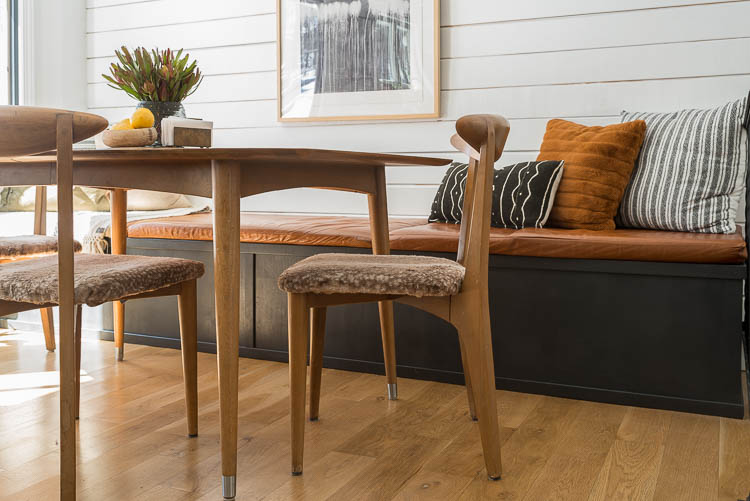
After a few years of use on the inexpensive fabric that I chose to upholster the DIY bench seat with, I needed an upgrade. I decided to use leather to make banquette cushions instead of upholstering the fabric to the bench itself.
Both of those changes have been great for us. I’ll be sure to share more about both of them when I walk you through the kitchen bench seating tutorial, below!
*Affiliate links listed below. Click here to read my full disclosure.

What to consider before building your DIY bench
You can choose to cut costs in lots of different ways when building your banquette seat. Wood costs are definitely higher right now than when we built this banquette bench, but hopefully you have some scrap wood that you could offset some of the cost with if money is tight.
Depending on how large your built in bench is going to be (ours is around 10′), you can make the dining banquette for around $200 for the wood and construction supplies.
Like I mentioned up above, we changed a few things around over the past few years on the upholstery. When I originally did this project, I upholstered fabric to the top of the banquette seating. I bought discount fabric and the padding, foam (check out my post on finding cheaper foam for more information) and fabric came to around $100.
A few years ago, the fabric was in a rough state with a toddler, cat and many playdates. I decided to invest in leather and have banquette cushions made. Leather is expensive and sewing leather is rather challenging so if you wanted to go this route, I would expect to pay at least $600 or so for this part of the project.
A slight tweak to our build, that you could do to save money, is to build the bench directly into the wall instead of using extra wood and building it as a box on the floor. This would cut down on the amount of wood needed for the back side of the bench. We knew we were replacing the flooring so we wanted our built-in to be moveable. But, you could definitely save money and time by attaching the back to the wall.
Our Banquette Seating Dimensions
Our bench is 10.33′ x 2′.
In all projects like this, you have to consider how big of a space you are working in. If you had a smaller area, then of course, you’re price would go drastically down. Just something to keep in mind.
Kitchen Banquette Supplies Needed
NOTE: These measurements are what worked for our kitchen. Sizes will vary.
- (4) 12ft 2×4’s
- (2) 8ft 2×4’s
- (2) Sanded/finished plywood pieces, cut to 62″ x 24.5″
- Trim Boards
- 2″ wood screws
- Hitachi C10FCE2 15-Amp 10-inch Single Bevel Compound Miter Saw
- Circular saw
- Tape measure
- Wood clamps
- Kreg Jig K4 Pocket Hole System
- ¾” particle board 24″ x 133.5″
- Air compressor and nail gun
- Wood glue
- Trim (if you want the more finished look)
- Primer and paint
- Fabric
- Foam (best price ever on foam!)
- Stapler (if you are stapling fabric down instead of making a banquette with cushions)
- Batting
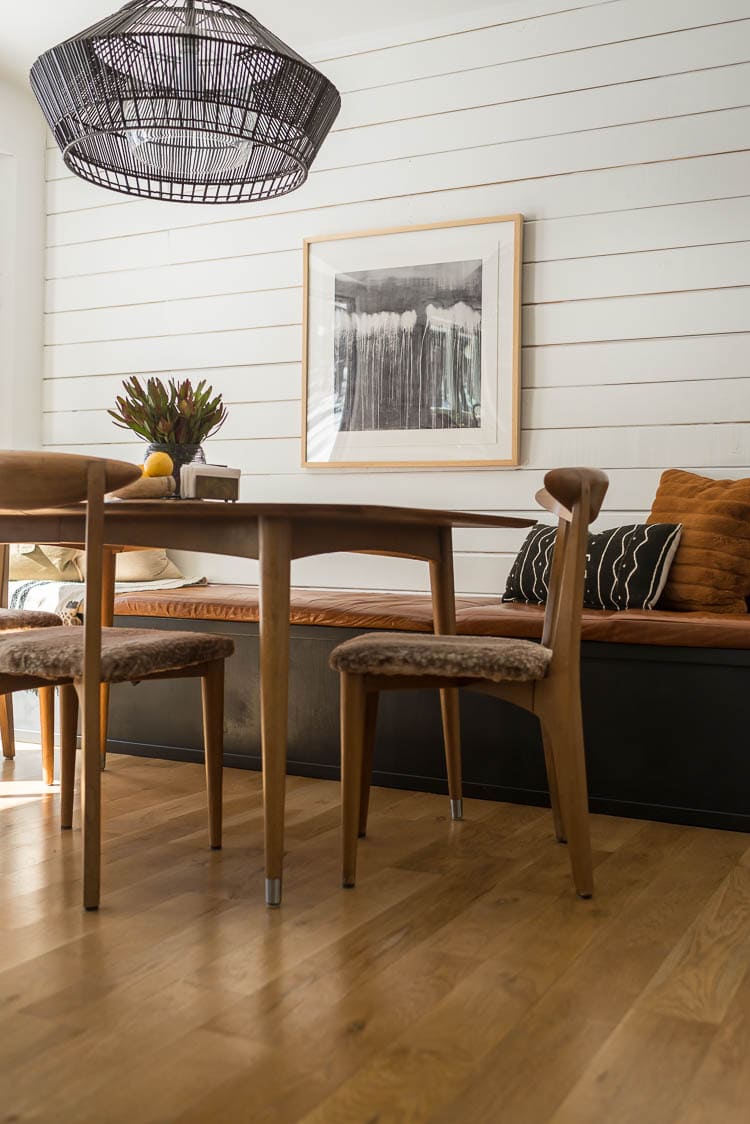
Alright, now that you have your supplies… let’s get started! I’m going to give you all the steps at once and then break them down after that by pictures and more information!
How To Build Banquette Seating
- Measure your space
- Cut (4) 2×4’s to 1″ shorter than your wall length
- Decide on height of kitchen bench
- If going with our height, cut 12 2×4 supports at 9.5″
- Cut 6 floor supports at 20.5″
- Attach floor supports. Drill in from each of the long 2×4’s (that span the wall) to attach these
- Using a Kreg Jig, attach upright supports to the long 2×4’s
- Attach your (2) remaining 2×4’s cut to your wall length to your supports on each side
- Measure the top of your bench
- Have the bench top cut for you at the store or cut yourself
- Drill the bench top in to secure
- If upholstering, do that now. If making cushions, go to next step.
- Cut plywood (get a good quality plywood; we used finished plywood) and attach to the front and sides of bench
- Trim out the front and sides of bench with small trim
- Finish with wood filler, sand and paint
- Add cushions if you are going that route
It sounds like a lot of steps to build the DIY banquette seating but it’s all very manageable. If you are a visual learner, I took a bunch of photos so let’s chat more in-depth about each of the steps below.
Step By Step Tutorial For Kitchen Banquette Seating
Step 1: Cut the 2×4’s for the bench frame
Read more : How to measure drawer pulls
Measure your wall. If you do not have a bump out or any irregularities, then cut (4) 2×4’s to 1 inch shorter than your wall length.
*We have a bump out on our wall so our (2) back wood pieces were cut to 123 inches (1 inch shorter than our wall of 124 inches). Our front 2 pieces were cut to 133.5 inches (about one foot shorter than the front span of the area).
Step 2: Cut Upright and Bottom Supports
First things first, decide what height you want your bench to be and make sure to account for wood and foam. We cut 12 (six for the front and six for the back) 2×4 supports at 9.5 inches. We cut 6 floor supports at 20.5 inches.
Step 3: Attach Supports
Attach your floor supports first. You can drill in from the long 2×4’s on each side to make this easy. We eye-balled the spacing.
On each of your upright supports, use the Kreg jig to make holes to attach the screws on the support to the bottom 2×4. It’s also good to use wood glue on these.
On the 2×4’s that span the wall, mark where your upright 2×4’s hit and use the Kreg jig and wood glue again to attach the 2×4’s together.
Once you’ve attached the bottom 2×4 to the upright supports and then the top 2×4, this step is completed.
Step 4: Cut Top Supports and Attach
Cut 6 more 2×4 supports at 20.5 inches. Attach with Kreg jig and wood glue. Screw into the supports from the outside on both sides. Again, we eye-balled the placement but it was very similar to the flooring supports.
Step 5: Measure the Top and Have It Cut
Most hardware stores will cut wood for you. We measured for the top (it was 24 by 167 inches) and had the particle board piece cut in-store. Attach by drilling wood screws down into the frame.
Step 6: Troubleshoot Bump-out and Attach All Pieces
Once the top piece was on, we still had to troubleshoot the bump-out piece. Luke made a cardboard template of the space and then used a jig saw to cut it out of the particle board.
We placed a few screws in the particle board to attach it firmly to the 2×4 frame.
Step 7: Upholster
Now is a good time to upholster the top if you are going to go that route. If you are going to have a banquette with cushions (which is what I’d recommend, then skip this step).
We placed the foam down first and then used the cardboard template from step 6 to get the foam piece for the bump-out.
Read more : How to Finance a Kitchen Remodel
Lay the batting over the foam and staple.
Trim up any excess batting.
Lay the fabric over the batting and staple (making sure to pull tightly as you go along).
Step 8: Finish Front and Side
Using ¼ inch plywood, cut it to size for the front and side panel. Cut and add trim pieces. Prime and paint.
I mentioned earlier that we didn’t trim our banquette seat out when we did it in 2015. Here’s how it looked:
In 2017, the upholstery had lived its life and needed to be replaced. I knew that I loved leather and wanted to go that route. You can read about the leather bench seat in detail if you’d like but here’s a synopsis of what I did:
I took the foam pieces and the leather to a local upholstery shop and they sewed the cushions for me with zippers. 4 years later and they are still going strong!
Around that same time, we decided to trim out the front of the bench seat with some simple all-purpose trim. We ran it on the top and bottom of the front and then had one seam down the middle. To attach, we just used a nail gun. A little wood filler and paint, was all it took to help make the banquette look even more polished.
Banquette Seat FAQ’s
How high should banquette seating be?
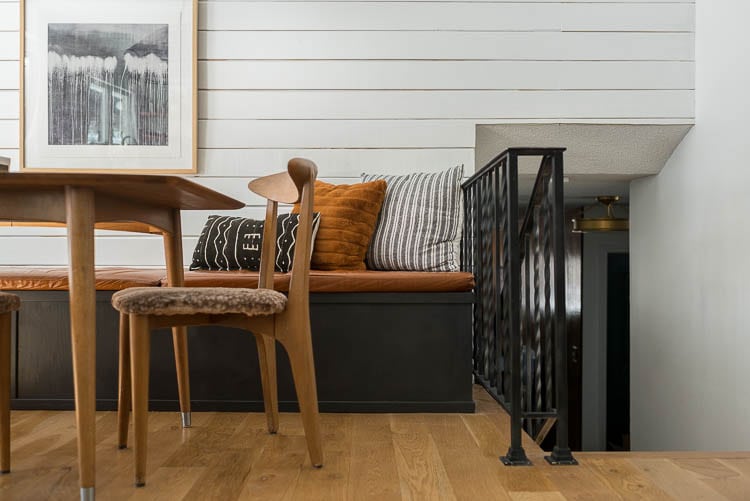
Our bench seating is 20.5″.
If you have a table and chairs and like the chair height (our chairs were 18.5 inches) then take the chair height and use that height to start with.
Does banquette seating save space?
Yes, adding bench seating saves space by allowing you to sit way more people in a space that would otherwise feel very cramped with chairs.
Is banquette seating a good idea?
Yes! It adds a level of comfort and interest to a space that calls you to just sit and stay awhile.
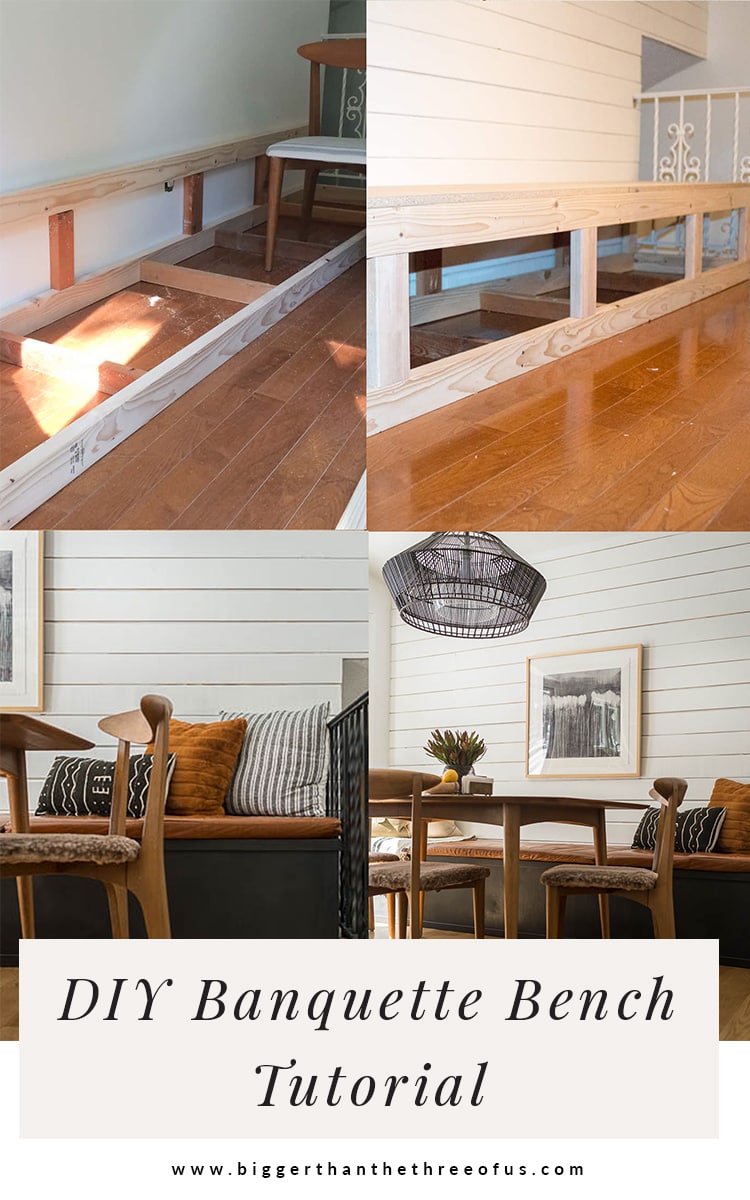
I really love how the DIY banquette turned out and it’s so functional. If I could change one thing, it might have been to go with a little better quality front/sides. When the sun is in full-force in our kitchen, you can see variations in the paint. But, really that’s being super picky. Otherwise, I really adore it.
What’s your take? Would you do a bench seat in your kitchen?
Source: https://gardencourte.com
Categories: Kitchens


