One of the dirtiest places in your home is your sink, even worse if you have a sink grate, so today I am sharing the easiest way for How to Clean a Kitchen Sink Grid!
And the best part, it is completely harsh-chemical free, I only use water! Woot woot!
You are watching: How to Clean a Kitchen Sink Grid
Keep reading for the easiest way to sanitize and clean your kitchen sink grid that exists and check out this post to learn how to clean and sanitize a mattress with only water too (see it here).
A big thank you to HomeRight for sponsoring this post about How to Clean a Kitchen Sink Grid. All ideas, opinions and images are mine. This post contains affiliate links and purchasing anything through the links in this post gives me a tiny commission, however, you never pay a penny more. Thanks so much for supporting my blog. You can read more about How to Clean a Kitchen Sink Grid on the HomeRight blog HERE.
How to Clean a Kitchen Sink Grid
If you have a kitchen sink grid, you know what I am talking about when I say it gets NASTY.
I have almost thrown mine away on several occasions because of how gross it is (and sadly it won’t fit into my dishwasher).
But instead, I decided to learn how to really clean my kitchen sink grid and I am super excited that I have found an easy way to do it.
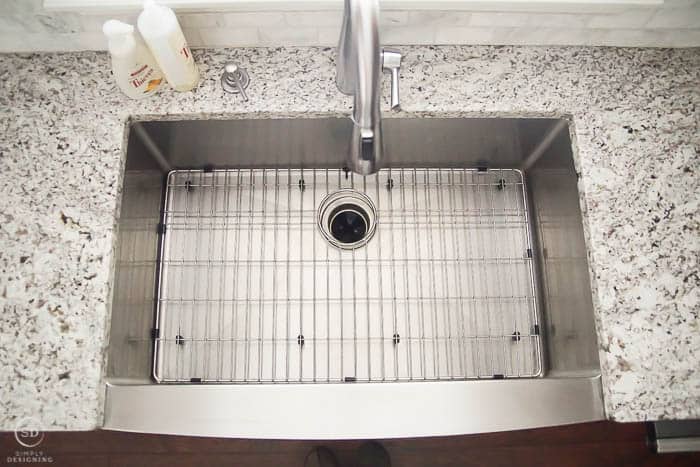
What are sink grids for?
You may be sitting here wondering what is a kitchen sink grid!
It’s a grid, or a rack, that sits in the bottom of your sink.
It can protect your sink from scratches or rust that happens with normal everyday wear and tear and sink usage.
They can protect your sink finish from utensils and dishes and protect it from rust should you happen to leave said utensils and dishes in the sink too long.
A kitchen sink grid will sit off the bottom of the sink with rubber-covered legs so that your sink bottom is once again, nice and protected.
This all sounds great right!?!?!?!
What no one will tell you is, they are also a TRAP for so much slime, grime, dirt and grossness. Ew.
How do you clean stainless steel sink racks?
How do you clean stainless steel sink racks? There are a few different ways:
- Put it in your dishwasher, IF it fits. Mine does not fit, which rules this easy option out for me.
- Scrub, scrub, scrub until your whole body hurts.
- Use some sort of harsh chemical that I don’t own or want in my house. I don’t know which one, so don’t ask me. But I am sure somewhere out there someone has invented a harsh chemical just for this purposes. But I don’t want that in my house or near my babies.
- Use a HomeRight SteamMachine and save yourself time, money and from sore arms!
How do I sanitize my kitchen sink?
While you are using your SteamMachine to easily clean your sink grid, go ahead and give your whole sink a quick steam to sanitize it!
This will also help loosen dirt, grime and other yuck so your sink will be cleaner and sanitized by the time you are done!
How do I disinfect my kitchen sink naturally?
As I mentioned before, a HomeRight SteamMachine is amazing for sanitizing and disinfecting surfaces naturally, using only water!
According to HomeRight “The SteamMachine uses pressurized, high-temperature steam to loosen and dissolve dirt, cut grease and grime, expel stains, and sanitize your surface by killing 99% of bacteria.
This steamer is versatile and can be used for a wide variety of household cleaning projects.”
Uhm, wow! This is why I use it to clean and disinfect so many surfaces in my house!
What do I use my HomeRight SteamMachine for?
Click through on each of these items to learn more about how I use my SteamMachine in my home:
- The Best Way to Clean Windows
- How to Clean Toys
- How to Clean a Mattress
- How to Clean a Shower
- How to Clean Tile Floors
- How to Remove Wrinkles from Curtains without an Iron
- How to Steam Clean a Suit
There are many more ways to use your SteamMachine, but those are a few of my favorites!
What is the best steam cleaner?
I love the HomeRight SteamMachine 53. It has been a workhorse for me for many years.
It has a lot of attachments and is easy to store, set-up and use! You can buy yours HERE.
But HomeRight just released a new SteamMachine Elite and I can’t wait to get my hands on one to try!
It is a new and improved steam cleaner that comes with more accessories than the 53.
It comes with a triangle steam mop head which I know will be amazing for getting into small spots on my floor like around toilets and I am excited to try it out soon.
Read more : 9 Ways to Maximize Storage in Corner Kitchen Cabinets
You can buy yours HERE.
Alright, are we ready to chat about How to Clean a Kitchen Sink Grid? Let’s go!
How to Clean a Kitchen Sink Grid
Cleaning a Kitchen Sink Grid is really a very easy task with a HomeRight SteamMachine.
It only takes a few minutes of time, and won’t leave your arms sore from scrubbing.
You can also rest assured knowing that you aren’t bringing any harsh chemicals into your home, you are cleaning only using the power of high-temperature steam to clean and sanitize your kitchen sink grid.
Here is what you’ll do:
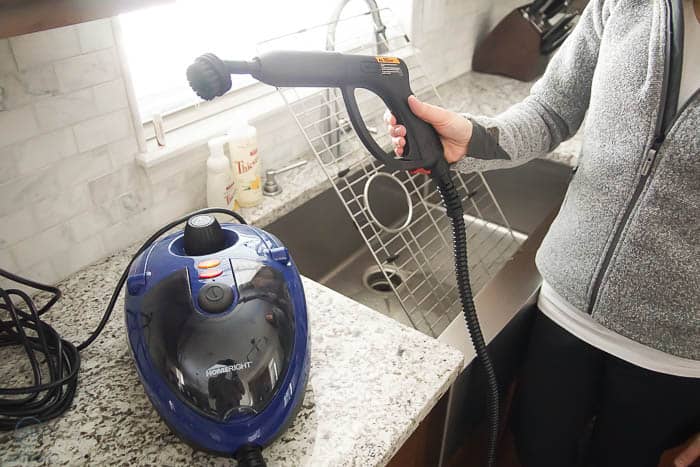
You will begin by getting out your SteamMachine and attaching the Large Nylon Brush attachment to the end of it.
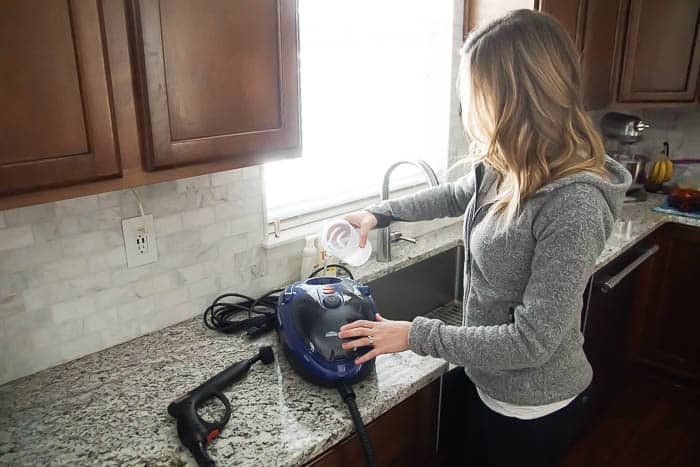
Next, you will fill the reservoir with water, replace the lid, and allow it to heat up properly.
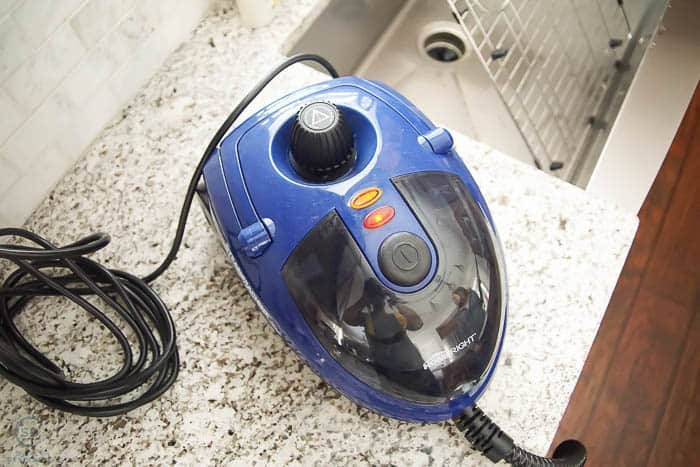
You will notice that your red and orange lights are on initially.
The red light tells you that your SteamMachine is turned on, if this is off, press the big black power button and be sure that it is plugged in correctly.
The orange light will tell you when your steam is heated to temperature.
When the orange light goes off, your SteamMachine is ready to use!
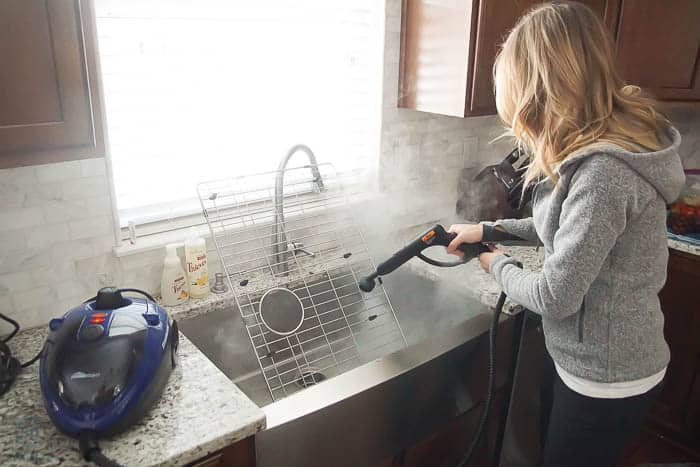
Simply place the brush on your kitchen sink grid, and pull the trigger to let the steam come out!
Lightly scrub your grid while moving the brush back and forth and allowing the steam to do most of the work.
It took me about 10 minutes to really clean my grid well and it has some yucky spots on it.
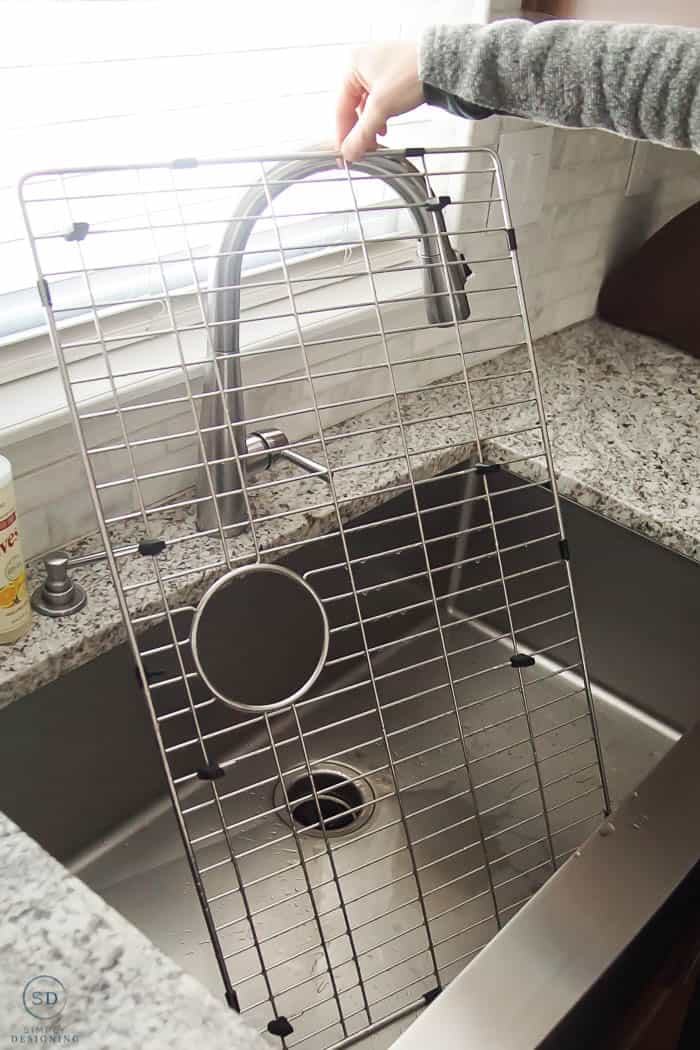
A few things to note:
- Place your grid on a safe surface where the steam won’t harm it
- If you use your hands to stabilize the grid while cleaning, be sure to keep your hand well out of range of the steam as it is very hot
- You may want to turn your grid in all directions to get the best clean on all surfaces
- Distilled water is recommended
- Wait until the unit has fully cooled down before opening it
- Remember to pour out any leftover water from the reservoir prior to storing
PURCHASE YOUR STEAMMACHINE HERE:
- HomeRight SteamMachine 53
- HomeRight SteamMachine Elite (newest model)
You guys, I just can’t even believe how quick and easy this was!
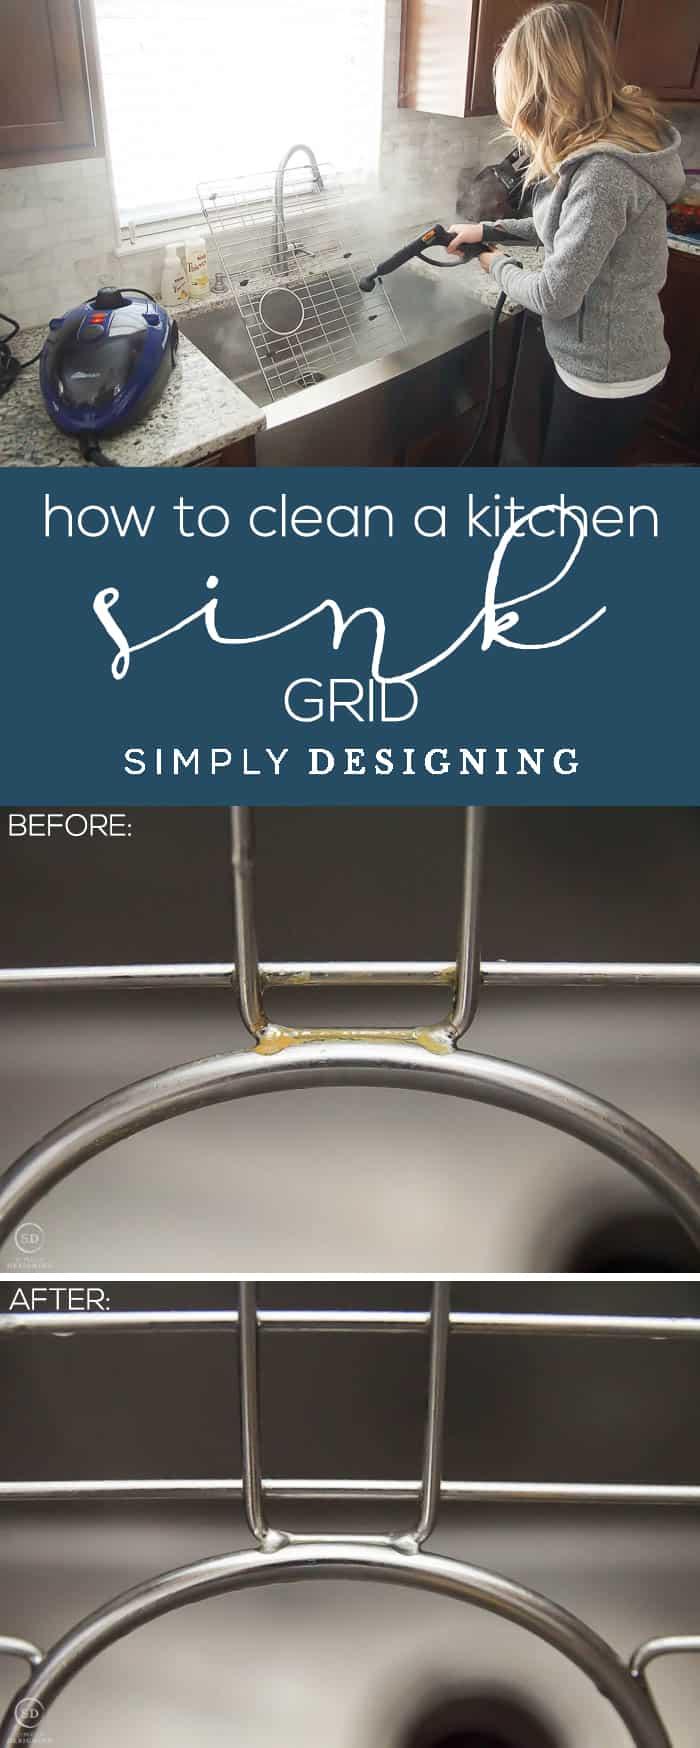
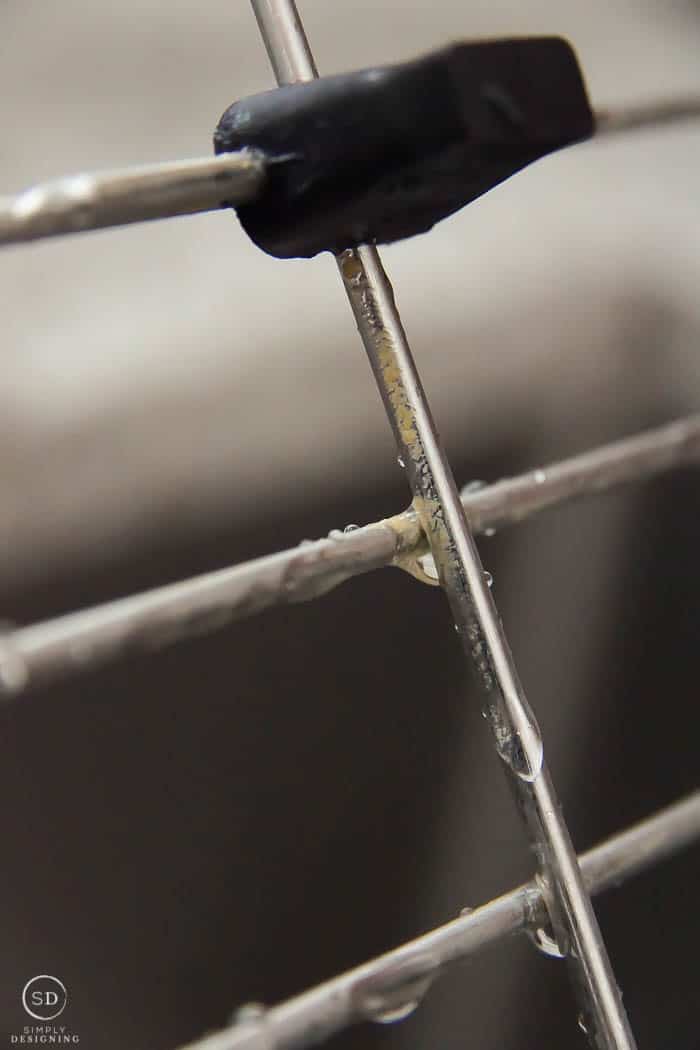
And, of course, let’s look at a before and after photo.
I did not edit these photos except to put a watermark on them and tweak the lighting on them just a tiny bit, but I lightened/tweaked them in equal amounts (the light is a bit weird in this spot in our home).
I did not do any retouching on these photos at all. These photos are of the exact same area, before and after cleaning with my HomeRight SteamMachine.
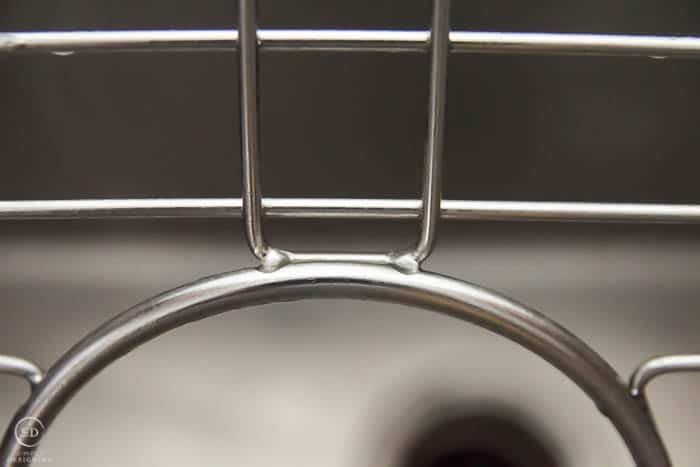
BEFORE:
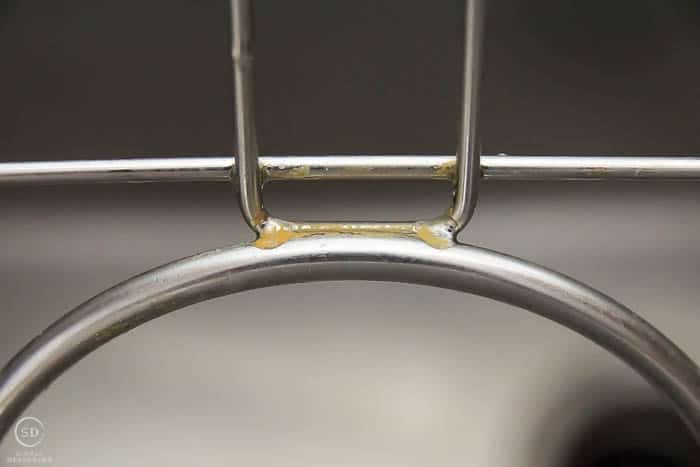
AFTER:
BEFORE:
AFTER:
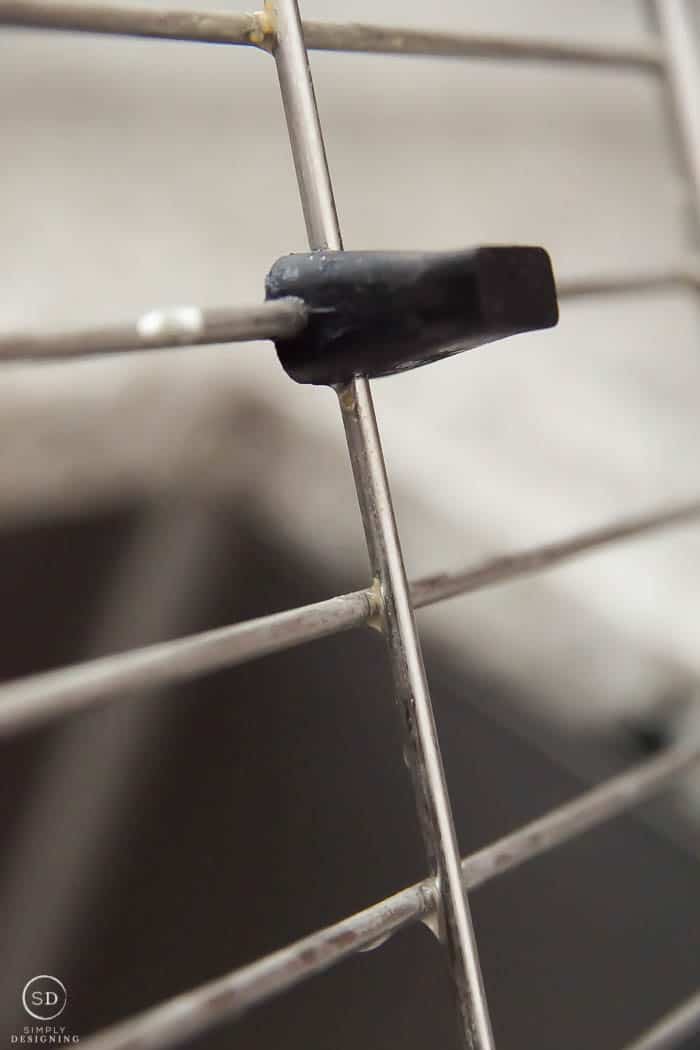
What an amazing difference it made!! And for so little time and effort on my part, this was a real win in my book!
To learn more about the HomeRight SteamMachine and cleaning a kitchen sink rack, head over to my post on The HomeRight Blog HERE.
You might also enjoy these posts:

How to Steam Clean a Rug

How to Clean a Car
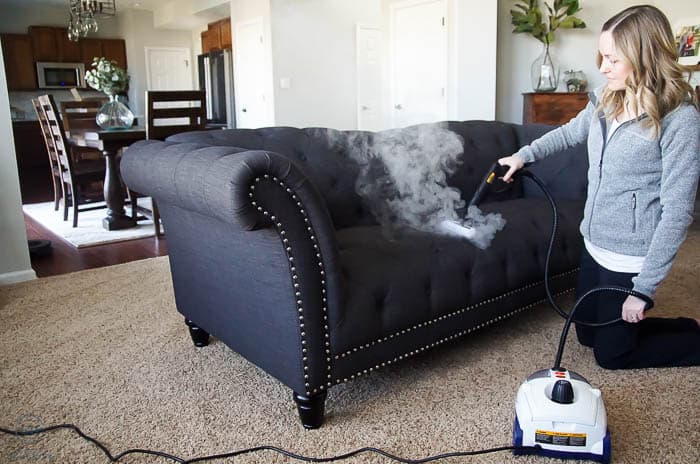
How to Clean a Couch

The Best Way to Clean Windows

How to Clean Toys

How to Clean a Mattress

How to Remove Wrinkles from Curtains without an Iron
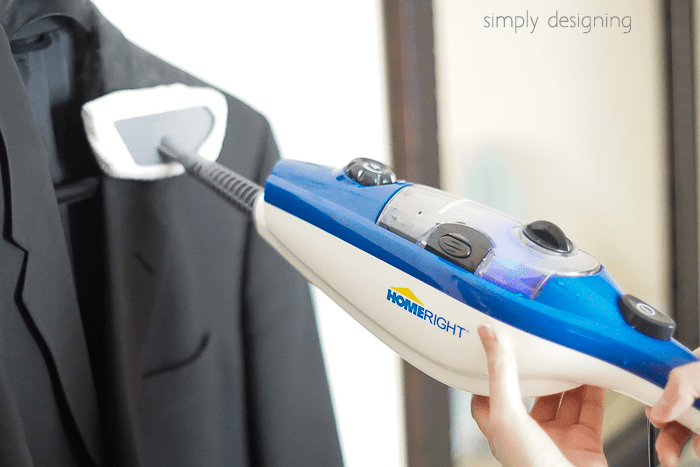
How to Steam Clean a Suit

How to Clean a Shower
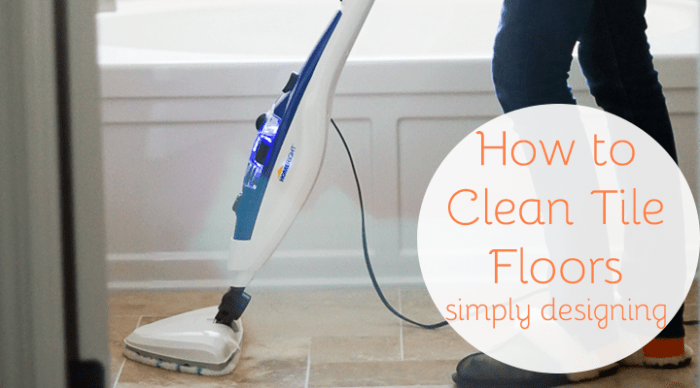
How to Clean Tile Floors
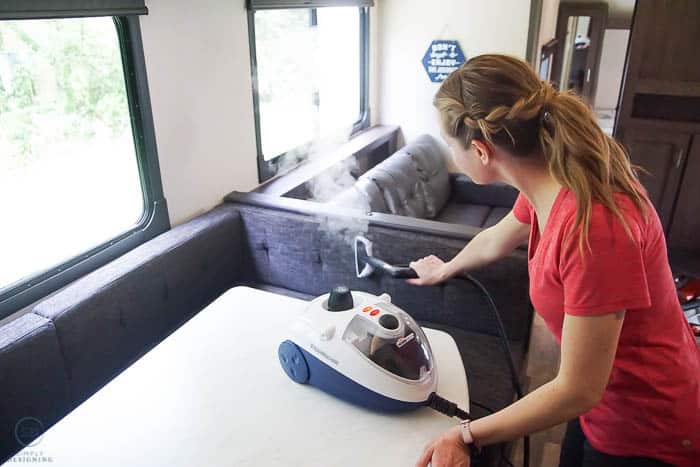
How to Clean an RV
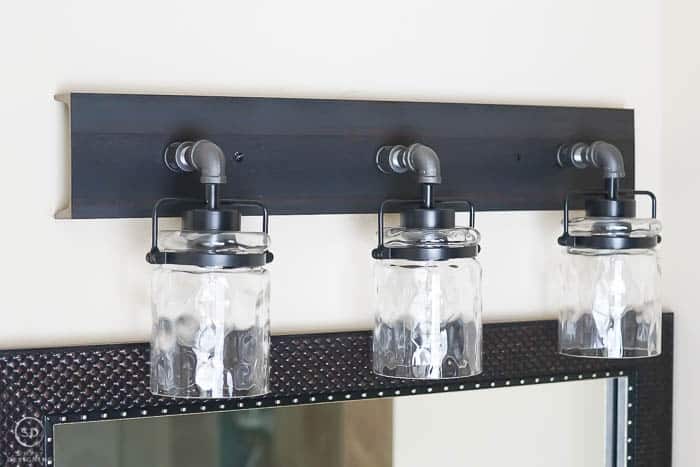
DIY Vanity Lights

5 Tips to Make a House a Home
Source: https://gardencourte.com
Categories: Kitchens

