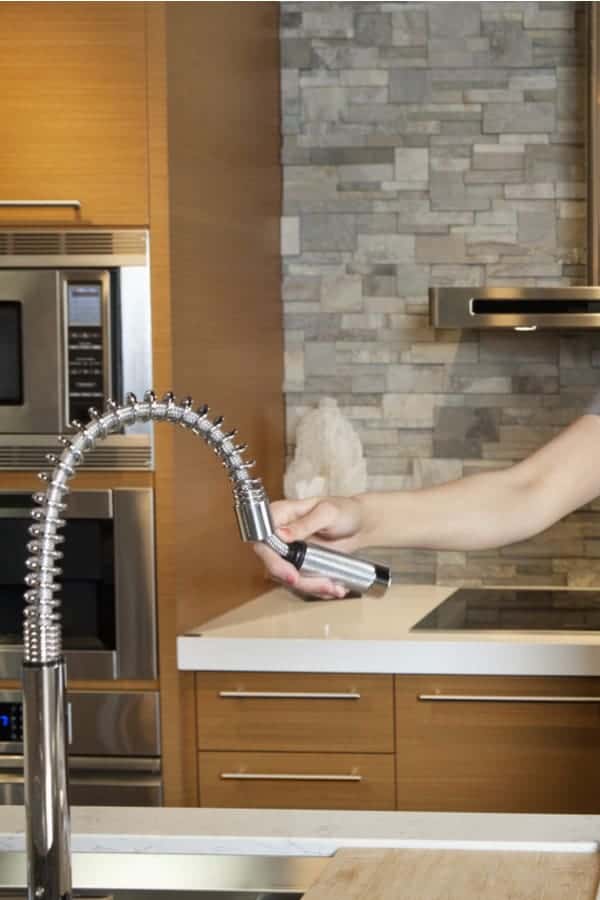
Having a pull-out head on a kitchen sink faucet is such a great idea. They’re so practical and convenient, making washing and rinsing dishes, cleaning dirty items and many other household tasks a whole lot easier while giving you so much more flexibility.
Unfortunately, due to the number of moving parts, they’re also prone to wear and tear, often breaking down far quicker than regular faucets.
You are watching: 8 Pull Out Spray Kitchen Faucet Problems (Causes & Fix Methods)
However, there’s no need to buy a new one just yet since many of the problems are easy to resolve – so here’s a list of possible pull-out spray kitchen faucet problems as well as their causes and fixes.
Pull Out Spray Kitchen Faucet Problems
1. Pull down or Pull Out kitchen faucet Hose not retracting

Probably the most common problem with pull-out spray kitchen faucets – and one you’ll almost certainly have to deal with eventually – is when the hose doesn’t retract.
There are two main reasons for this to happen, and the first is to do with the weights that cause it to retract.
Pull-out faucets use a very simple system to pull the hose back in when you let go of it. They simply have a weight attached to the other end of the hose, so when you let go, the hose is retracted by gravity.
However, if the spray hose weight falls off – or perhaps even just moves – it won’t work anymore, so the first thing you need to do is check if the weight is still there.
Look under the sink and see if the weight is still attached to the hose. If it’s fallen off, all you need to do is find it and reattach it – and you’re ready to go again.
Another common problem is that the hose gets stuck or tangled somehow beneath the sink.
Again, the fix is simple. Look under the sink and find where the hose is catching, and if you can see what it’s snagging on or where it’s tangled, you can easily resolve whatever is causing the problem.
2. Pull down or Pull Out kitchen faucet Low water pressure

Another very common problem that you’ll have to deal with is your pull-out spray head losing water pressure.
Spray heads usually feature an aerator, a small grille that adds air to the stream to make it more comfortable to use and to reduce splashing.
The problem with these, though, is that over time, they can collect a buildup of mineral sediment deposits – something that happens even faster in areas with hard water.
Once limescale starts to build up inside the aerator, the water will find it harder to pass through, reducing the pressure of the water.
Fortunately, this is another very simple problem to fix.
All you need to do is remove the aerator – usually just by unscrewing it – and clean the grille.
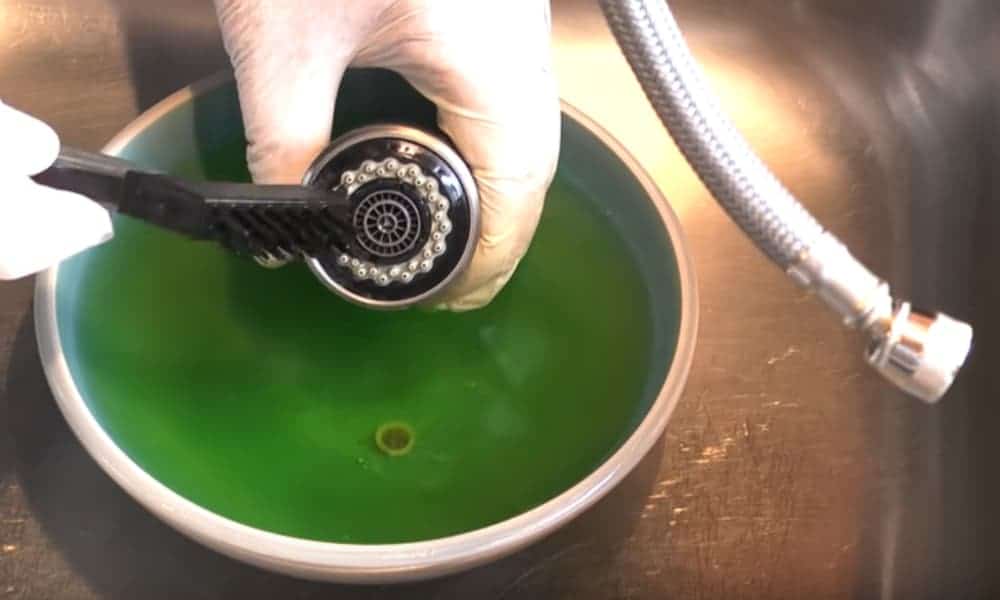
Often, you can just do this with your fingers or perhaps with an old toothbrush or something similar. Alternatively, you can use a toothpick or a pin to clean out debris from each individual hole.
If the mineral buildup is more significant, you can also use vinegar to clean it.
Read more : Everything You Need to Know About the Cost of Kitchen Cabinets
Pour some white vinegar into a cup that’s large enough to fit the aerator inside and leave the aerator to soak in the vinegar overnight.
The acetic acid in the vinegar will dissolve the mineral buildup, after which you can simply wash it off and give it a brush with a toothbrush if necessary before screwing it back onto the faucet ready for use.
Tip: It’s worth removing the aerator and cleaning it periodically before it becomes completely blocked to prevent mineral buildups from becoming too bad.
3. Pull down or Pull Out kitchen faucet Leaking hose
Sometimes you will find that the hose from your kitchen faucet sprayer starts leaking. This usually happens when the hose is old or worn out, but it can also happen when the connectors have failed.
In either case, the best solution is just to replace the hose. This will be a lot cheaper than replacing the whole faucet system, and it’s also easy enough for just about anybody to do themselves.
Start by turning off the water supply to the faucet from the supply lines at the water valves, and then disconnect the spray hose from the high-pressure hose beneath the sink.
Once this is done, you can remove the weight from the hose and pull the hose out through the faucet hole.
Slide the new hose back through the faucet hole, fit the weight back onto the new hose and connect the new hose to the high-pressure pipe where you removed the old hose.
You can now turn the water back on and test the new hose to see if the leak has been fixed.
Tip: There are several types of hose connection – with threads, with a quick-release connector and with a collet connection – so check which type you have before buying a replacement hose to make sure you get the right type.
4. Pull down or Pull Out kitchen faucet Leaking spray head

Like leaking hoses, spray heads can also begin leaking with time due to general wear and tear as well as mineral buildups.
You may be able to resolve a leaky spray head by removing it and cleaning any mineral deposits from it – this can be done using a toothbrush or by soaking in vinegar, depending on the severity of the deposit.
However, often, the simplest solution is just to buy a new spray head since, depending on the model you choose, it probably won’t cost you too much money.
Start by turning off the water supply to the faucet, then unscrew the old spray head and remove the washer and C-clip.
Then, take the new spray head, reattach the washer and C-clip and screw the new spray head into place.
Turn the water supply back on and test the new spray head to see if it is working correctly and if the leak has been fixed.
Tip: Sometimes fixing this problem can require nothing more than fitting a new washer.
5. Pull down or Pull Out kitchen faucet Doesn’t sit snug in the cradle

One issue you may face is when the spray head no longer fits snuggly into its cradle.
Read more : How to Get Rid of Ants Around the Kitchen Sink | Tips & Guide
First, check that it isn’t a problem with the hose weight or the hose being snagged, as in #1 above, because if the hose isn’t retracting properly, it can mean the spray head doesn’t get pulled back into the cradle the way it should.
If this isn’t the root of the problem, it may just be an issue of normal wear and tear. Since a pull-out kitchen faucet has moving parts, it will inevitably wear out with time. This is just something you have to accept, and resolving it may eventually involve buying a new one.
Tip: This kind of problem usually occurs much quicker with cheaper models, so if you can afford to invest a bit more money in your kitchen faucet when you buy it, you shouldn’t have to deal with this kind of problem for some time.
6. Pull down or Pull Out kitchen faucet Clogged diverter valve

A diverter valve is something that diverts the water to the fixture you want it to come out of. For example, if you have a shower in your bathtub, you probably have a diverter valve that sends the water either to the bathtub faucet or to the showerhead.
Many pull-out faucets also have diverter valves to divert the water from the main faucet to the sprayer – and if the valve becomes clogged or dirty, it can cause the faucet to work improperly.
If you have a weak flow of water from the spray head – and it isn’t due to the clogging of the aerator – it could be due to a blocked diverter valve. You can test this by removing the spray head and seeing how much water comes out.
If the water pressure is low after you have removed the spray head, it probably means the problem is due to the diverter valve.
Similarly, if you switch the diverter to send water to the spray head but water continues to come out of the main faucet, it’s also a good indication that a clogged diverter valve is to blame.
You may be able to fix this problem by removing the diverter valve and cleaning it.
Start by turning off the water supply, then remove the faucet handle with the help of a flathead screwdriver. Expose the faucet’s cam by turning the cap anticlockwise, then remove the diverter using needle-nose pliers.
Clean the valve by scrubbing or soaking it in vinegar and then put everything back together.
Turn the water back on and test to see if the problem has been resolved.
If not, it may be that the valve is faulty rather than just dirty and clogged, in which case you will need to replace it.
7. Pull down or Pull Out kitchen faucet Sticking water handle
If you find your water handle starts sticking, this is usually due to an accumulation of dirt, grime and mineral deposits.
This is another simple problem to fix. Just remove the handle, give the various parts a good clean, scrubbing with a brush or soaking in vinegar as necessary, and then put it all back together again. You should now find the problem has been resolved.
8. Pull down or Pull Out kitchen faucet Spout comes off
Among the simplest problems to fix, if the faucet spout comes off, all you need to do is reattach it.
If this happens, before refitting it, check it over to see if it’s still in good working order. If not, it may have fallen off because it’s broken, in which case you’ll need to buy a new one.
No need to buy a new faucet just yet
As you can see, often, it’s quite simple to repair a pull-out faucet or buy replacement parts rather than buying a whole new fixture.
You can extend your faucet’s life by keeping it clean and properly maintained, and if it breaks down, you have a good chance of being able to fix it.
But at the same time, you need to understand that they don’t last forever, and eventually, after the warranty has expired, you will need to bite the bullet and spend the cash on a new faucet.
Source: https://gardencourte.com
Categories: Kitchens

