Signs of moisture damage in cabinets
Though moisture damage to cabinets can be subtle, it’ll usually show up in one of the following ways:
- Warping and expansion of the wood
- Peeling of the outside layer of the cabinet (delamination) or the painted surface of the wood
- Water stains or changes in the color of the wood
- Cabinets touching one another or not fitting together properly
- Doors not closing properly
- Cracks in the finish and the joints
Note that the damage will depend on the material used for the cabinets. Cabinet makers may use solid wood or plywood, which holds up quite well even when exposed to some moisture.
You are watching: How to Repair and Prevent Moisture Damage to Wood Cabinets
But many cabinets today are made of engineered wood that is laminated, such as particle board or medium-density fiberwood (MDF). These kinds are not very water-resistant and absorb moisture quickly. When they do, their laminates can peel off, causing them to disintegrate on the inside.
Common causes of moisture damage to cabinets
Causes of moisture damage range from changes in humidity to flooding.
Because wood swells when exposed to high humidity, damage can occur.
But exposure to steam could have the same effect. Often, cabinets are located in rooms—such as the bathroom and kitchen—where steam is common. For example, a hot water kettle, coffee pot, or dishwasher that causes steam to rise to cabinets above may eventually lead to moisture damage.
Even something as simple as dripping water from the sink onto a cabinet below can result in problems over time.
Then, there are leaks. Leaks from sinks or other water lines. And leaks from appliances. These issues can escalate much more quickly. So the sooner they’re handled, the less likely they’ll cause significant damage.
And finally, flooding is the most obvious cause of moisture damage to cabinets—and one that needs to be dealt with as soon as possible.
That’s why the first step in repairing damaged cabinets is identifying the source of moisture. We’ll look at those steps now.
Steps to repair damaged cabinets
This section will break down the process of repairing damaged cabinets into six general steps:
- Deal with the source of moisture.
- Assess the damage.
- Clean and dry out the cabinets.
- Fix the cabinets.
- Sand.
- Refinish.
Follow the first two steps to determine whether you need to repair or replace the cabinets. Then, if repair is possible, you can move forward and complete the remaining steps.
1. Deal with the source of moisture.
Always fix the moisture problem first so that you’re not trying to repair something that will only be ruined again shortly after.
So…
If a pipe or appliance is leaking, fix the leak.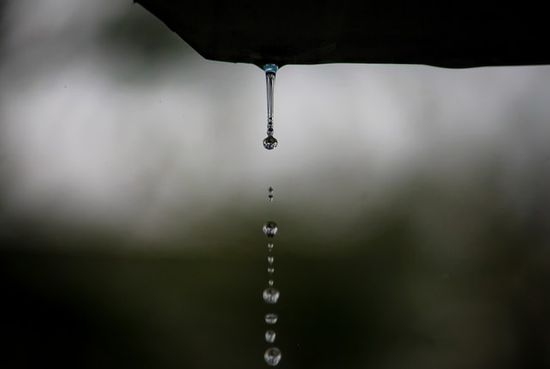
Or if the humidity is too high, install a dehumidifier and run some fans. In fact, if the damage happened due to the environment, a dehumidifier may reverse the damage.
Be sure to clean up any water from the wet cabinets, especially if flooding occurred.
2. Assess the damage.
Read more : Where Do Gnats Come From?
Now, you’ll have to decide whether to repair or replace the damaged cabinets.
This will depend to a great extent on the severity of the damage and the type of material that the cabinets are made of.
For example, cabinets will probably need replacing in more extreme cases, such as flooding.
Also, cabinets made from engineered wood tend to be ruined more easily. When exposed to water, the material disintegrates, making it difficult to repair.
Solid wood (and even plywood), on the other hand, can handle a bit more.
So, replace the cabinets if…
- The particle board is falling apart
- You find significant amounts of mold or rot
- The shelves are sagging or warping
Otherwise, proceed to the next step.
3. Clean and dry out the cabinets.
Begin the process by taking off the cabinet doors and removing the toe kicks (the wood in the space between the base of the cabinet and the floor). Removing other hardware—such as hinges, handles, and knobs—can help too. With these removed, air can circulate better so that the affected areas dry faster from above and beneath.
Wipe down and disinfect the cabinets with a detergent or commercial mold cleaner to prevent any mold from growing. (We recommend testing the cleaner on a small spot first to see how it’ll affect the wood.)
Then, let the drying begin.
Use a wood moisture meter to determine how wet the cabinets are and how much they’ll need to dry. Also, check the humidity levels of the room to make sure they’re within the 30-50% range. The readings you get will determine how you proceed.
If the humidity level is too high, place a dehumidifier in the room. And use some large, high-speed fans for drying the cabinets.
The drying process may take several days, but check the progress with your moisture meter. For most indoor projects, you’ll want the wood to reach a moisture content of 6-8%.
4. Fix the cabinets.
This step will vary based on the kind of damage.
If the laminate has started coming apart, you may need to glue it back together with non-toxic wood glue. Hold it in place with some C-clamps until it dries. Some use a wood filler to fill in and seal up any damaged areas too.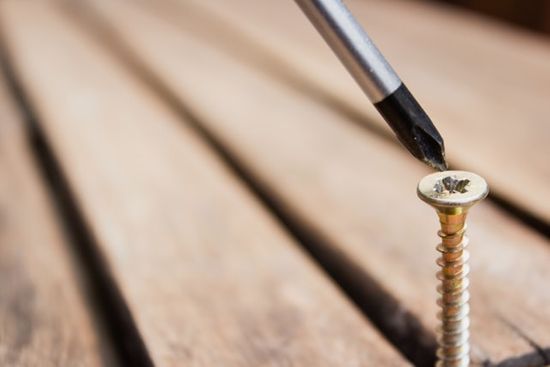
If the cabinet door was damaged and has started warping, you may need to screw a board (known as a brace) on the back of the door to help bring it back to its correct shape.
And what about stains on the wood? Here are some possible tactics:
- Put mayonnaise on the stained area and allow it to sit for a while (even overnight) before wiping it up.1 Though this method may sound strange, it has been used with success. The oil in the mayonnaise helps to remove the stains, while the thickness helps it not to run off as oil would.
- Rub a beeswax blend into the stains and let it sit overnight before wiping.2
- For this final option, you’ll first need to sand the finish off the cabinets. Then, wearing proper protective gear, mix some oxalic acid crystals—known as wood bleach—with water and scrub the stains. To neutralize the acid, wipe it with a cloth dipped in a solution of half a cup of baking soda mixed with one gallon of water. (Don’t pour water directly on the cabinets.)3
5. Sand.
Read more : Kitchen Soffit: What it is and How to Deal with it
Sand the cabinets, being sure to vacuum up any dust or particles.
For MDF, particle board, plywood, or other materials, home improvement specialist Dino Paccino recommends alternating between painting and sanding until the cabinet is smooth and even. He starts with 120-grit sandpaper and then transitions to finer sandpaper (220-grit).4
6. Refinish.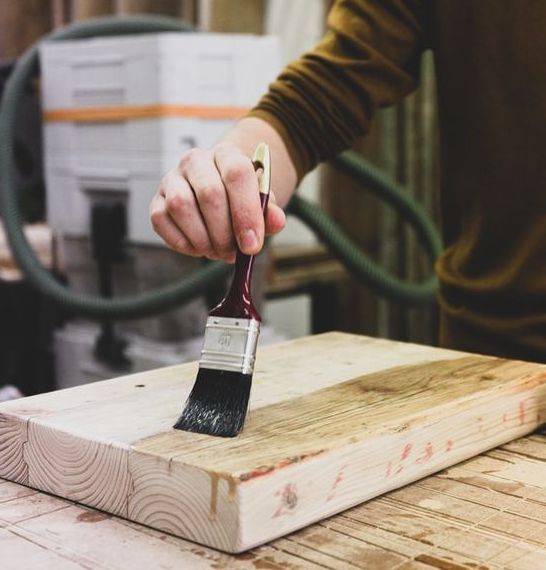
Refinish the cabinets with a topcoat of paint or stain. You may also want to put down a primer beforehand to seal the wood and help smooth out any damage that couldn’t be fully fixed.
Finish it off with a varnish or sealant for waterproofing. This can prevent the wood from getting damaged in the future.
And speaking of prevention, we’ve got more suggestions for that.
Tips to prevent moisture damage to cabinets
Preventing moisture damage is always better than repairing it. So here are some areas to consider when building, installing, and maintaining cabinets.
Make sure the wood and cabinets have the proper moisture content.
You can use a wood moisture meter to check this before building and installation. Doing so will prevent moisture damage related to environmental changes.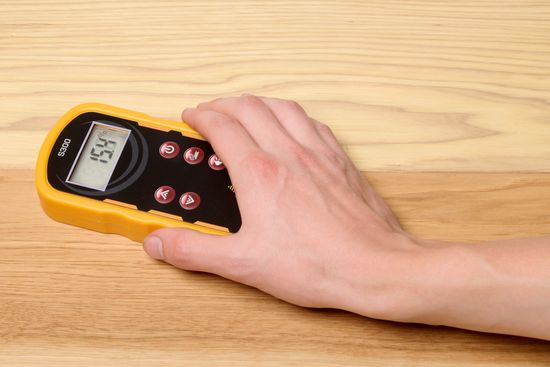
Wood contracts and expands due to changes in the environment’s moisture levels. This means you’ll want to ensure that the wood/cabinets have a moisture content close to their final destination. You may need to acclimate them if they’re not yet at this moisture content level.
Keep a consistent temperature and humidity level.
Once the cabinets are installed, keep their environment at a consistent temperature and humidity level. You may need to run a dehumidifier or HVAC system, especially during more wet and humid times of the year.
Minimize the risk of water leaks and spills.
Doing so is as simple as making sure that water isn’t consistently dripping onto the cabinets.
For example, if you always seem to get water onto your cabinets while washing dishes, consider installing a deeper kitchen sink or a backsplash.
Also, keep an eye on areas that could potentially leak:
- Pipes under sinks
- Refrigerator lines
- Other appliances
If leaks or spills occur, time is of the essence. The sooner you clean it up, the less chance of damage.
Use high-quality wood.
As we discussed earlier, many cabinets are made of engineered wood. But that may not be your best option. If you can choose the material for your cabinets, opt for hardier and higher-quality solid wood. It’ll be more durable and handle moisture changes better.
Care for your cabinets with confidence!
Wood cabinets are an essential part of a home—typically found in some of the home’s most-used rooms, such as the kitchen. But without proper care and precautions, moisture can damage these important pieces.
Nevertheless, you can feel confident in taking steps to repair that damage and prevent it in the future.
To help you in that process, Bessemeter offers wood moisture meters that’ll tell you when your cabinets are dry enough—whether for installation or repairs.
Source: https://gardencourte.com
Categories: Kitchens


