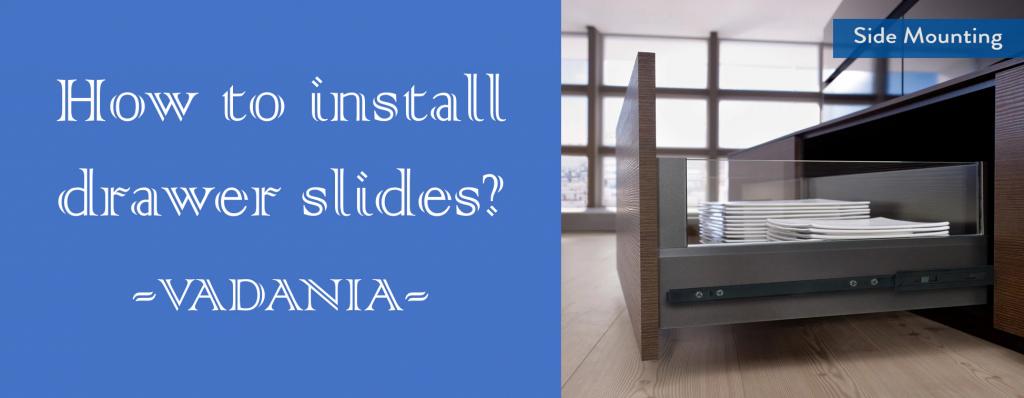
VADANIA drawer slides are mainly side mounting design.
We will walk you through the process of the side mount installation quickly, easily and efficiently in just 6 steps. (You will need: drill, carpenter’s square)
Before the installation, please check that the space between drawer and cabinet is enough
You are watching: How to install drawer slides? Step By Step with Photos.

Now we can start the installation.
STEP 1 SEPARATE THE DRAWER SLIDES
The first thing we want to do is grab one of the drawer slides in hand and separate the drawer profile slip from the slide by pressing the trigger disconnect lever
STEP 2 DETERMIND THE POSITION
Read more : PHOTOS: Proof your kitchen countertops don’t have to match
The next thing we want to do is determine the placement of your drawers. Use a pencil to mark the place where you want to attach the slide. (note: make sure to check the top sides and bottom of the drawer for clearance.)

PS:
- Using the marks and a straightedge, draw a level line across the wall on each inside wall of the cabinet.
- If necessary, make a mark on each line that’s 7/8 inch from the front edge of the cabinet. This allows room for the thickness of the drawer front plus an 1/8-inch inset.( or 1/16-inch, depending on your thickness of the drawer front)
STEP 3 ATTACH THE DRAWER SLIDES
Now we are going to attach the cabinet drawer slides. Align the bottom edge of the first slide above the line, as shown. Position the front edge of the slide behind the mark near the face of the cabinet.
PS: If you have reserved the thickness of the drawers front, install it after the reserved mark.
STEP 4 DRILL THE SCREWS HOLE
Read more : 5 Signs You Should Replace Your Kitchen Faucet
Now you will use a drill to pre-drill the holes you will need to attach the slides to the wood. Holding the slide firmly in place, push the extension forward until both sets of screw holes are visible. Using a drill/driver, drill shallow pilot holes in one screw hole near the front and back of the slide. Using the screws provided, mount the slide to the inside of the cabinet. Repeat to mount the second drawer slide on the opposite side of the cabinet.

STEP 5 INSTALL THE THIRD PART OF DRAWER SLIDES
- Place the profile on the side of the drawer making sure thart the front of the profile is flush with the front of the drawer. Use the centerline mark (number) to center the profile on the drawer’s side. When it is even, go ahead and pre-drill your pilot holes.
- place detachable section of each drawer slides on the corresponding drawer side. Position the slides so that they are centered on their corresponding line and flush with the face of the drawer box
STEP 6 INSERT THE DRAWER
Now that the drawer profile and slides have been attached, let’s insert the drawer into the cabinet.
Hold the drawer level in front of the cabinet. Place the ends of the slides attached to the drawers into the tracks inside the cabinet. Pressing evenly on each side of the drawer, slide the drawer into place. The first slide inward can sometimes push a bit tougher, but once the tracks are engaged, the drawer should slide back out and in smoothly.

That’s it, you did it! Great job!
Once you have inserted the drawer into the cabinet test it out to make sure everything has been connected correctly and it is moving smoothly.
Installation video 》》》》
More detail about how to install different drawer slides, click the below to check for it.
- Soft close drawer slides installation video and manual → Free to download!
- Push to open drawer slides installation video and manual → Free to download!
- Heavy duty drawer slides installation video and manual → Free to download!
You may interesting
(1) How to replace old drawer slides? Only 5 Easy Steps!
(2) How to choose your drawer slides? 5 Detail Tips
(3) How to make a better use of your kitchen cabinet?
Source: https://gardencourte.com
Categories: Kitchens


