I get it, there’s nothing better than warming homemade latte recipes in the morning. Especially when cozied up under a blanket with the snow falling… but what about when the sun is shining and it’s too hot to even consider holding a warm beverage and you need a refreshing drink on ice?

Well, that’s when the tried and true method of making DIY cold brew coffee comes in. Nope, not iced coffee, but cold brew.
You are watching: How to Make Perfect Homemade Cold Brew Coffee
We’re talking about coarse coffee grounds that have steeped in water for an extended period of time, resulting in a smooth, rich, bold coffee that energizes you and cools you down.
Table of Contents
- What is Cold Brew Coffee?
- How to Make Homemade Cold Brew
- Storage
- Cold Brew Coffee Ratio
- Best Coffee Beans
- Cold Brew Concentrate
- Variations
- Additional Questions & Answers
- Product Resources
Making cold brew at home is 100% easier to do than you might think, you don’t need any fancy equipment, and it’s 100% budget-friendly because it’s so much more cost-effective than running to the coffee shop every day.
Even better? You can batch-make cold brew ahead of time and you will be set all week long. No more busy morning rush where you’re scrambling to make coffee, it will already be made, leaving you plenty of time to savor each sip while enjoying morning breakfast toast.
Let’s break down each part of DIY-ing cold brew coffee; from the perfect ratio to the various brew and strain methods, and how to add flavor.

Is it Iced Coffee?
Let’s get this out of the way first: there is a difference between cold brew and iced coffee. Cold brew is a type of iced coffee, but iced coffee is not always cold brew. There are differences in how they’re made, which also result in differences in taste and acidity.
Cold Brew is a type of iced coffee, made when coarse coffee grounds are steeped in cold water for an extended period of time (usually overnight 12-24 hours), then strained. This brewing process results in a less acidic, smooth coffee that is then served cold, over ice. It can be made concentrated and then combined with water to the desired strength.
Iced Coffee is when coffee is traditionally brewed with hot water and poured over ice. Iced coffee does not inherently eliminate the acidity that comes from hot brewed coffee, as the cold brew method does. However, it does have more of the nuances that result from hot brewing coffee.
Steps for Making Cold Brew at Home
Preparing cold brew at home is a super simple process that doesn’t require any fancy equipment. You can venture out and buy equipment (like a coffee bean grinder) to make the process even easier and if you’re the kind of person who likes to get technical, have complete control and precision.
I’ll walk you through each step of the process, including the various options regarding equipment and what you can use that you likely already have at home. Let’s get to brewing!
Coarsely Grind the Coffee Beans
Using freshly ground coffee beans for any type of coffee absolutely ups your game. It delivers the best flavor regardless of how you’re brewing it.
You do not want to buy preground coffee from the grocery store to make cold brew. Preground coffee is finely ground and ideal for coffee machines, not for cold steeping.
For cold brew, you need coarsely ground coffee. If you have a coffee grinder at home, set it on the coarsest setting – usually the one designated for French Press coffee.
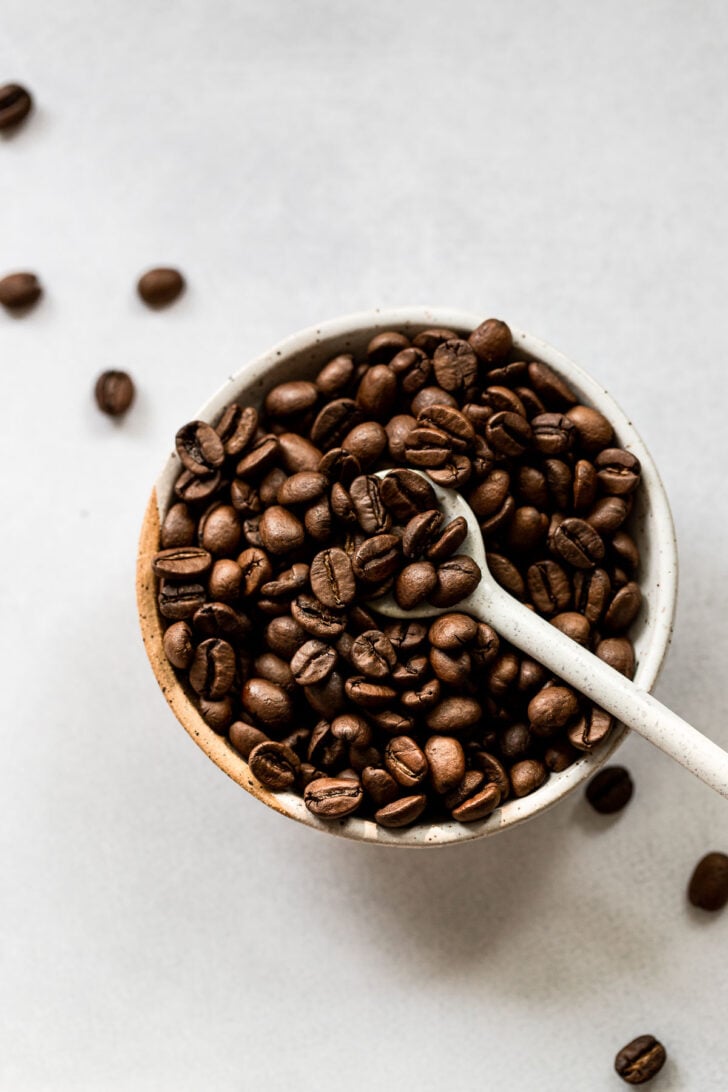
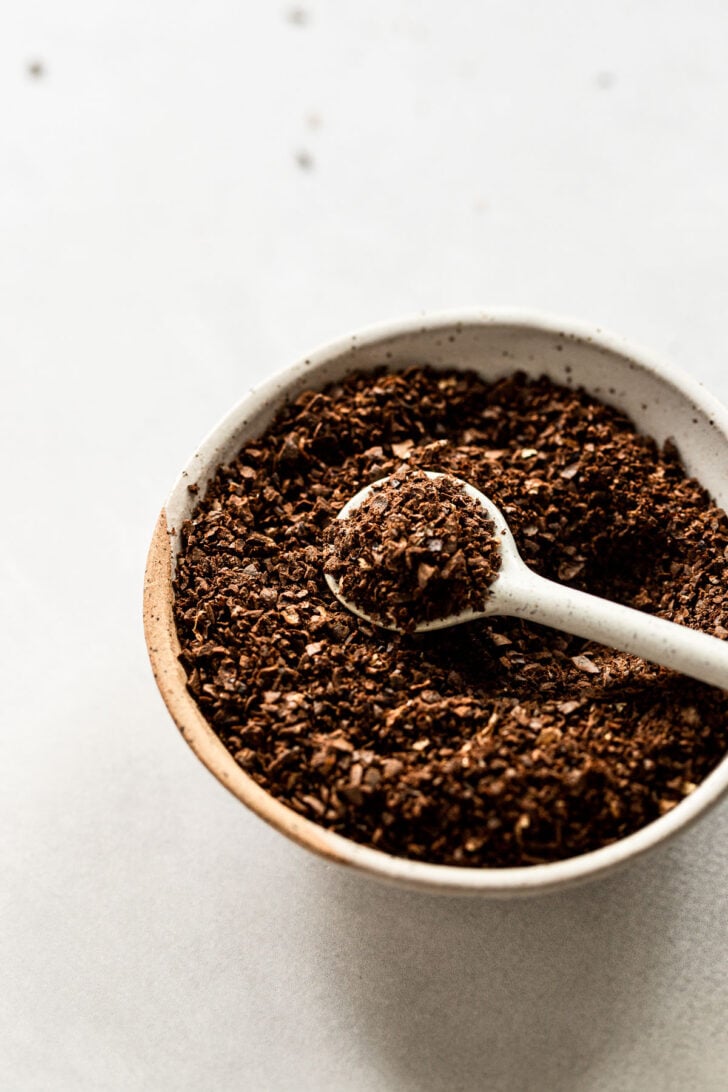
I have this coffee grinder and absolutely love it because I can choose the specific grind for any type of coffee I’m brewing.
What to do if you don’t have a grinder…
Read more : Birdseed Ornaments – How to Make DIY Bird Feeder Ornaments
If you don’t have a coffee grinder at home, you have two options:
- Purchase coffee beans at a local coffee shop or roaster and ask them to grind the beans for you – on the coarsest setting. Just tell them you’re making DIY cold brew coffee, and they should know what to do!
- Certain grocery stores have the option of purchasing coffee beans in bulk, along with a grinder. Go ahead and grind them right at the store – on the coarsest setting (often referred to as French Press), and you’re good to go!
Combine with Cold Water
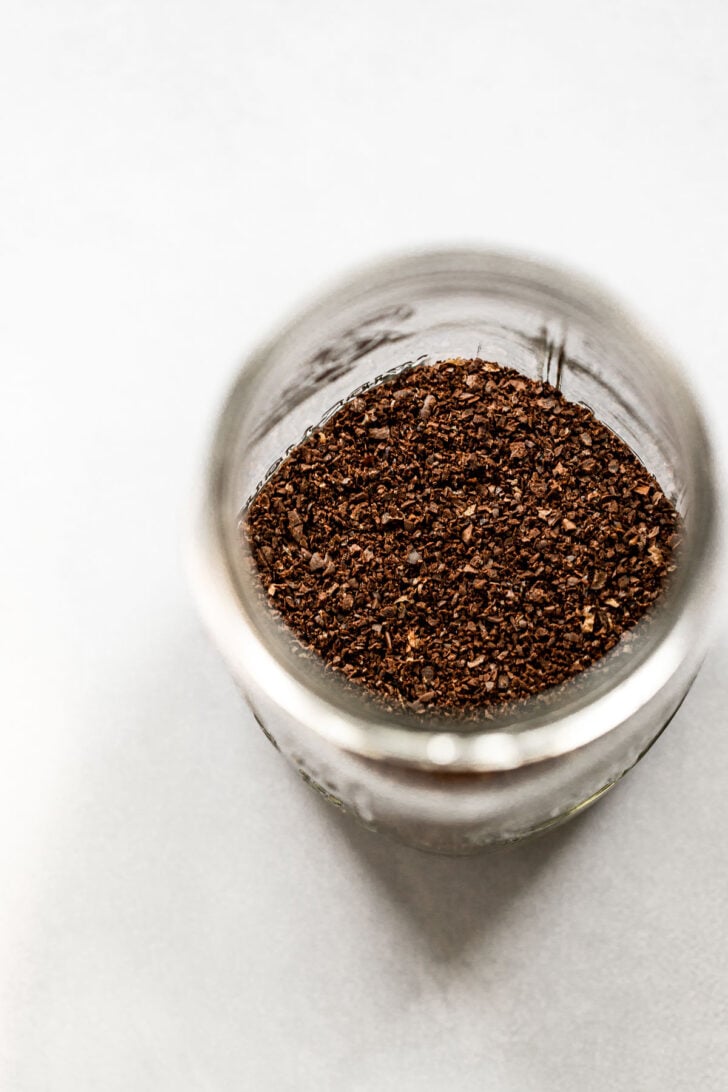
Once the beans are ground, it’s time to combine them with water (photo 1). There are several ways to go about this, depending on what you have available to you at home.
The most important part is finding a vessel that is large enough to hold the beans and water at the ratio you choose (more on that in a minute).
- I like using a quart-sized wide-mouth mason jar to brew my cold brew. It does hold a little less water than I’d like for the perfect ratio, but it’s super convenient.
- You can also use a large quart glass measuring cup, bowl, or pitcher.
- Another option you might have is to use a French Press. Then, when it’s time to strain, you simply have to press down on the filter.
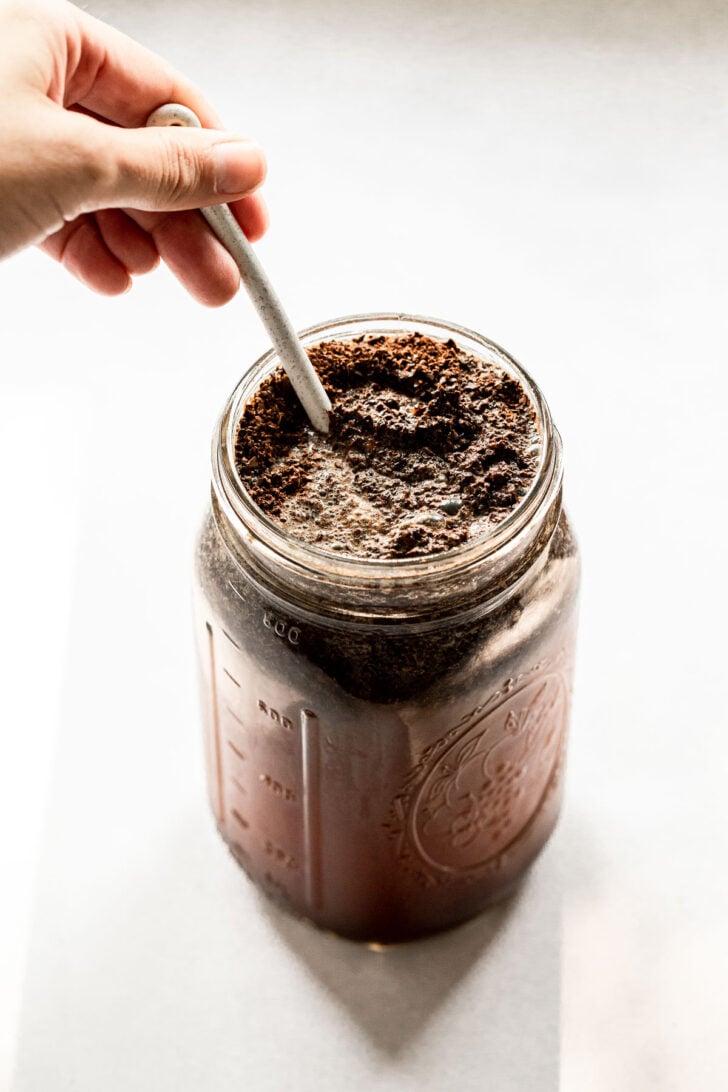
Pour the water over the grinds in whichever vessel you choose, ensuring the grounds are all wet (photo 2). You can also use a spoon to gently press the grounds down once you’ve added the water to ensure they are thoroughly wet (photo 3).
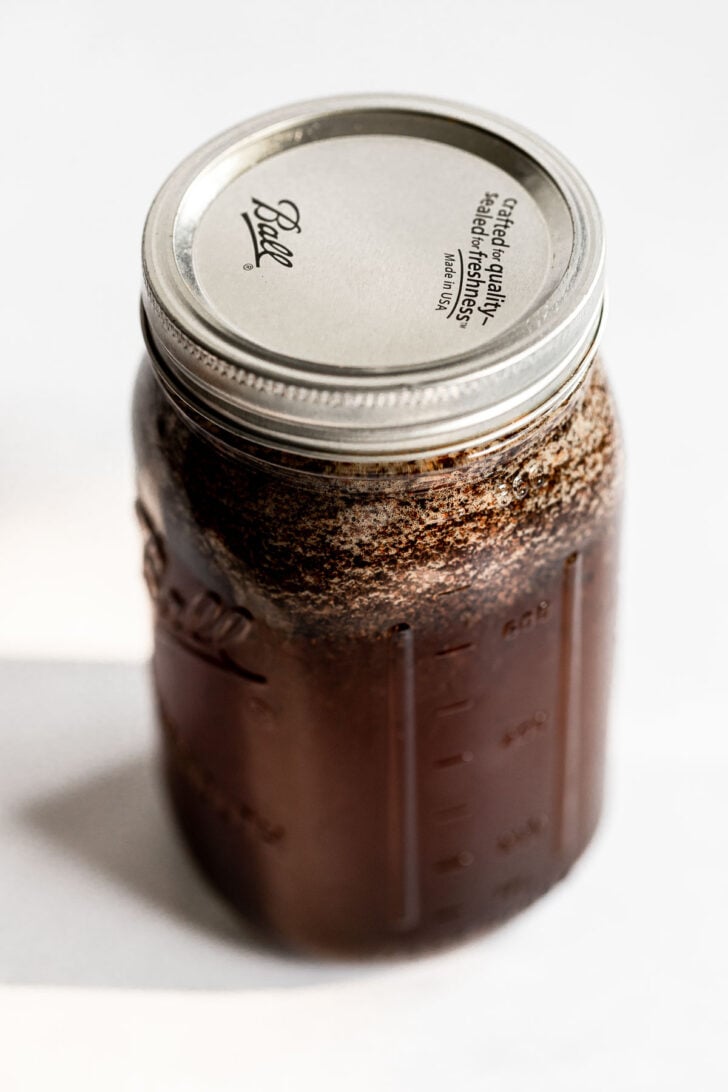
Cover and Steep
Now it’s time to let time work its magic. Cover the jar, pitcher, or whatever you used, with a lid or plastic wrap (ok, even better, break out the bees wrap for a more eco-friendly option). Then place it on the counter or in the fridge and let it steep for 12 to 24 hours (photo 4).
How long it steeps is going to ultimately be about personal preference and your own schedule. I find that right around 18 hours is the sweet spot for me; the coffee has had time to fully brew and is rich, bold, and smooth.
If you let the coffee steep for any less time, it can seem watered down; the longer you steep it, you run the risk of it becoming slightly more acidic. However, if this happens, I find you can use it as more of a concentrate and add more water to balance it out.
Strain the Coffee
Once the coffee has brewed, it’s time to strain it. There are several methods to strain the coffee grounds that I’ll share with you, but the most important part of straining is ensuring you’re using a method that is fine enough to catch all the grounds. Let’s have a look at our options:
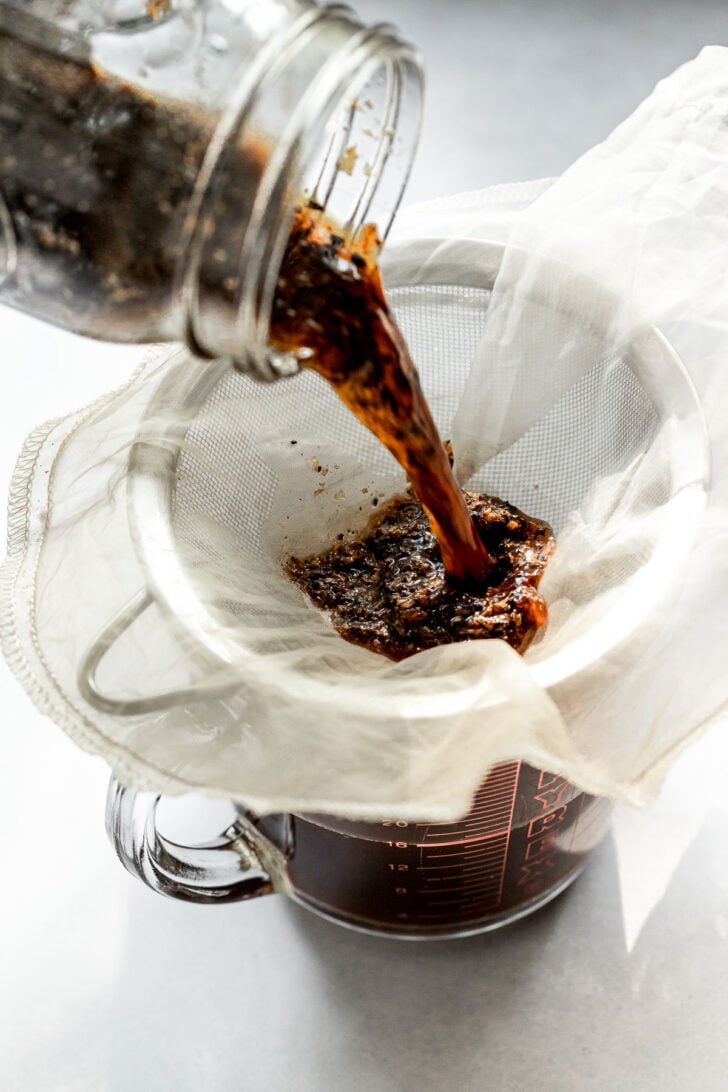
- Fine Mesh Coffee Strainer – you can purchase a fine mesh strainer specifically designed to filter coffee or tea, and that fits in a mason jar for brewing. In this option, you can even place the grounds directly in the filter and then simply remove it when the cold brew is done brewing.
- I personally prefer when the grounds have direct contact with the water and will often just pour the cold brew through the strainer once it’s time to strain. You can also purchase a reusable coffee filter.
- Fine Mesh Sieve + Fine Cloth – another method is using a fine-mesh sieve and then layering on top either cheesecloth, a nut milk bag, coffee filters, tea towel, or paper towels. Adding a finer strainer on top catches the little grounds that would otherwise sneak through the sieve. You can see in the photo I used a nut milk bag on top of my sieve, which is a great reusable option.
- You can also use a nut milk bag to hold the grounds for brewing, as I mentioned with the coffee strainer, then simply remove it from the jar and squeeze out the excess liquid. Do note this method will stain your nut milk bag but is a reusable option that works well.
- French Press – if you steeped the grounds in a French press, simply use the press to filter out the coffee grounds.
Save the grounds and add them to your compost or work them into your garden soil to use as fertilizer.
Store the Cold Brew
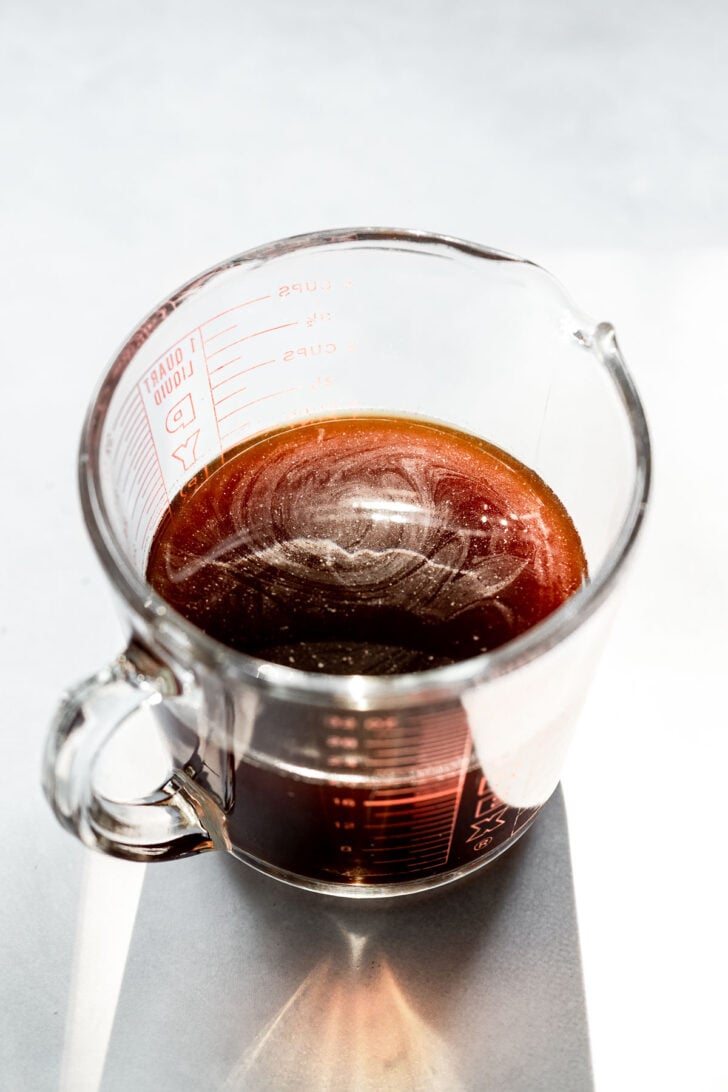
Now that you’ve strained out the cold brew coffee, it’s time to store it in the fridge. Simply cover the jar or container you’re using to store the cold brew and place it in the fridge for up to 1 week (if it lasts that long!).
What is the Perfect Ratio of Beans to Water?
I find that a ratio of 1:4 for grounds to water is the perfect ratio for making cold brew. For me, this typically looks like 1 cup of beans, ground, to 4 cups of water. This ratio can be used in any amount – 2 cups grounds to 8 cups water, etc.
Because measuring in weight is always more accurate, I use about 82 grams of beans for 4 cups or 946 milliliters of water. The amount of whole beans to ground is one-to-one, meaning the weight of the whole beans will be the same as when they are ground.
Of course, for you to make the perfect cold brew according to your preferences, I recommend playing around with the ratios as you experiment. The 1:4 ratio is a great starting point (and the one I use consistently) but if you decide you like it stronger, try more grounds to water.
This ratio makes approximately 4, 8-ounce servings of cold brew, depending on how much you want to dilute it with milk or cream (more info on the “concentrate” below!).
Note: only about 3 1/2 cups fit in a large mason jar, so I use about 3/4 cup beans to 3 cups water to stay within the ratio. I will also use 1 cup of beans and simply fill the water to the top of the jar, which results in a slightly stronger concentration of cold brew because it has a bit less water.
Best Coffee Beans for Cold Brew Coffee
Read more : How To Get Furlcalling Finger Remedy in Elden Ring
Above all, I recommend using coffee beans that you love! You can use a light or dark roast, it’s simply about the flavor you prefer.
If you’re not sure, I find the best results with medium to dark roast coffee beans for cold brew. Because the cold brew process results in a smoother taste than a cup of hot coffee, and is, therefore, less acidic, using a darker roast creates a rich, smooth coffee flavor in the cold brew.
How to Make a Cold Brew Concentrate
A cold brew concentrate is a stronger ratio of coffee grounds to water, that is then diluted with an equal amount of milk or water.
If you prefer less strong coffee, you can use the 1:4 ratio as described above as your concentrate, and dilute it with your favorite milk or creamer.
For a stronger concentrate, use a 1:3 ratio in a quart-sized mason jar. That would be 1 cup of coffee grounds to 3 cups of water
Take Cold Brew to the Next Level with These Variations
Now that it’s strained and ready, it’s time to enjoy it. Fill a glass with ice and pour in the cold brew, topping off with creamer, milk, or sugar – however you take your coffee.
If you’re looking to elevate your cold brew and add more flavor, here are a few of my favorite ways:
- Add a cinnamon stick to the grounds as you brew the coffee. The flavor is incredible, leaving a hint of warm cinnamon in each sip of the finished cold brew. You can reuse the cinnamon stick several times, too, to save on cost and get the most out of each stick. Want even more cinnamon flavor? Rinse the stick off after you strain out the grounds and add it to the final cold brew, too.
- Make vanilla cold brew by stirring in vanilla syrup to your glass of cold brew.
- You can also add 1 tablespoon of vanilla bean paste to the grounds when you brew them. Of course, you could be super extra and use an actual vanilla bean (like we did we the cinnamon stick), but given the sheer cost of vanilla beans, I’ll stick with the paste. Make sure you do stir the grounds before steeping to make sure the vanilla is incorporated.
- Add maple syrup when preparing your cold brew cup. This is a great way to add a hint of flavor and sweetness. Just pour a little into your glass, add the cold brew, and stir to combine!
- Stir in syrups like lavender syrup, autumn spice syrup, rosemary simple syrup, or ginger syrup.
- Use coffee ice cubes if you don’t want any dilution from regular ice cubes. Simply pour leftover cold brew or coffee into an ice cube tray and once frozen they’re ready to use.

Other Cold Brew Questions
Is cold brew less acidic?
Yes, cold brew is generally less acidic than a hot cup of coffee due to the low-and-slow cold steeping process.
Can I use decaf beans?
Yep, you can totally use decaf coffee beans to make decaf cold brew. The process is exactly the same.
Can I double the recipe?
You absolutely can double, triple, or quadruple the recipe to batch prep plenty of cold brew! You’ll just need to make sure you have a big enough container to brew it, or rather you can simply brew multiple batches at once.
Cold Brew Product Resources
Here are a few of my favorite products mentioned in the post for making cold brew. Again, you can easily use what you have on hand to make cold brew following the simple steps, many of these are just nice-to-haves. These are affiliate links.
- Wide Mouth Quart Mason Jars – the perfect multi-use-what-you-have vessel
- Fine Mesh Mason Jar Strainer – a specific-for-brewing filter that can also be used for cold brew tea
- Fine Mesh Sieve – a good base option for straining
- Nut Milk Bag or Cheese Cloth – easy methods for straining out coffee grounds
- Coffee Grinder – coarse and freshly ground coffee is best
- Cold Brew Coffee Maker – this is essentially a large french press that’s perfect for beginners
- Reusable Straws – why is it that straws are a must-have for cold brew?
Did you make this recipe? Please leave a star rating and review in the form below. I appreciate your feedback, and it helps others, too!
Source: https://gardencourte.com
Categories: Recipe

