I decided to try making candles. I actually volunteered to teach how to make candles for a church activity and not once had I ever made a candle. I was willing to try. I thought candle making would be a fun activity, sign me up! The only problem. Well besides I had never made a candle, was that we were doing the activity outside. No stove. No double broiler. After some research I found that candles have been made in a crock pot. But not the way I wanted to do it. Needless to say. I experimented. And maybe because it was a church activity, it totally worked! This is the EASIEST way to make candles from home. The BEST way to make candles with kids. And a FUN way to make candles with a large GROUP! Also they are free from toxic ingredients that you might find in some candles.
Also I have been on the hunt for non-toxic all natural candles. Making your own, hand picking the ingredients and what does into your candle is a way to ensure they are a non-toxic candle. And did I say that this is the easiest way to make a candle? Well it is, I will show you!
You are watching: Easiest Way to Make Candles- Non Toxic and Natural
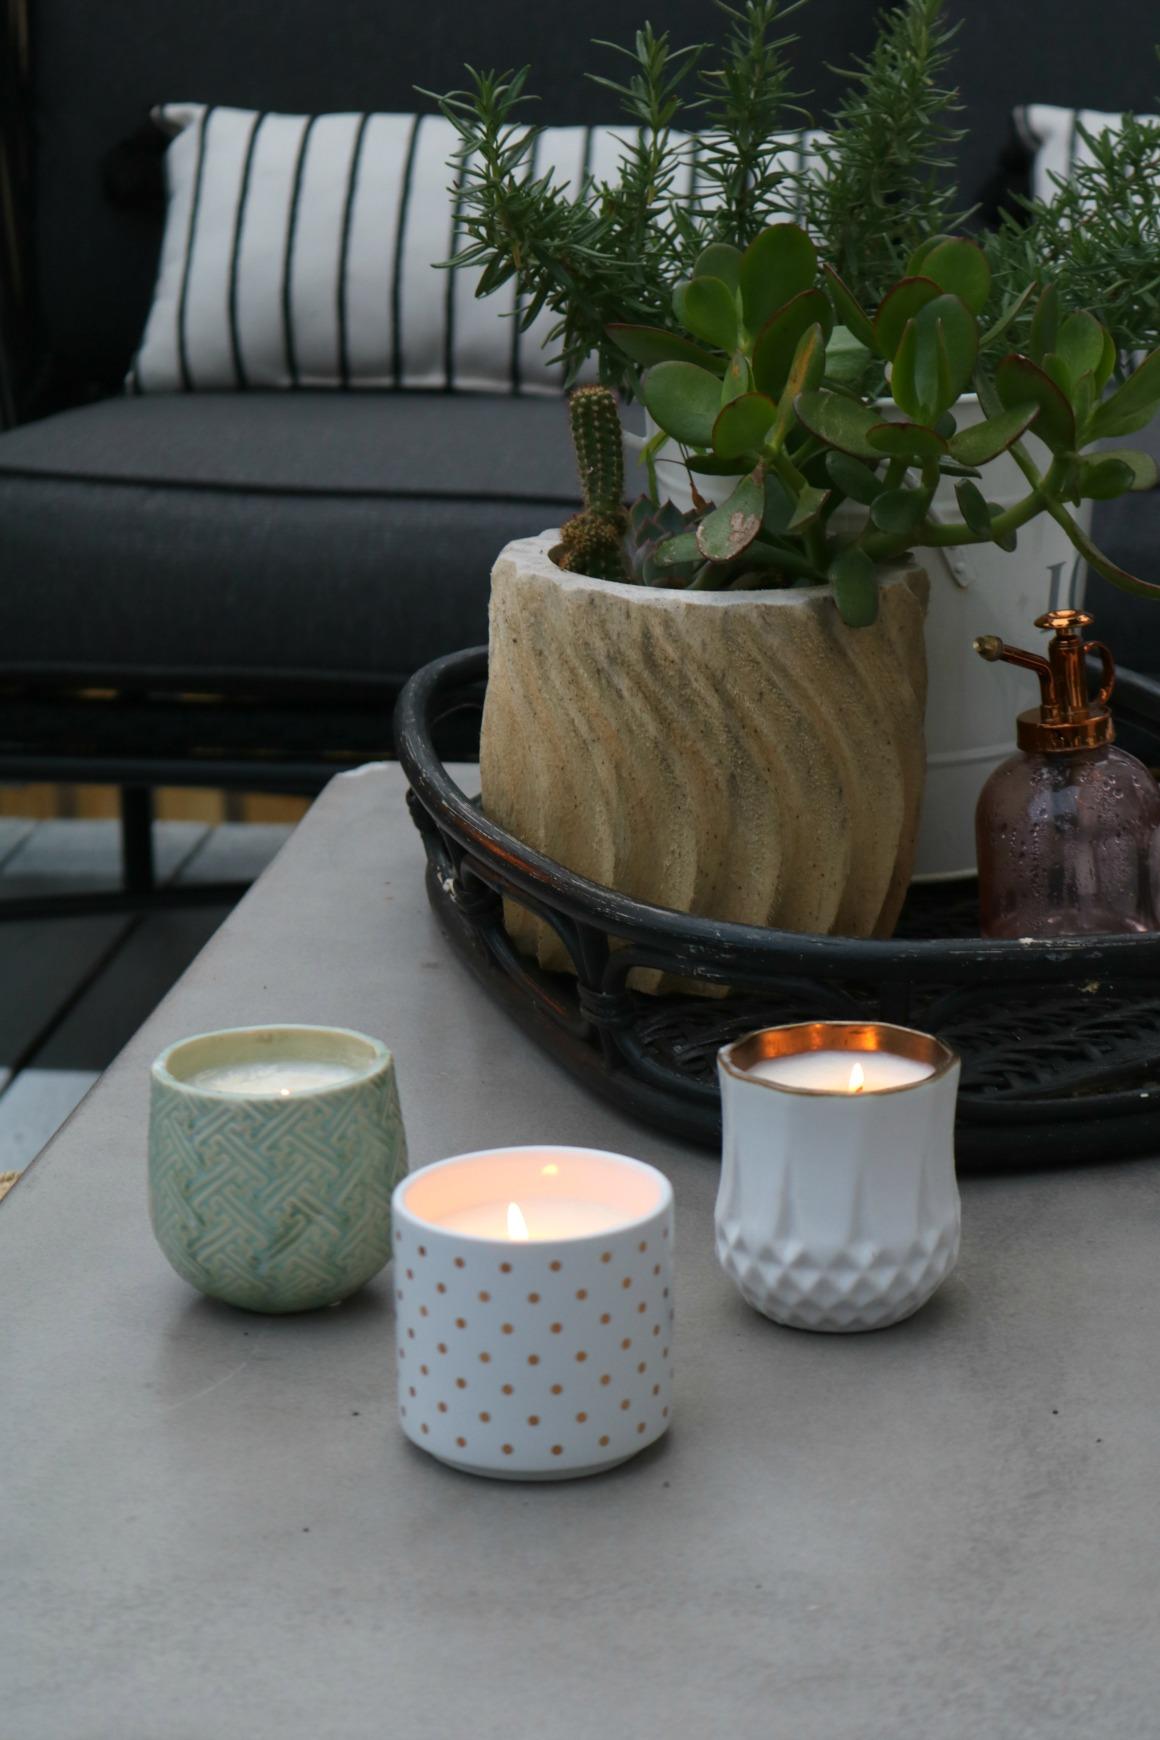
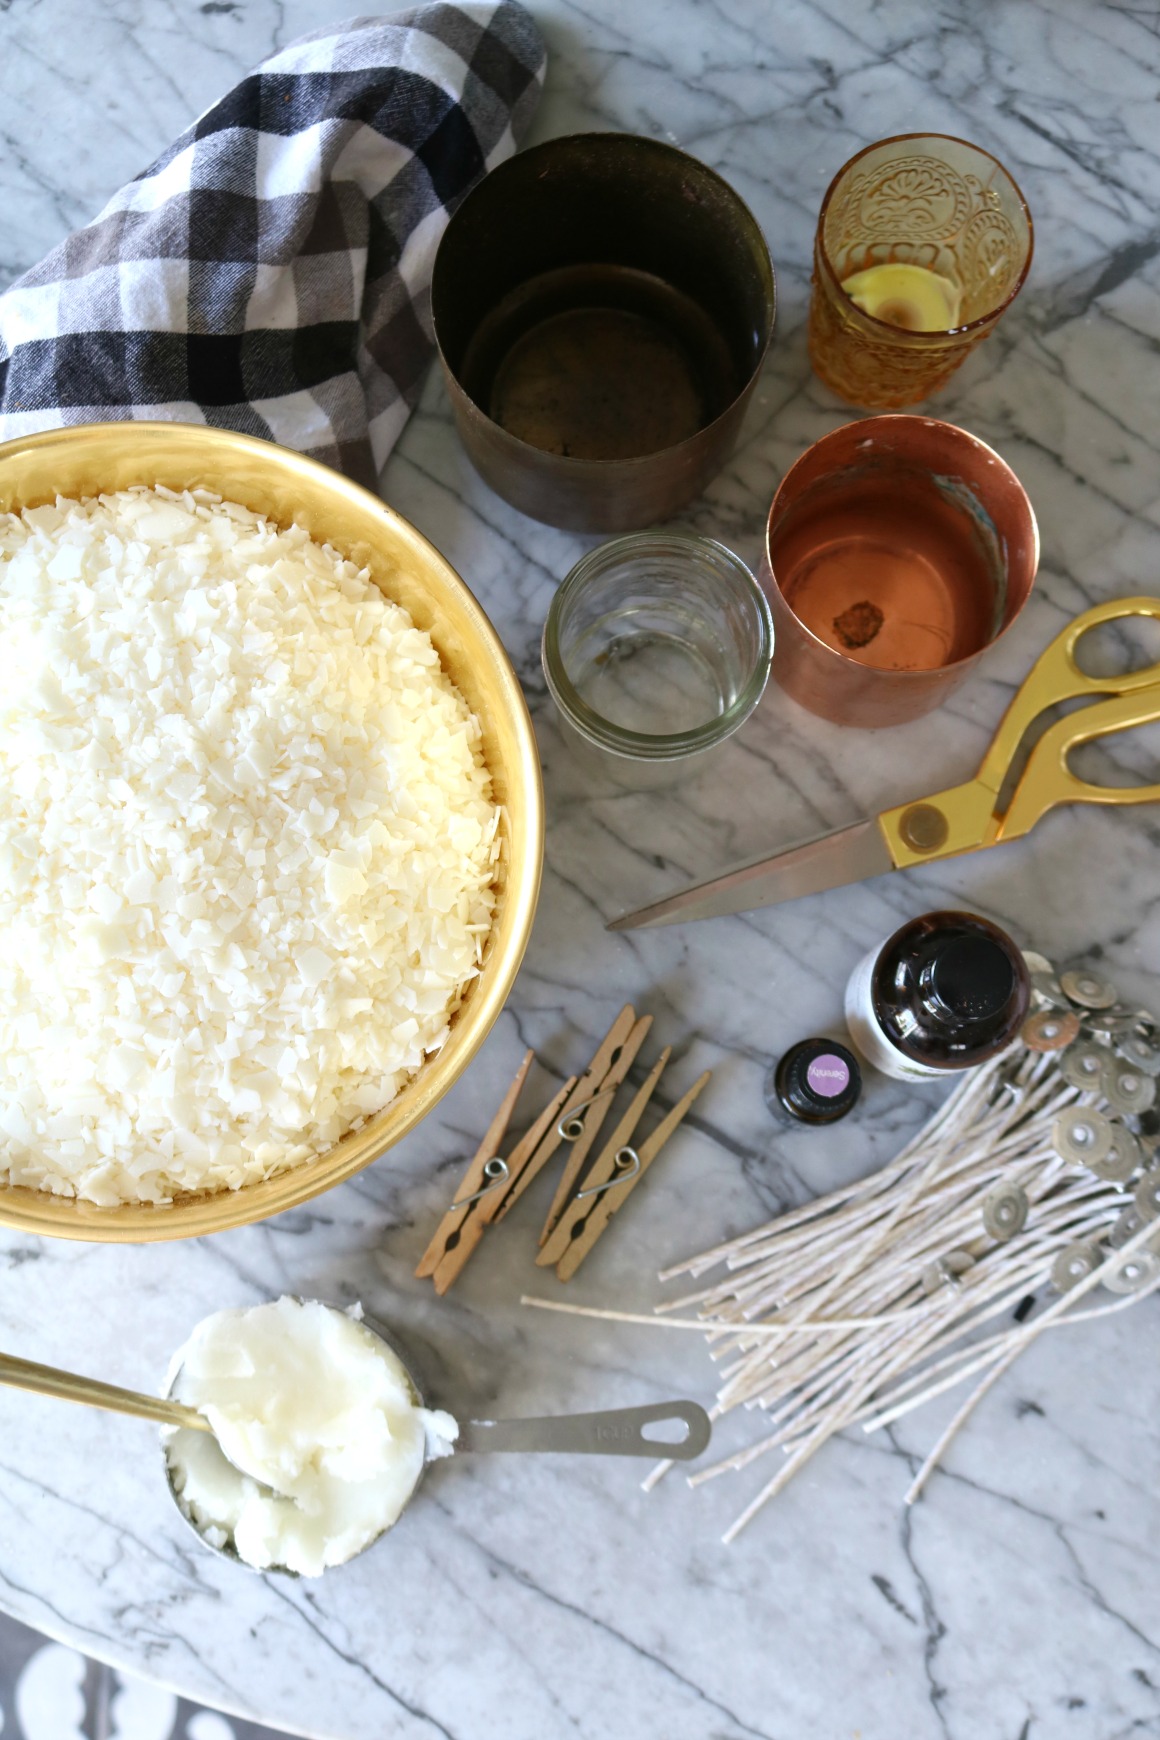
Supplies to make your own Natural Candles-
Jars– you can reuse jars, pots, cups, mugs that you have or buy new. If using glass jars you want to keep them on the smaller side so they don’t get too hot and break the glass.
Candle Wicks– I used THESE Candle Wicks for my jars that were mostly about 2-4″. Just be aware of the wick size to the jar size. A too thin of a wick could not burn strong enough to melt the wax evenly. So you might need two of a thiner wick per candle. Or a too large of wick could burn to strong and burn the jar. *AVOID- Lead Wicks
Wick Stickers or Glue Gun or Tape- You could purchase Wick Stickers to keep the wick in place at the bottom of the jar. Or use a glue gun to do a drop of glue at the bottom of the jar or a drop of wax. Tape works as well to keep your wick in place. Tape is also good to use to keep your wick centered on the rod (see blow).
Wax- I used Natural Soy Wax. You could use beeswax, it does burn slower. *AVOID Paraffin wax. Paraffin can create unhealthy airborne chemical. You can also re-use wax that has been used in other candles that are non-toxic.
Oil- This is what you will be mixing with the wax. I used Coconut Oil because it is a much more sustainable oil than palm oil is and is more economical.
Essential Oils- I used Pure Essential Oils. Be careful, that your essential oils are free of perfume and fragrance and only 100% pure essential oils.
Read more : How to Kill Ants with Borax [Easy DIY Guide]
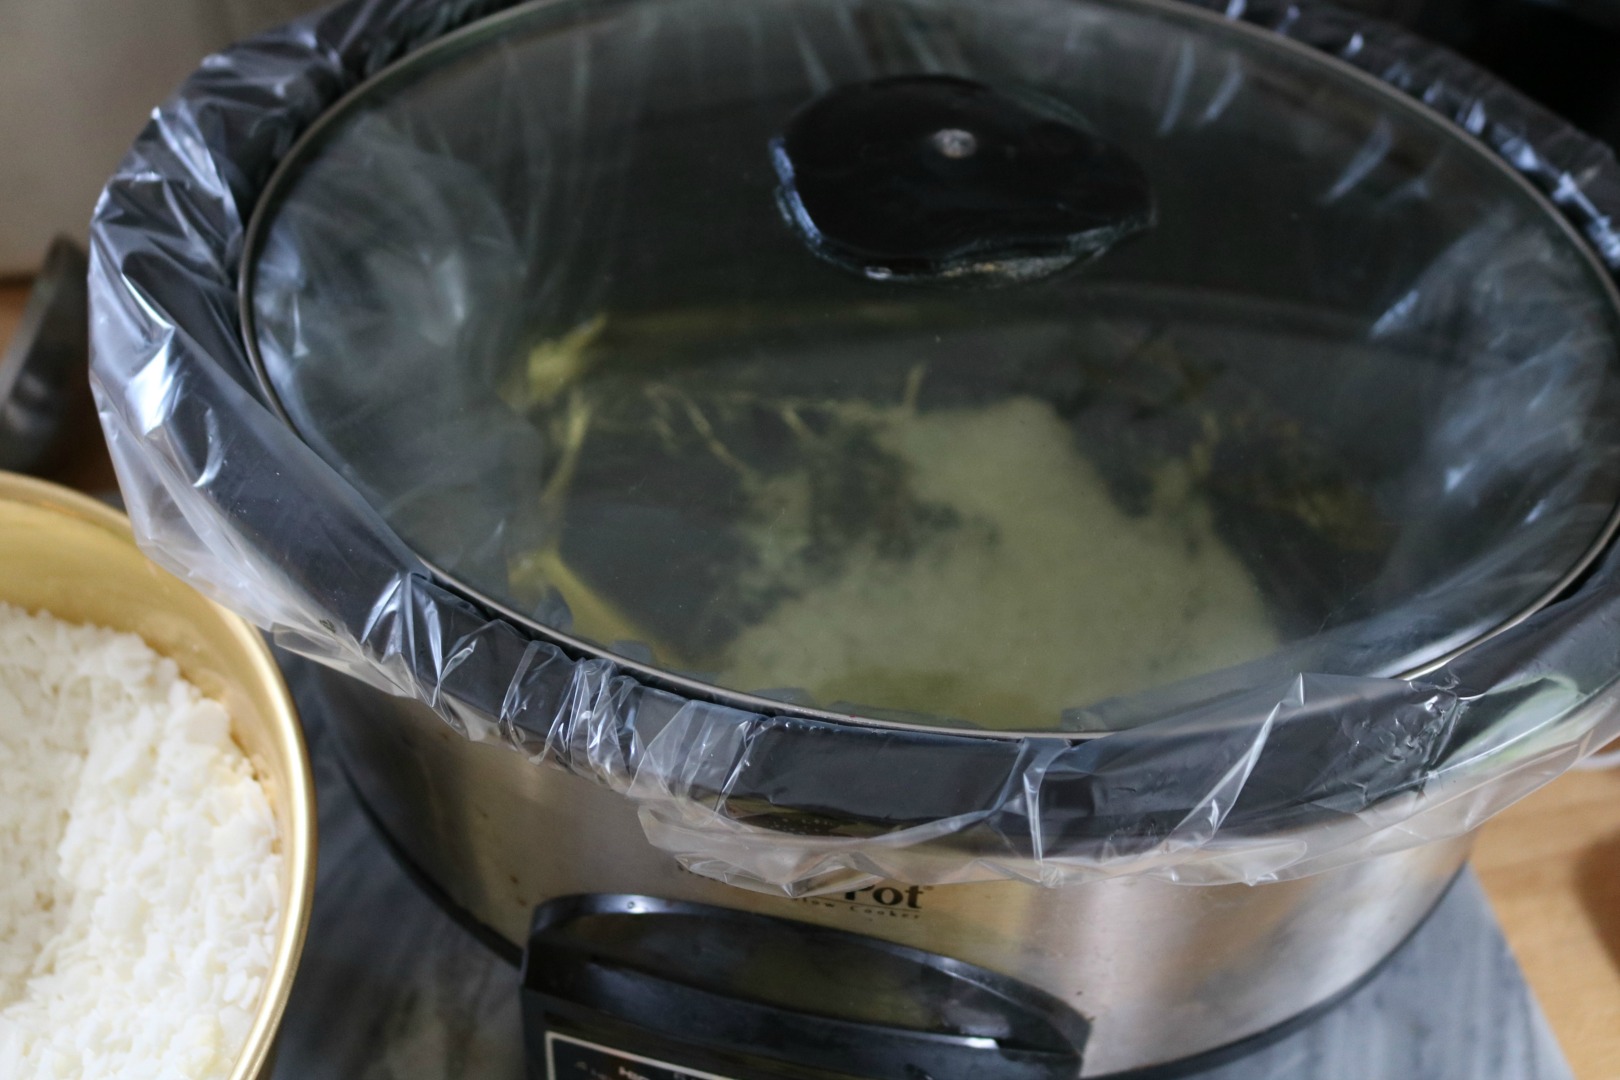
Crockpot and Crockpot Liners- I melted my wax and coconut oils in my crockpot. The first time I did it I did not use a liner. It actually cleaned up easily, just with hot water and soap. You don’t want to pour wax down your drain so make sure the wax is basically all gone before you try to clean it. OR you could use a crockpot liner, which I recommend. I have never used them for cooking food (and never will) but with something I am not eating like hot wax it makes sense!
Ladle- I used a ladle to put the melted wax into my jars from the crockpot and it worked great (just make sure to hold the jar OVER the crockpot so wax doesn’t get everywhere).
Rod- Basically a stick, pencil, straw anything to hold the wick in the center of the melted wax.
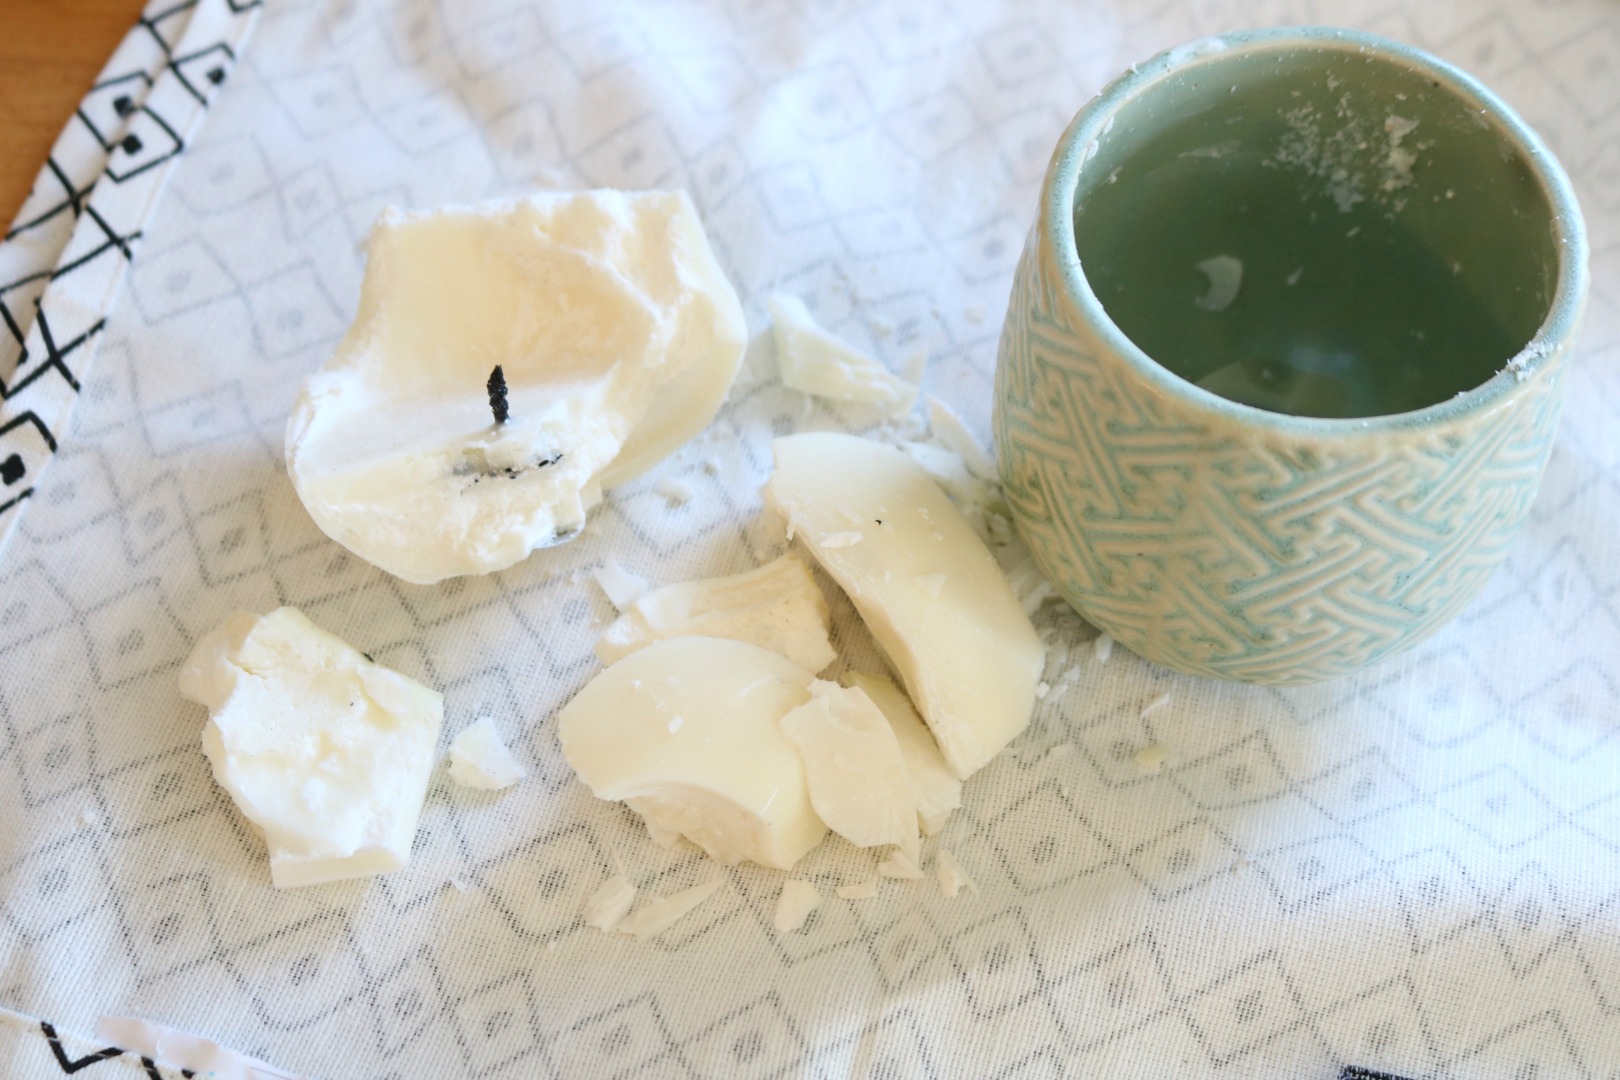
Getting Wax out of Jars-
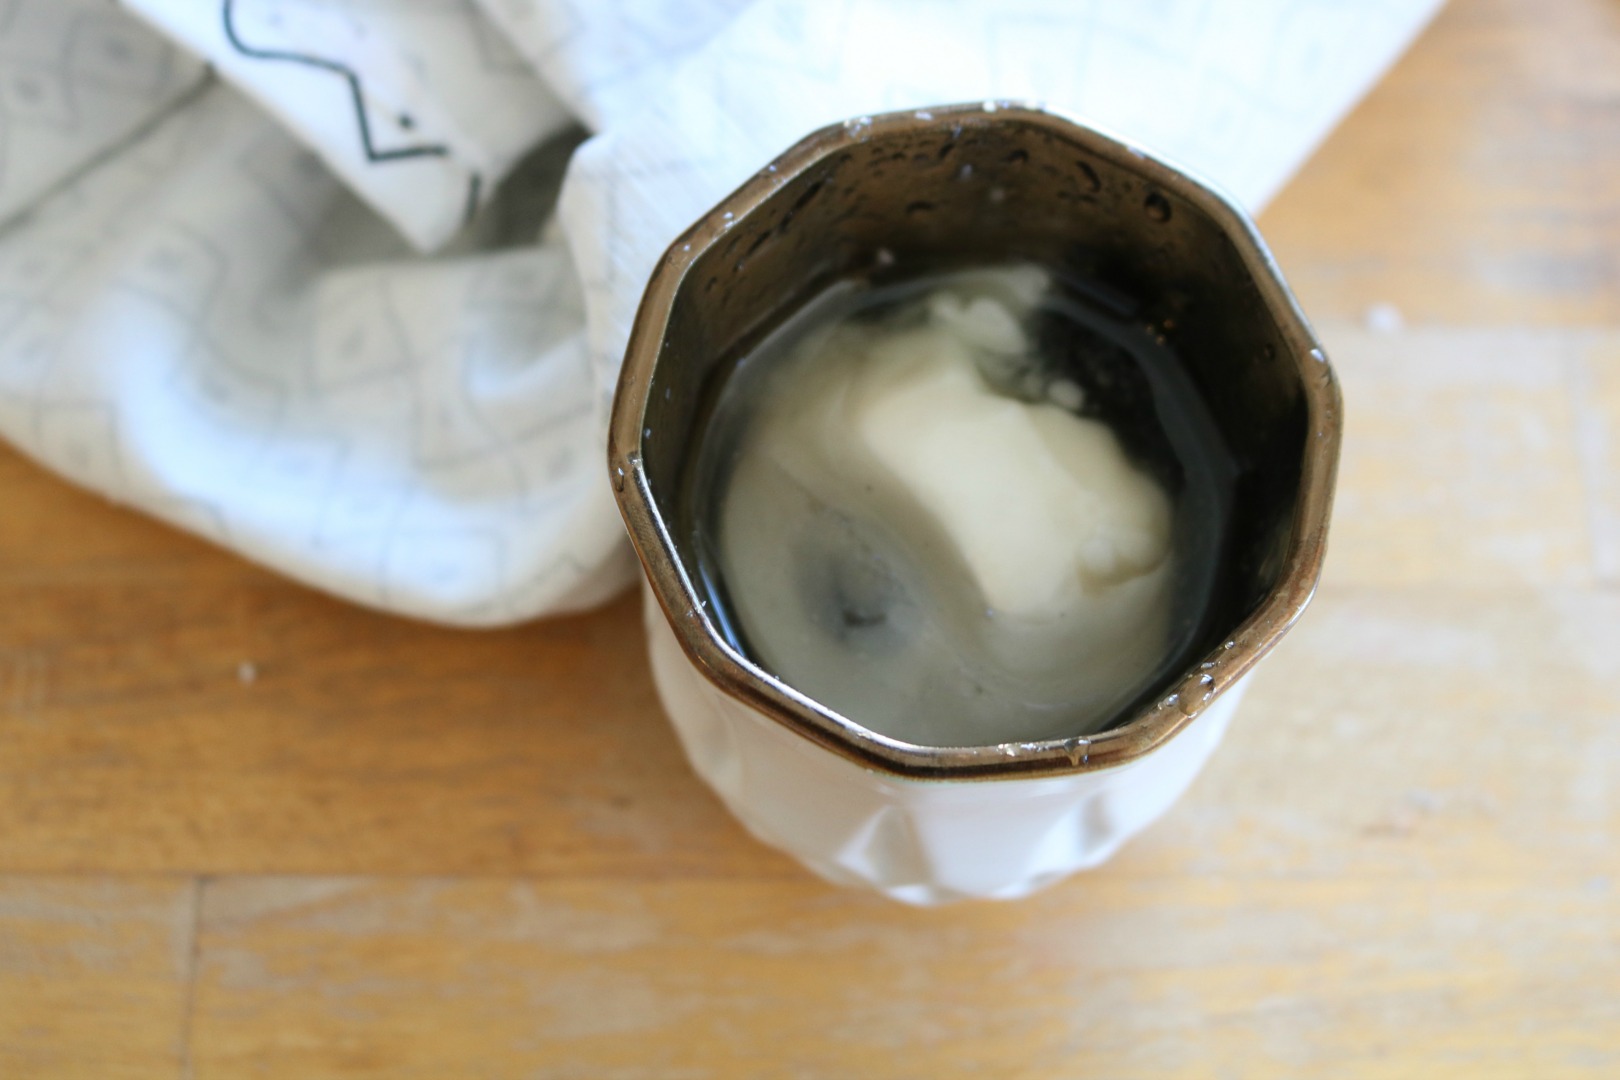
Candle Jars with wax still left in the bottom can be put in the freezer for at least three hours and the wax should pop right out! I had a jar that was a little funky shape and the wax didn’t pop right out so I poured boiling hot water into the jar and over the wax. The wax floated right to the top and came right out. I mixed both of this leftover wax in with my Natural Soy Wax when I made candles.
Making Natural Candles-
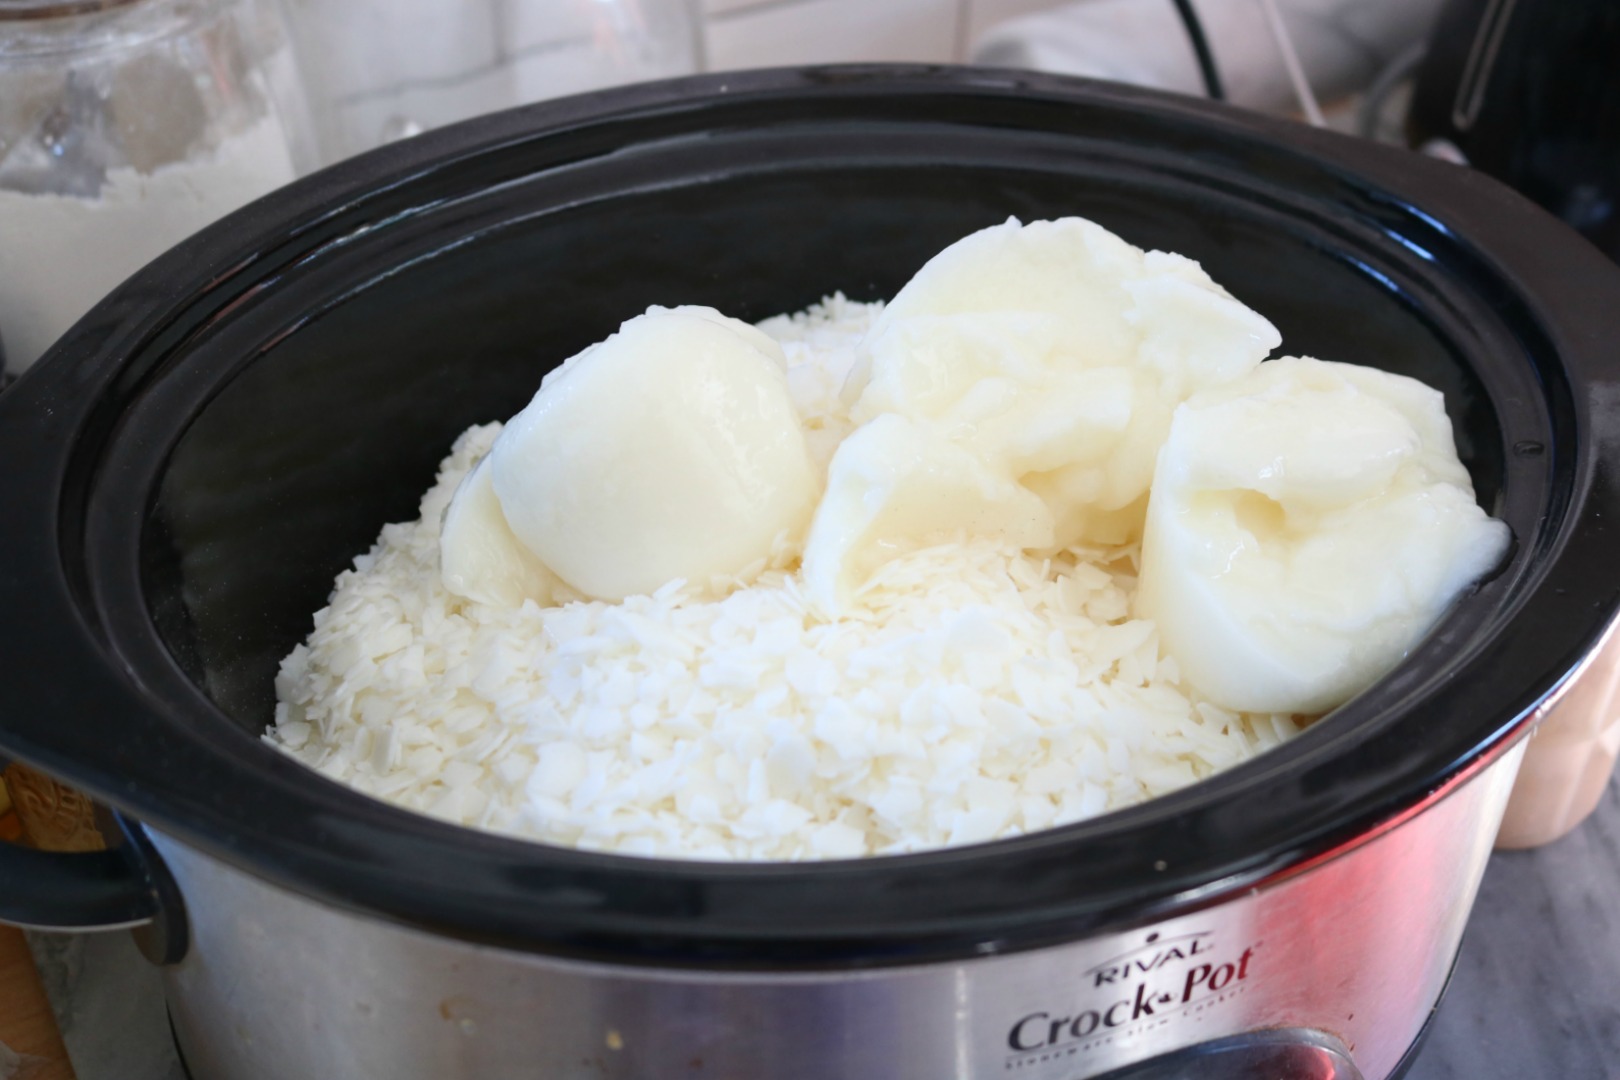
- Add 4 cups of Natural Soy Wax with 1 cup of Coconut Oil to your crock pot (with liner already in)
- Turn crock pot onto high heat for about one hour- or until wax and oil are melted (there could be small chunks of wax leftover that you can break up with a spoon)
- Once oil and wax are melted turn crock pot off (if lid is left on this will stay liquid and warm for several hours)
- Drop a small amount of wax OR a small amount of hot glue to the bottom of your jar to hold the wick. Allow to harden for a few minutes.
- Tape or use a clothes pin to the side of your jar to keep the wick out of the way as your pour in your wax.
- Ladle your melted wax into your jars. Wipe of any excess immediately.
- Allow the wax to cool for a bit (if it hasn’t already in the crock pot). Then add your Pure Essential Oils each individual jar.
- Use a rod (straw, pencil anything like that) and tape or clip the wick to the rod to keep the wick centered.
- Place jars with melted wax on a tray or somewhere they won’t get bumped. I put mine inside my oven out of the way (do not turn oven on).
- Once the wax hardens trim the wick down close to the hardened wax.
- Allow candles to cure for 48 hours before burning.
Notes-
- 4 heaping cups of wax and 1 cup of coconut oil made one larger candle that was 4″x4″ or it can make three smaller candles that were about 2″-3″x 4″. This amount melted on high in about 30 minutes for us. In THIS three pound bag of wax was about 13 cups.
- 24 cups of wax mixed with 6 cups of coconut oil is what I used for a large group (I could inly fit that much in my crock pot or would have added a little more coconut oil, but it actually turned out just fine). This amount made about 15 2.5″x2.5″ candles. It took about an hour to melt completely on high. Then it stayed liquid for 5 hours.
- For a jar that is about 2-3″ I add about 20 drops of Essential Oils (make sure to check into if your essential oils are PURE essential oils- no perfume or fragrance)
- When you do burn your candle make sure the entire top of the candle gets evenly melted. Candles have a memory and will only melt to the same area as it did the first time. Burn at least an hour.
Photos below demonstrating Steps making Natural Candles-
Above shows the Natural Soy Wax with the Coconut Oil after melting for about an hour. There were still chunks of wax that we broke up with a spoon.
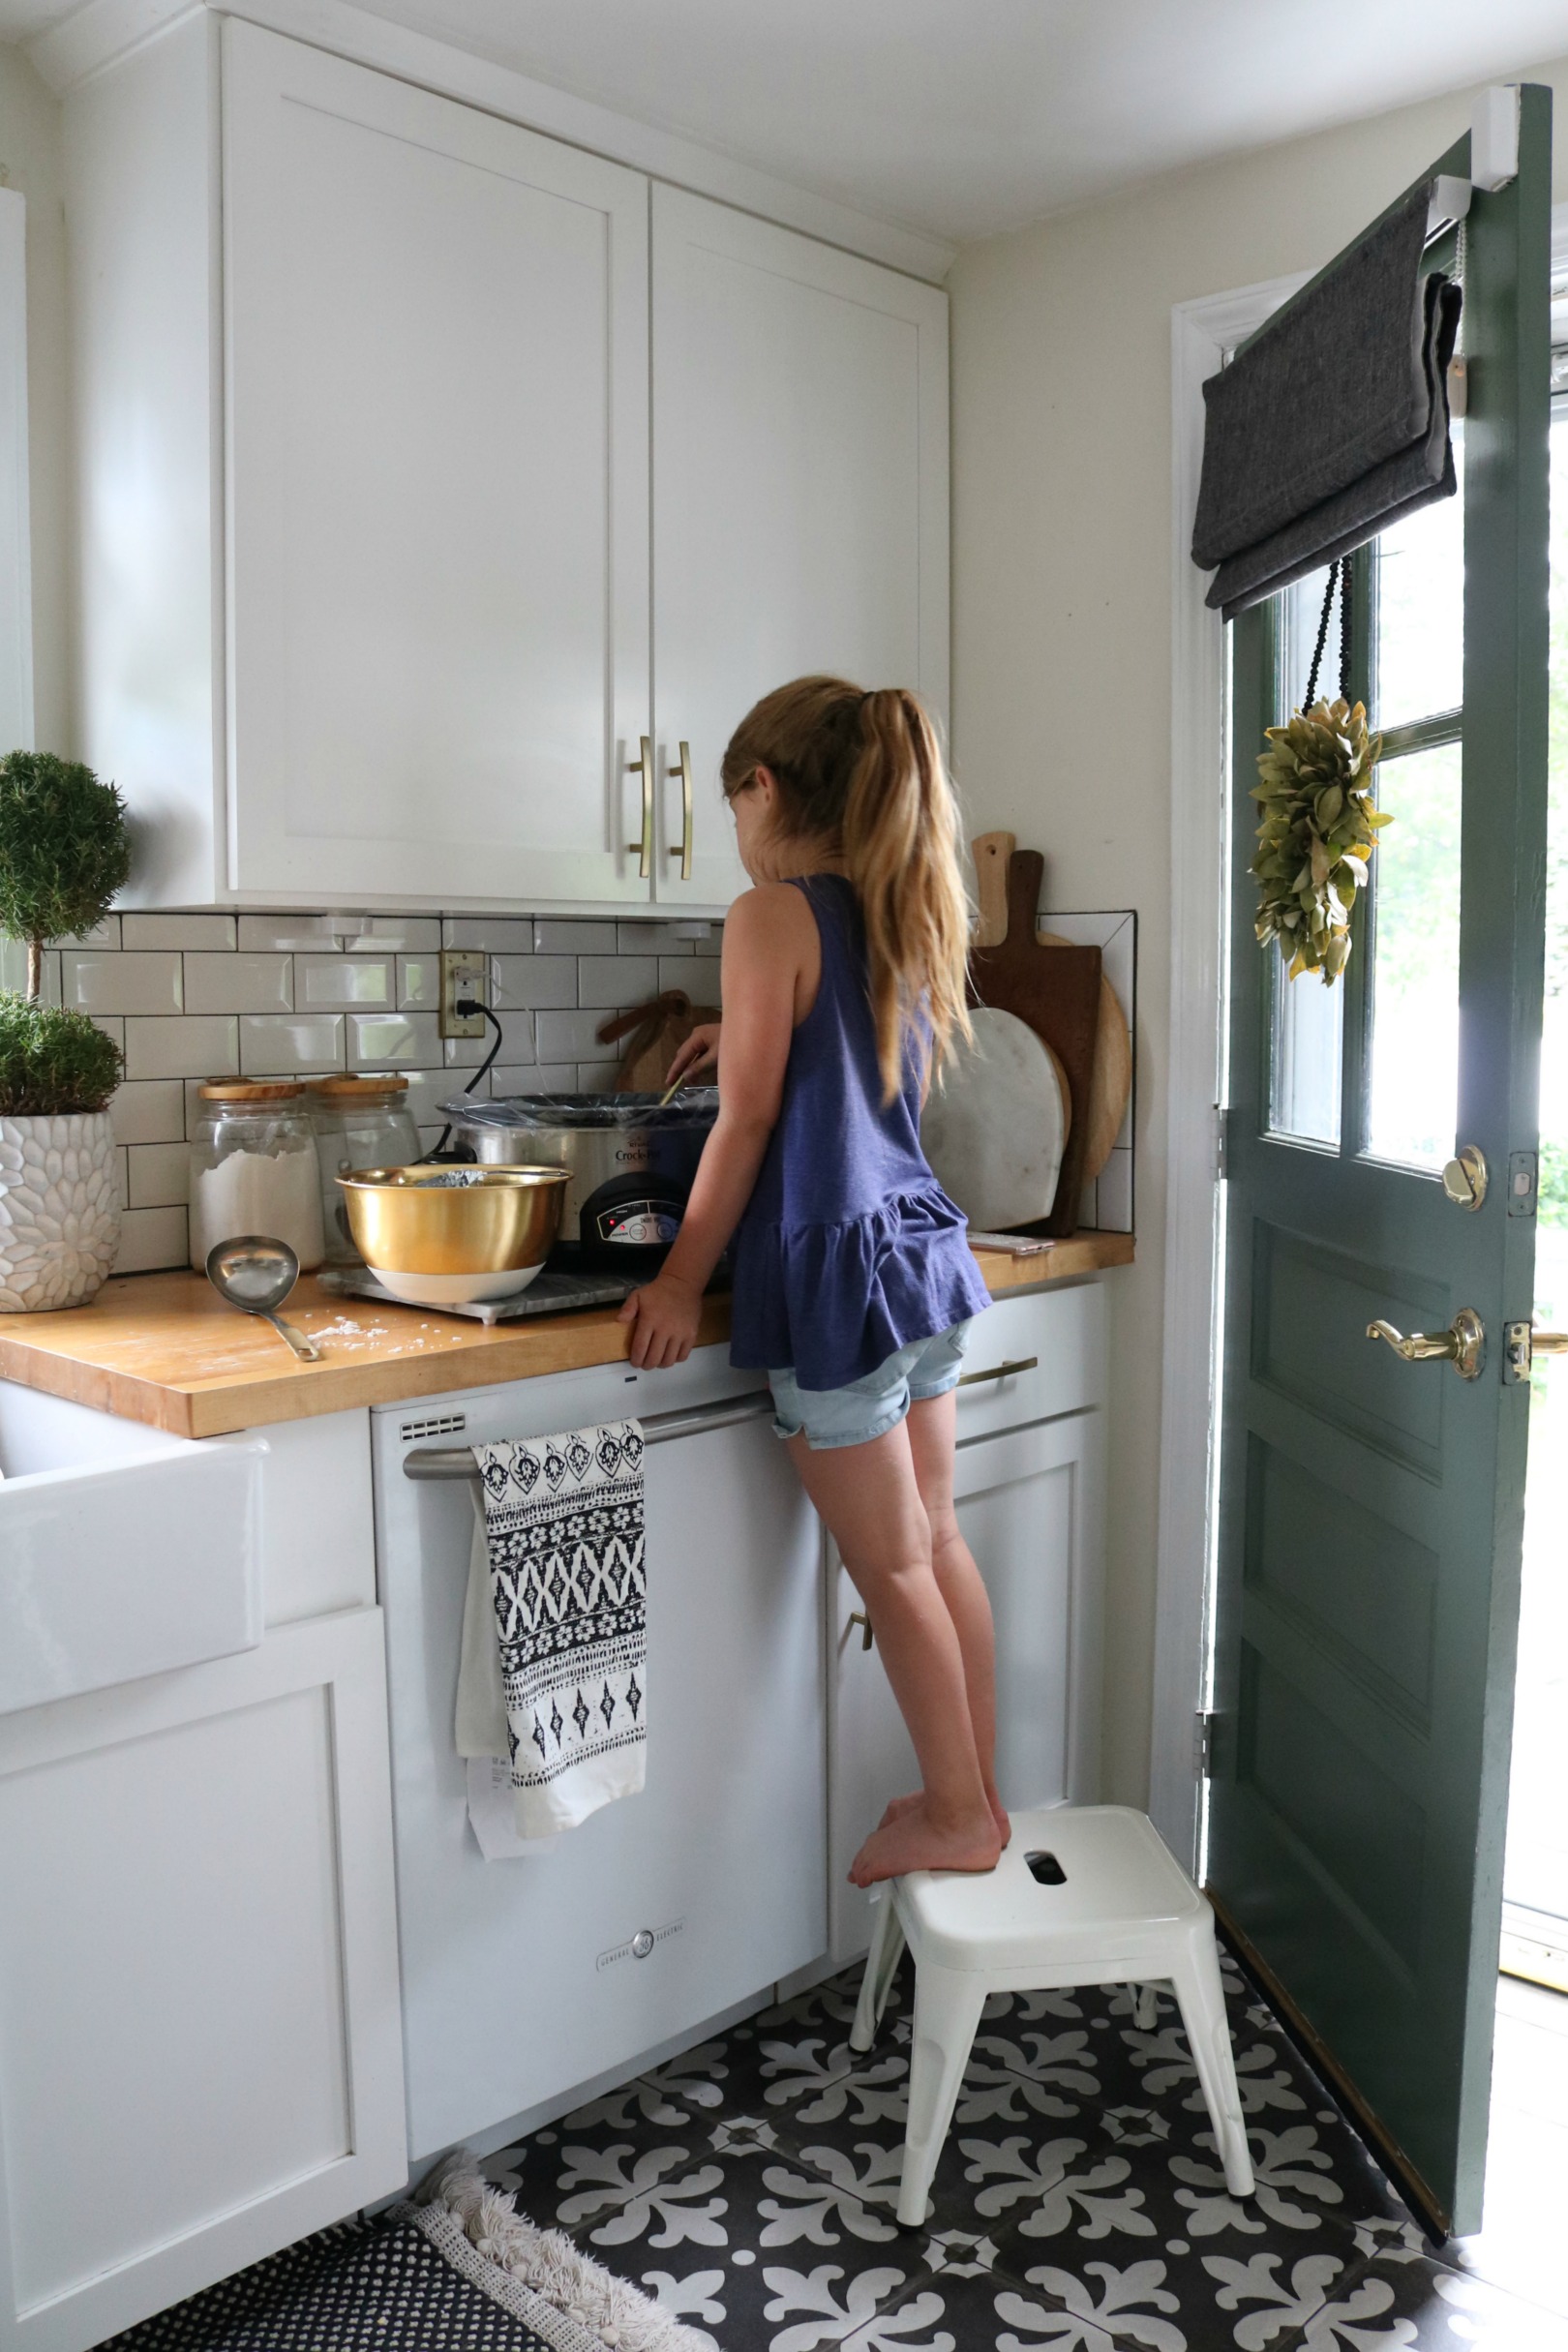
Another reason why I love making the candles in the crockpot- kids can help! (I stayed close and made sure she didn’t touch the sides of the crockpot or the hot wax).
Read more : How to Make a Bioactive Vivarium (For Pet Lizards and Snakes)?
Ladle your melted wax and oil into jars while holding jar over the crockpot. Notice we used a clothespin to keep the wick out of the way.
You could use two clothespins to center the wick after the wax is in our below we used a straw and a clothes pin. This is the point where you want to add any scented oils after the wax has cooled a little.
We used blue tape when we made the candles for our large group and that worked perfect. You can’t see the tape once the wax has hardened.

I will tell you what, I am hooked!! I learned a lot the three times I have made them. What wicks are best and how much oils to use. You can make your own spin on them. You will NEVER look at a jar or that last bit of wax left in a candle the same.
When we made candles for our church group I shared a little message on being a light for others. And what we need to do in order to get and cultivate that light. When our light of Christ and life is burning strong we can help others. (Poem Source)
Have you made candles before? Leave any comments or tricks that you do when making candles! Love to hear any ideas!
Source: https://gardencourte.com
Categories: Recipe

