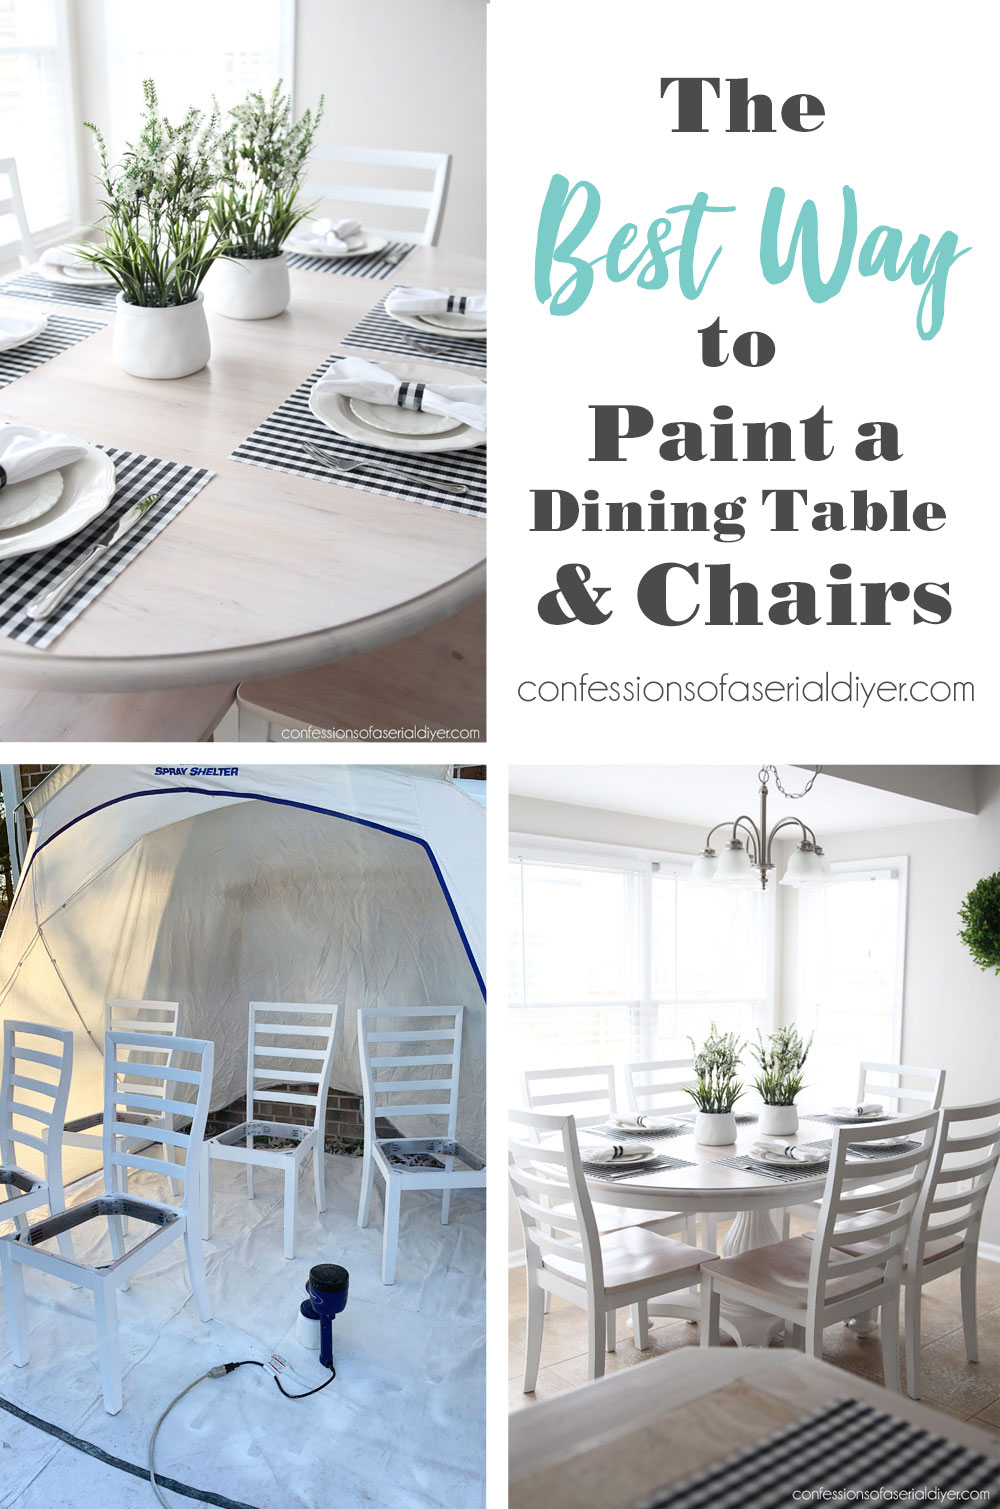
Hello beautiful friends! Today I’m back sharing how we updated my sister’s kitchen set with paint and white stain! This is the best way to paint a dining table and chairs!
Here is what my sister’s eat-in area in her kitchen looked like before:
You are watching: The Best Way to Paint a Dining Table and Chairs
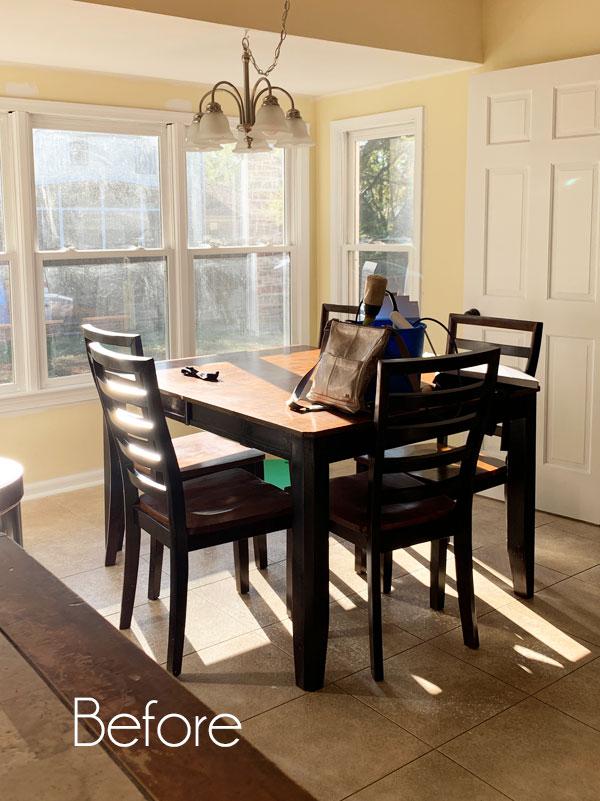
I wish I had a picture of the true before…before my sister painted all of that trim white. She had just painted it the week prior!
I’ve included a few affiliate links so you can find the products I love.
We only ended up keeping the chairs in this set. She found a table she liked better at the Habitat for Humanity Restore. I convinced her to stop in and see if there were any tables she might like that we could refinish and we were in luck!
They had this Ethan Allen beauty for only $69, and it came with one leaf:
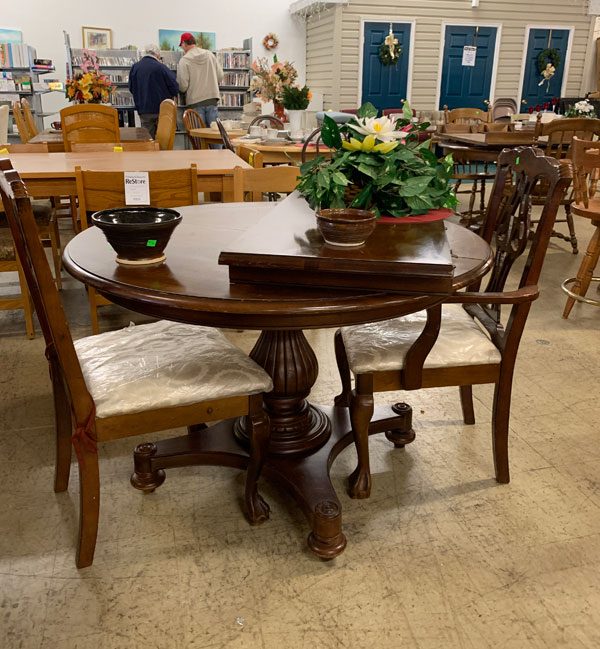
She wasn’t totally convinced that day we found it though, and we ended up leaving it behind.
Fast forward to a week later, and she decided to stop back in the Restore to see it if was still there. Luckily, it was! That time she didn’t leave without it!
Prep the Table
To start this project, my sister sanded the entire surface with 150 grit sandpaper, followed by 220 grit sandpaper:
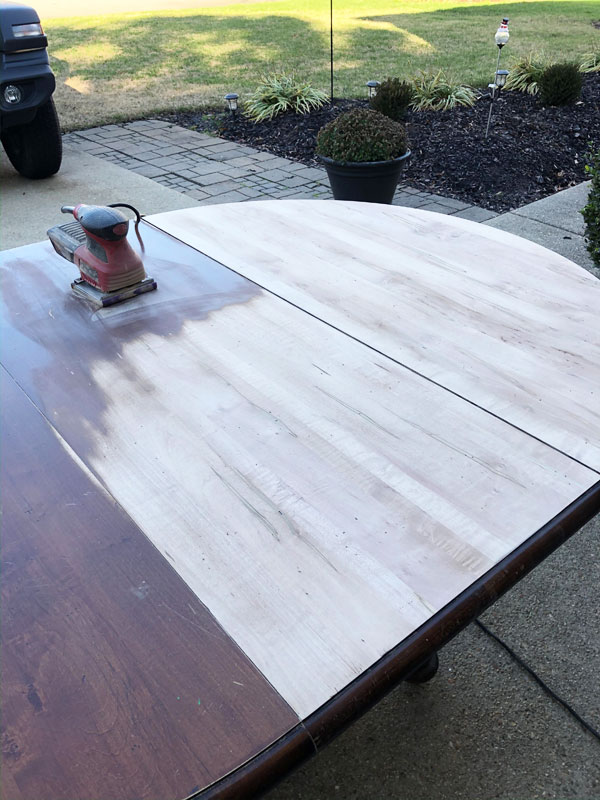
My preference is a rotary sander, but it was probably easier to get all those edges with her palm sander.
Want to remove stain without sanding? I shared how to do that in this old post.
I showed up after all the heavy sanding was done…how convenient ha ha!
Condition the Table
I gave the top a good coat of Pre-Stain Wood Conditioner:
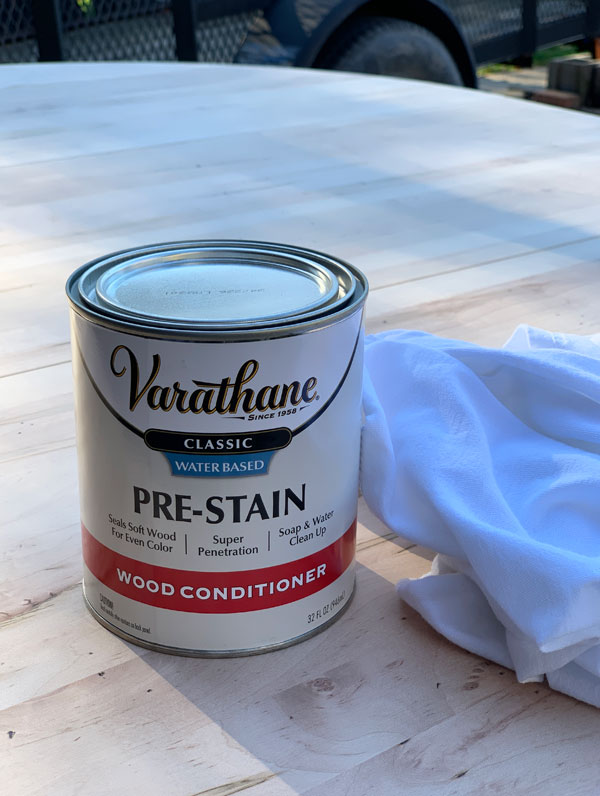
This helps the wood to accept the stain more evenly.
Stain the Table
We decided on stain for the table top since it will withstand tons of abuse and will still look amazing years down the road.
There are more options than just brown though!
This is the magic that really transformed this table: Dixie Belle’s VooDoo gel Stain in White Magic…
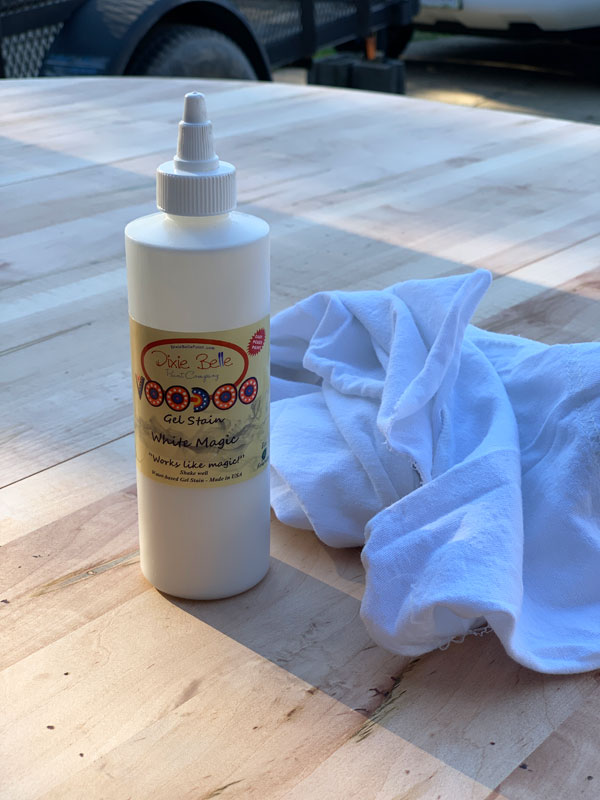
I applied it with a soft clean cloth, going with the grain of the wood:
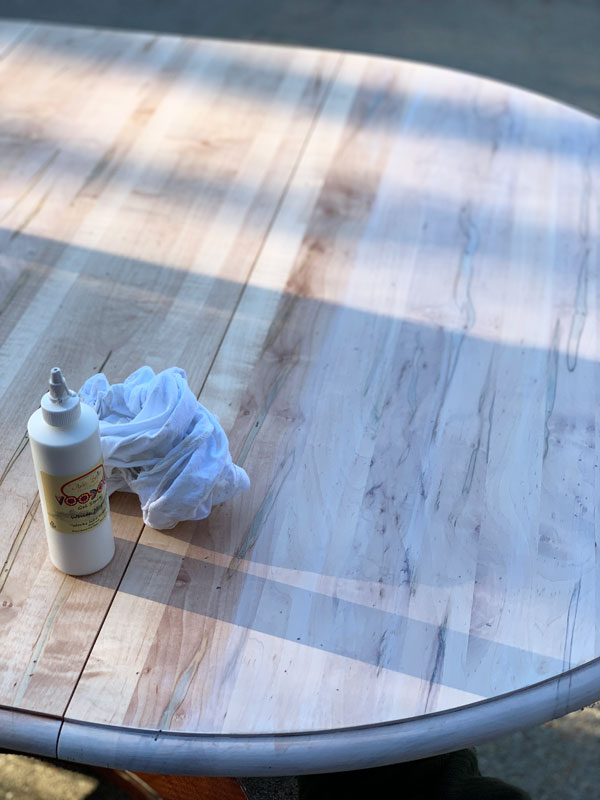
I applied it liberally to get a good coat on it, and then wiped off the excess. VooDoo gel stain is water based, so it dries super fast. I was able to follow up with another coat after about 15 minutes.
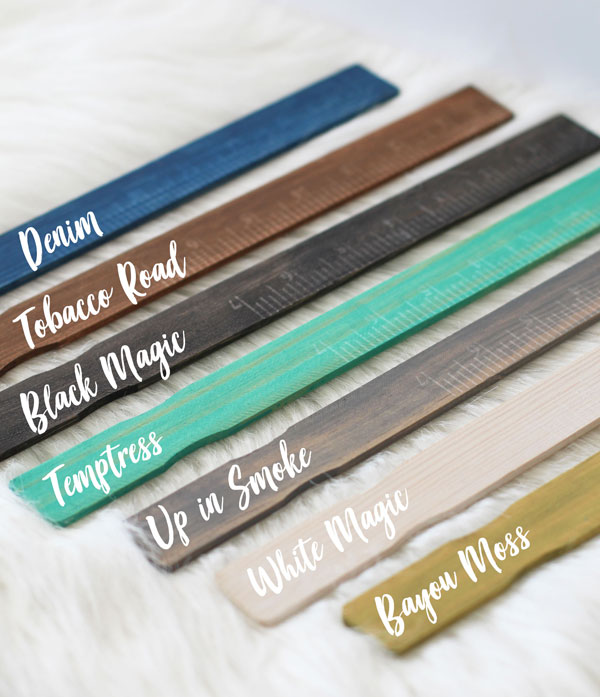
Voodoo gel stain comes in seven easy-to-apply colors:
If you choose to use an oil-based stain instead, you will want to be sure your stained surface has plenty of dry time before sealing, three to four days is usually enough.
Seal the Table
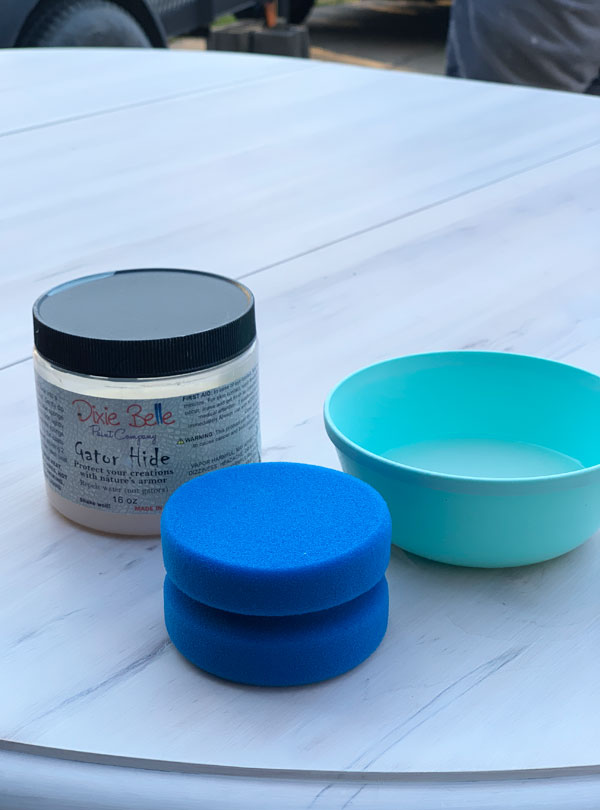
About a half an hour later, I sealed it with Dixie Belle’s Gator Hide using their blue sponge applicator:
Read more : How to Design a Kitchen That Really Works for You in 5 Simple Steps
I gave it two coats.
You can see how I apply sealer with a sponge in this video:
If you have trouble viewing, find it on YouTube HERE.
Gator Hide is Dixie Belle’s toughest topcoat, so it is what I use for heavy traffic items like kitchen tables. Most other pieces will do just fine with Clear Coat.
Paint the Base of the Table
The pedestal base of this table was easy enough to paint with a brush. My sister gave the table base three coats of Cotton, sanded with 220 grit sandpaper, and sealed with Gator Hide, also using the blue sponge to apply it.
Prep the Chairs
For the chairs, I enlisted the help of my HomeRight sprayer to knock the job out quickly!
Here’s a closer look at what they looked like before:
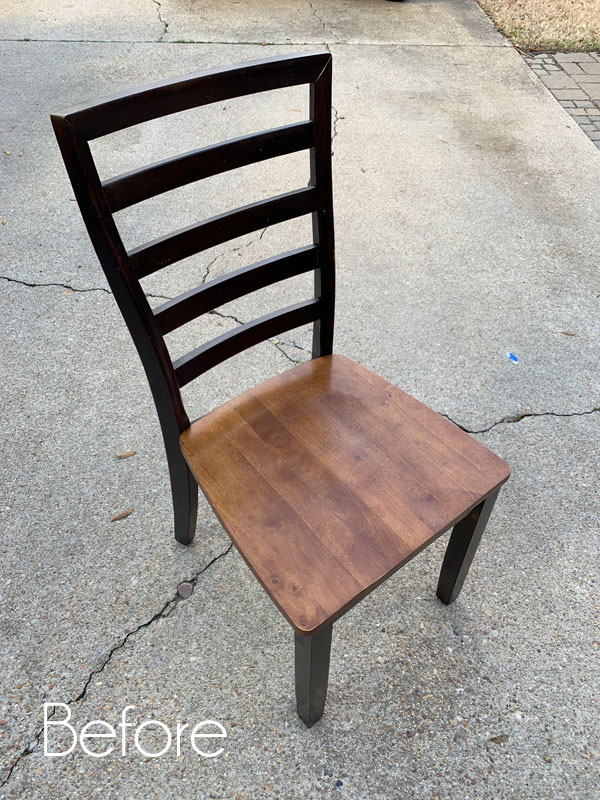
I was not a fan of these chairs at all! And in fact, I suggested looking for replacements for these as well, but my sister was determined to keep them.
We started by sanding all of the seats since we intended to stain those also…
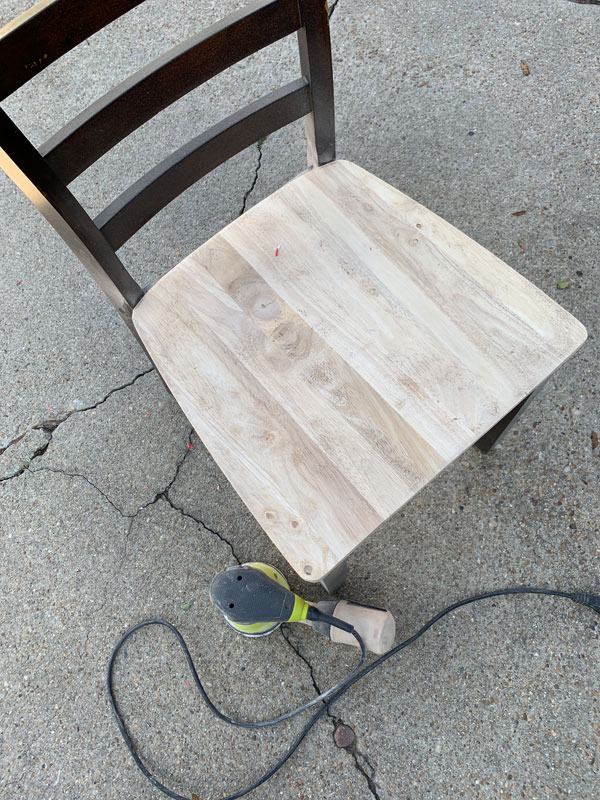
Then my sister realized that we could remove them, so that’s what we did.
She got to work staining the seats in the same way we tackled the table, while I got started on spraying the chairs.
Spray the Chairs
This is the best way I have found to paint multiple dining chairs!
I set up my large HomeRight spray shelter for this project to catch any overspray. Then I filled up my HomeRight sprayer with Dixie Belle Cotton, full strength, and started spraying! I used a brand new 32 oz jar of paint.
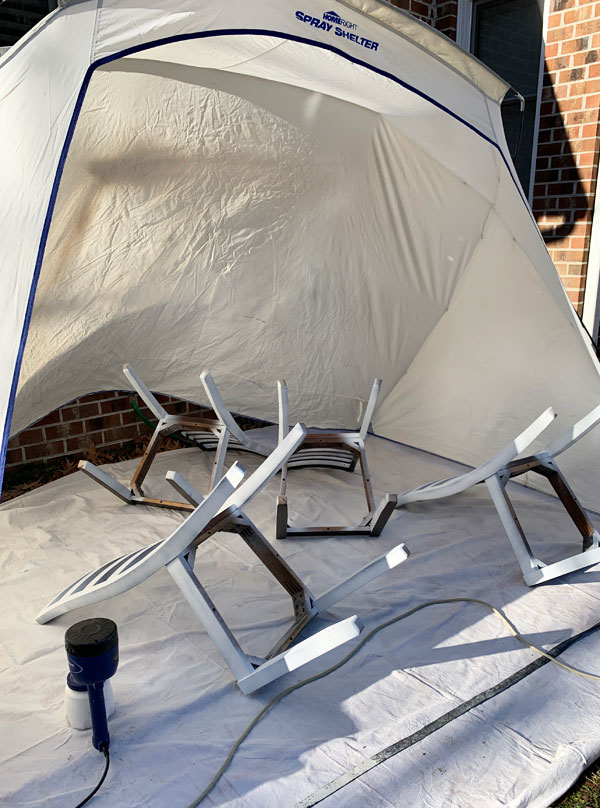
I always paint chairs with them faced down first until all coats of paint have been applied. I gave these two coats.
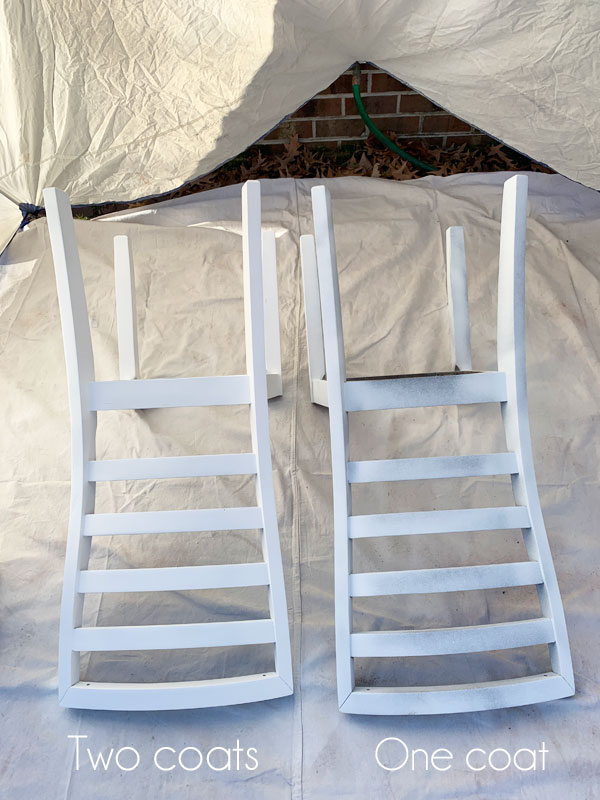
The sprayer gave great coverage in two coats.
Then I flipped them upright and sprayed the rest:
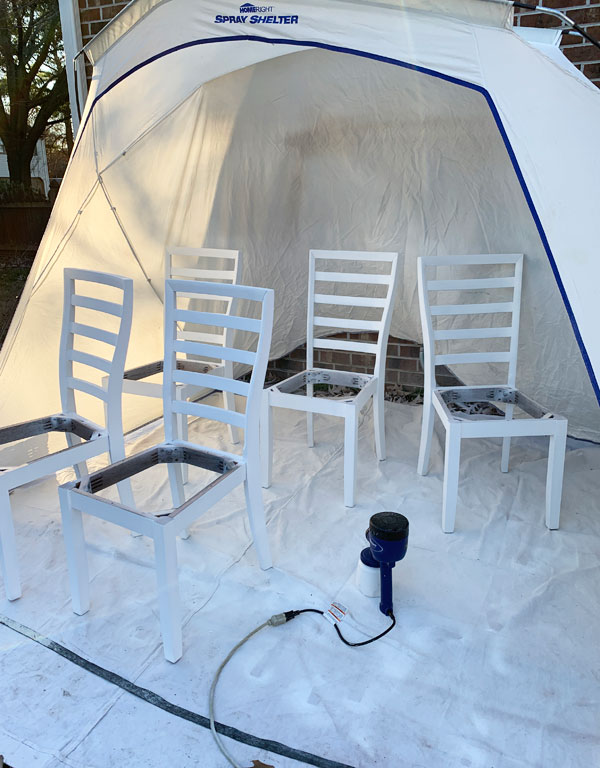
Spraying furniture is so much quicker! I used to use my sprayer more often at our old house, but it’s so windy at our new house that I don’t use it very often now. My sister doesn’t get much wind in her back yard, so it worked perfectly! Seriously, there is no other way I’d rather tackle painting all those chairs!
Because the sprayer is technically spitting the paint out, it can leave the surface not completely smooth to the touch. But because I use chalk paint, all my pieces get sanded lightly from head to toe to smooth them out anyway, I still end up with a super smooth surface. The Dixie Belle Paint worked so well in the sprayer even without being watered down. Chalk paint dries very quickly though, so you don’t want to leave your sprayer sitting idle for too long. This tool makes cleaning your sprayer much easier!
I left my sister to finish the chairs on her own. After sanding, she sealed them with Gator Hide as well.
The Result
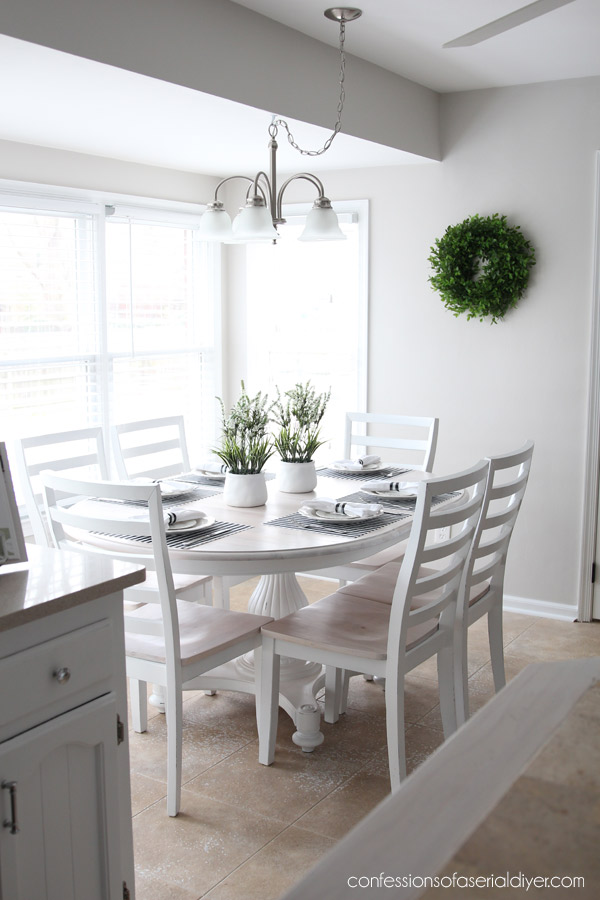
Here is what her eat-in area looks like now:
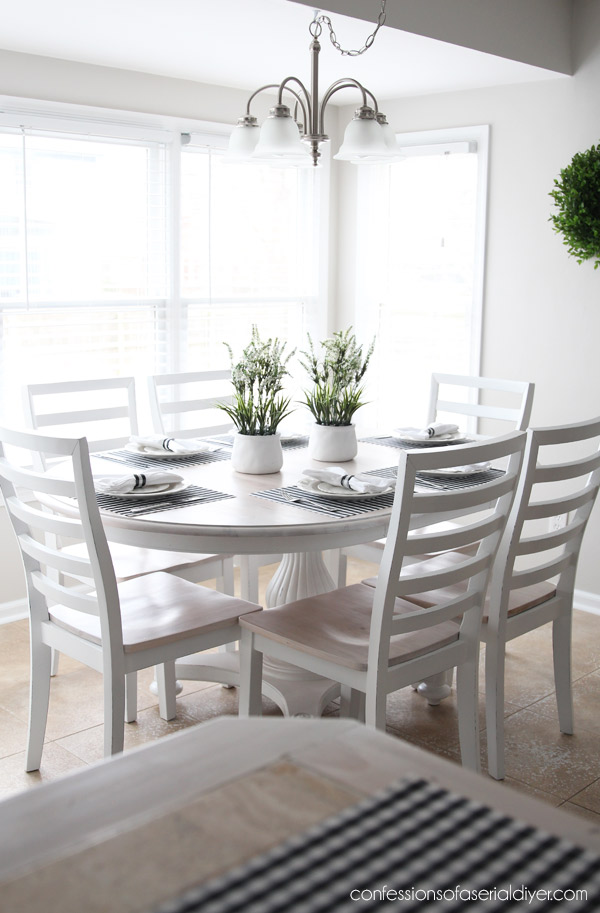
Can I get an Amen??
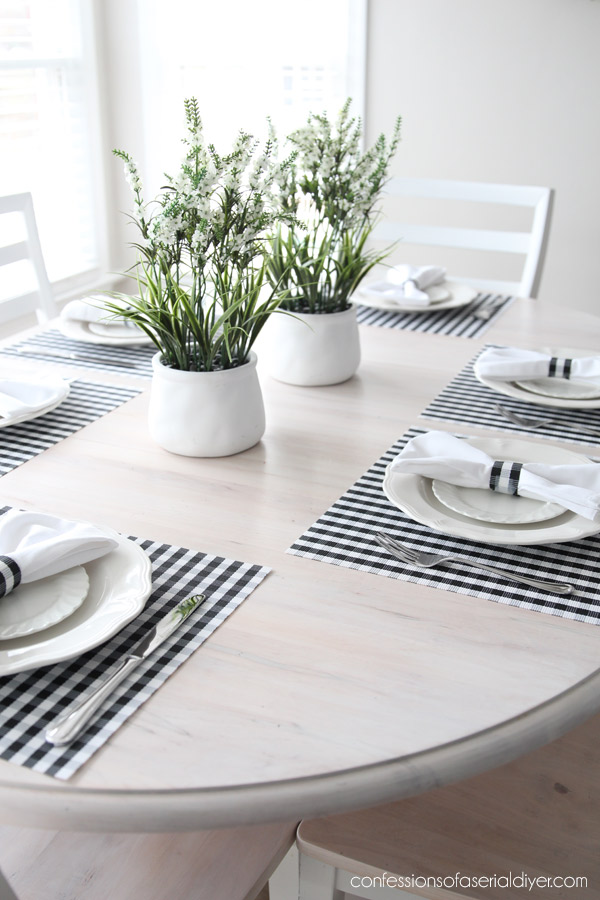
It turned out SO good!!
Read more : 38 really stylish larder cupboard and pantry ideas for your kitchen
These are her old chairs and they compliment the new table perfectly!
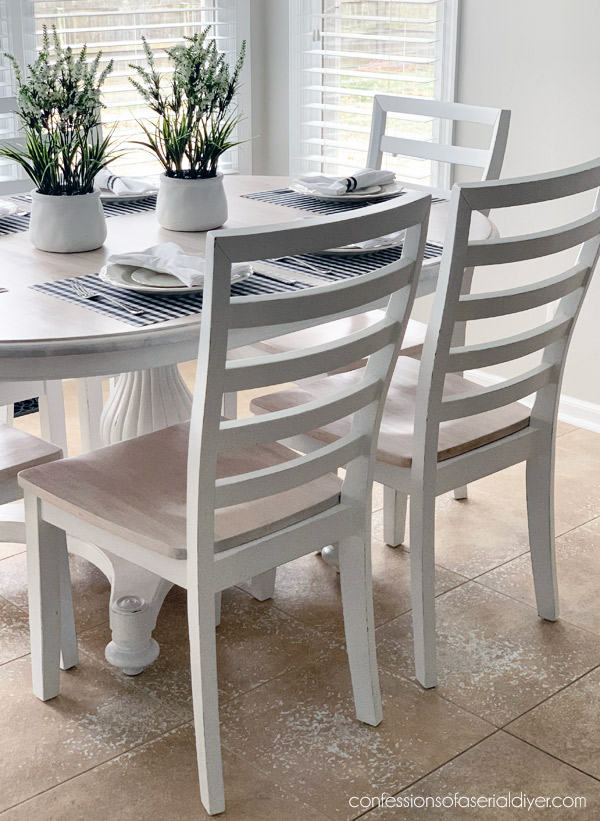
I’m so glad she didn’t listen to me when I tried to get her to replace them too!
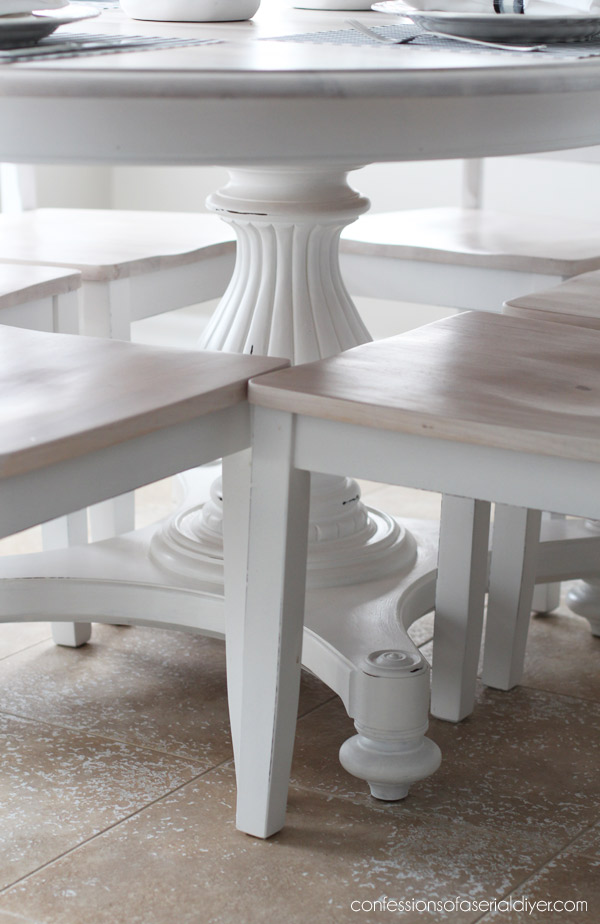
The Gator Hide dries to a lovely satin-like sheen and is super durable and water repellent:

I still can’t get over how amazing the chairs turned out!

She never could have found a set that she liked better if she were trying to buy new!
What a great investment that table was for only $69!
I found the placemats and florals at HomeGoods. The placemats were too big, but because they were plastic, we were able to make them fit by cutting a couple of inches off of each one. (Also voila! Napkin rings ha ha!)
The pedestal base on this table was what sold me! This was my sister’s first chalk-painting project and I’d say she did a fantastic job!!
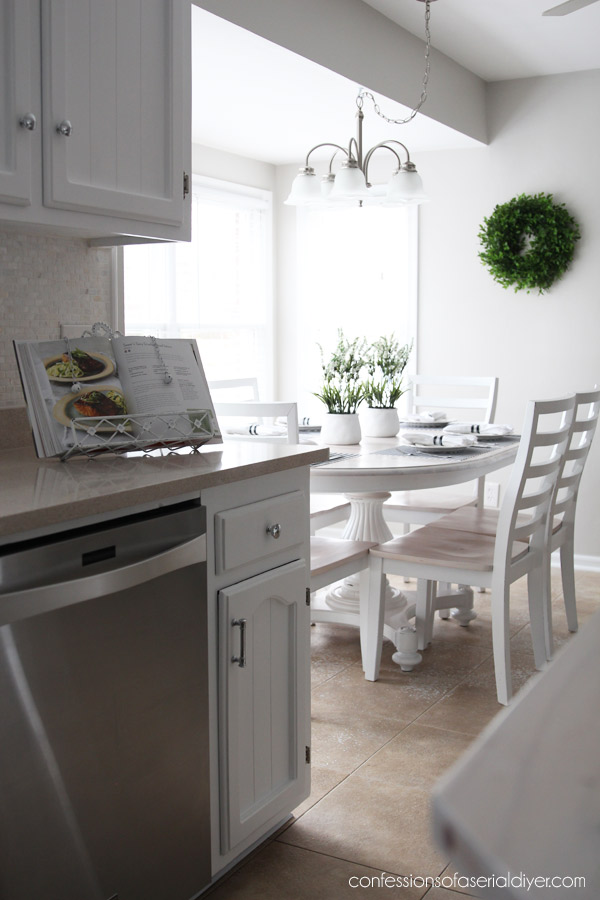
Since I originally shared this makeover, my sister has had all of her floors downstairs replaced with luxury vinyl! It looks amazing with her updated kitchen and eat-in area! I need to take pictures to share!
It looks so much better than this tile that was not wearing well at all!
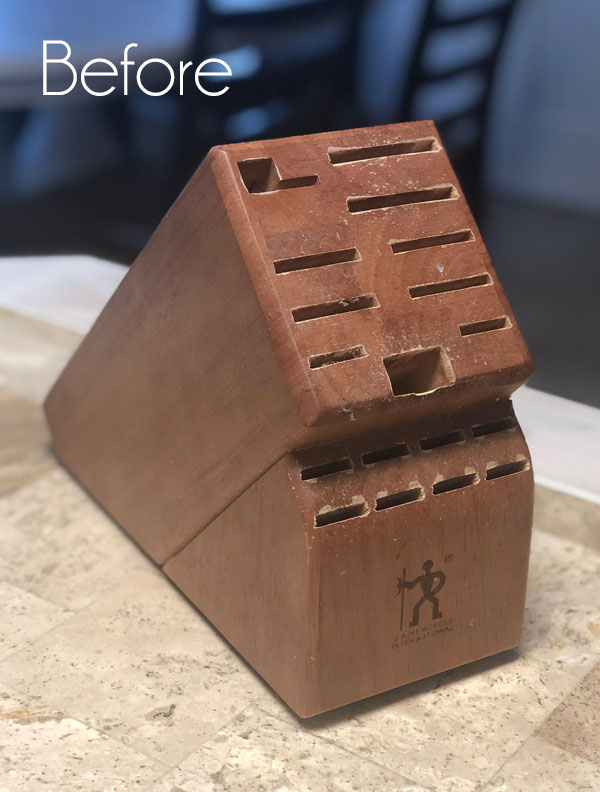
Here is one more project my sister took on herself, their knife block:

She gave it the exact same treatment as the table and chairs: 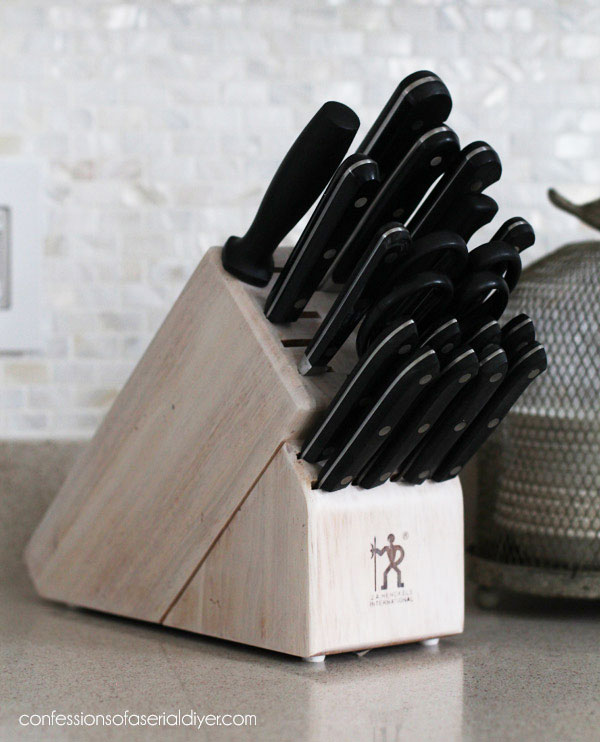
Now it matches the rest of the kitchen! (I redid my own knife block too HERE!)
Have you seen my sister’s very 80’s kitchen that we tackled??
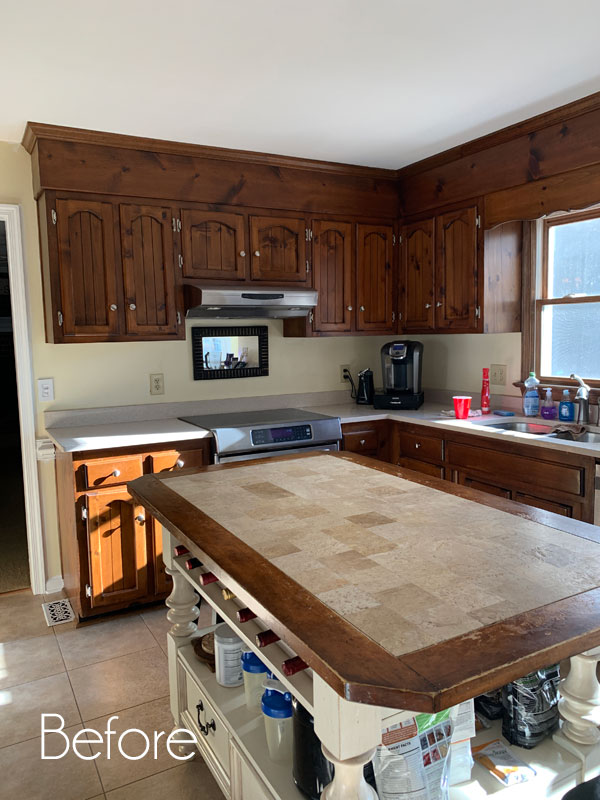
I shared this makeover in two posts. The first is how we did painted those pine cabinets, and the second is all the pretty before and after pictures!
- How to Paint Pine Cabinets
- Pine Kitchen Before and After
I’ll be back next with 15+ thrifty mirror makeovers to inspire your own makeover:
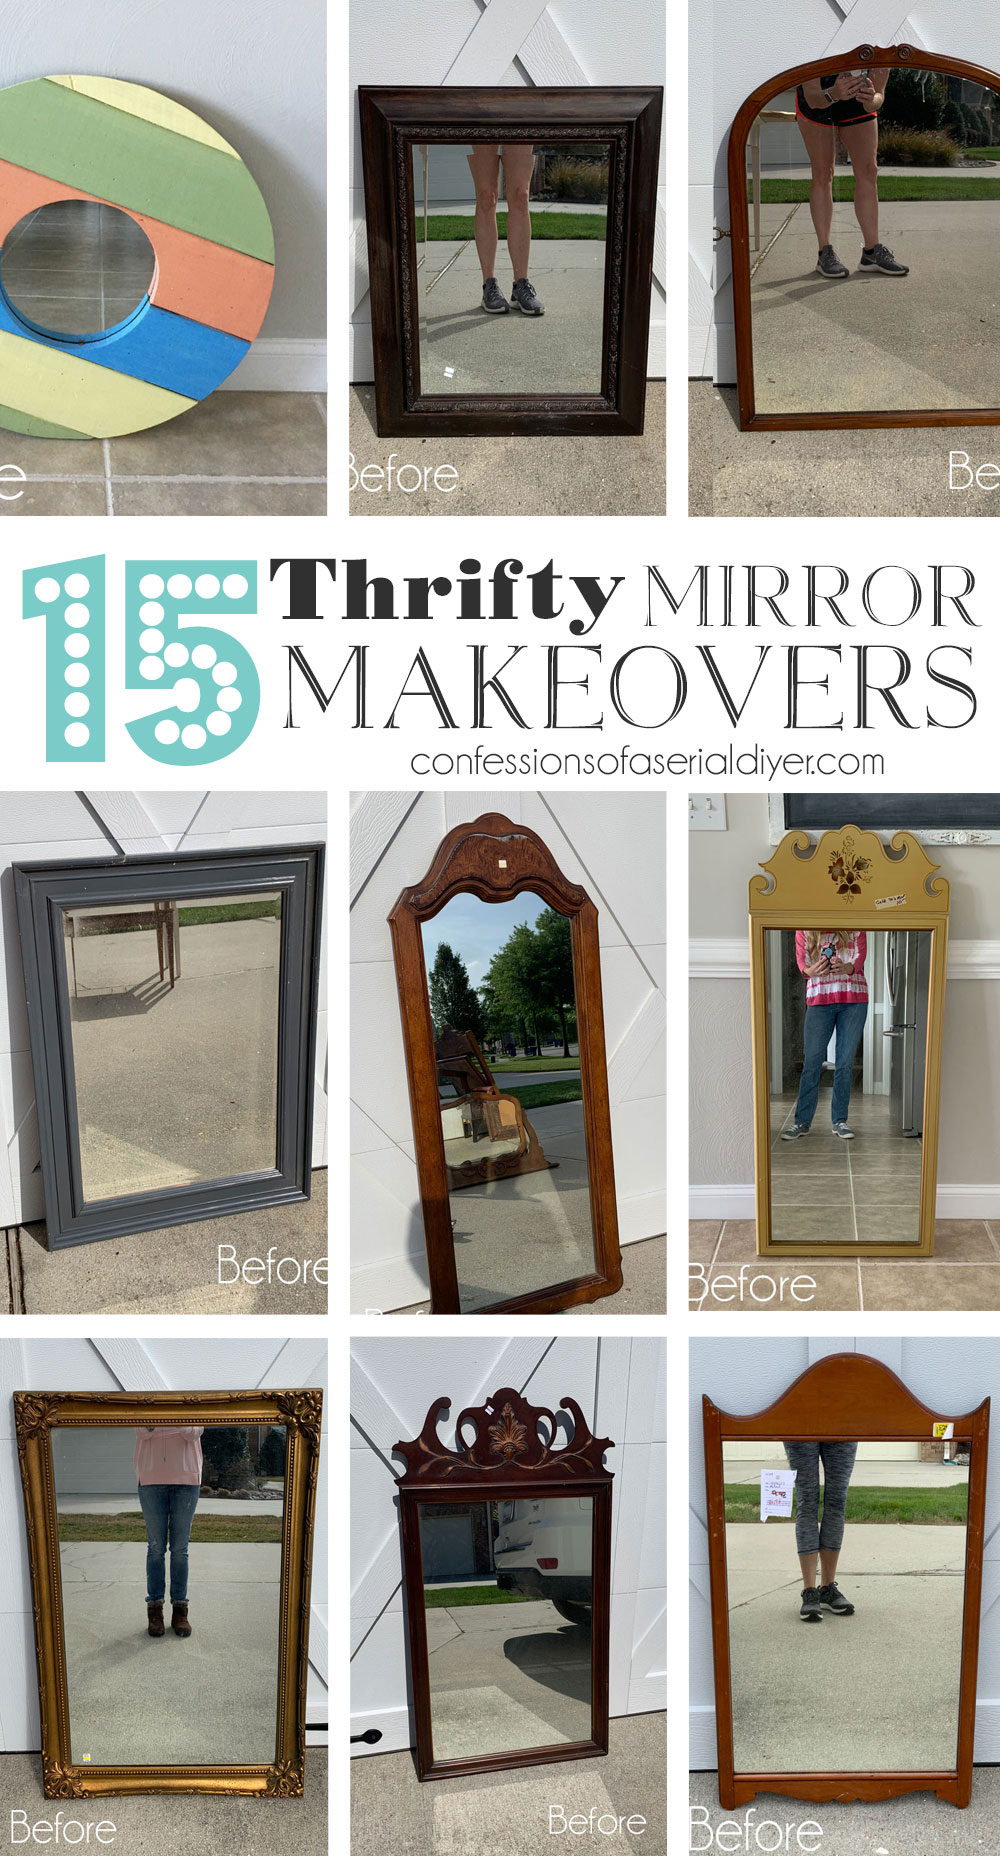
UPDATE: They look so much more beautiful now…see them all HERE!
XOXO,
Don’t Miss a Thing!
If you like what you see, there are several ways to follow along!
Email * Instagram * Facebook * Pinterest * Twitter

Source: https://gardencourte.com
Categories: Kitchens


