If your kitchen faucet is loose, you may be wondering how to tighten it. It can be tricky to do, but it’s definitely worth it to prevent water leaks and other problems. It’s a good thing we have listed down a few tips on how you can tighten your faucet base. See our complete research below and try them in your own kitchen.
Tightening your kitchen faucet should be easy. You only need a few tools, including a wrench or a screwdriver. Afterward, you can do the following procedure:
You are watching: How to Tighten A Loose Kitchen Faucet Base
- Remove things under the sink.
- Shut off the water supply to the kitchen faucet.
- Locate the screws or bolts.
- Identify the type of baseplate on your faucet to choose the right tools.
- Tighten the screws or bolts.
- Use a wrench to tighten the nut (if needed).
- Check if the faucet base is tight enough.
- Replace any objects back under the sink.
- Turn on the water supply and check for leaks.
To learn more, check out the entire process of tightening a loose kitchen faucet base. See how you can choose the appropriate tools in keeping your faucet in the proper condition.

How to identify a loose kitchen faucet base?
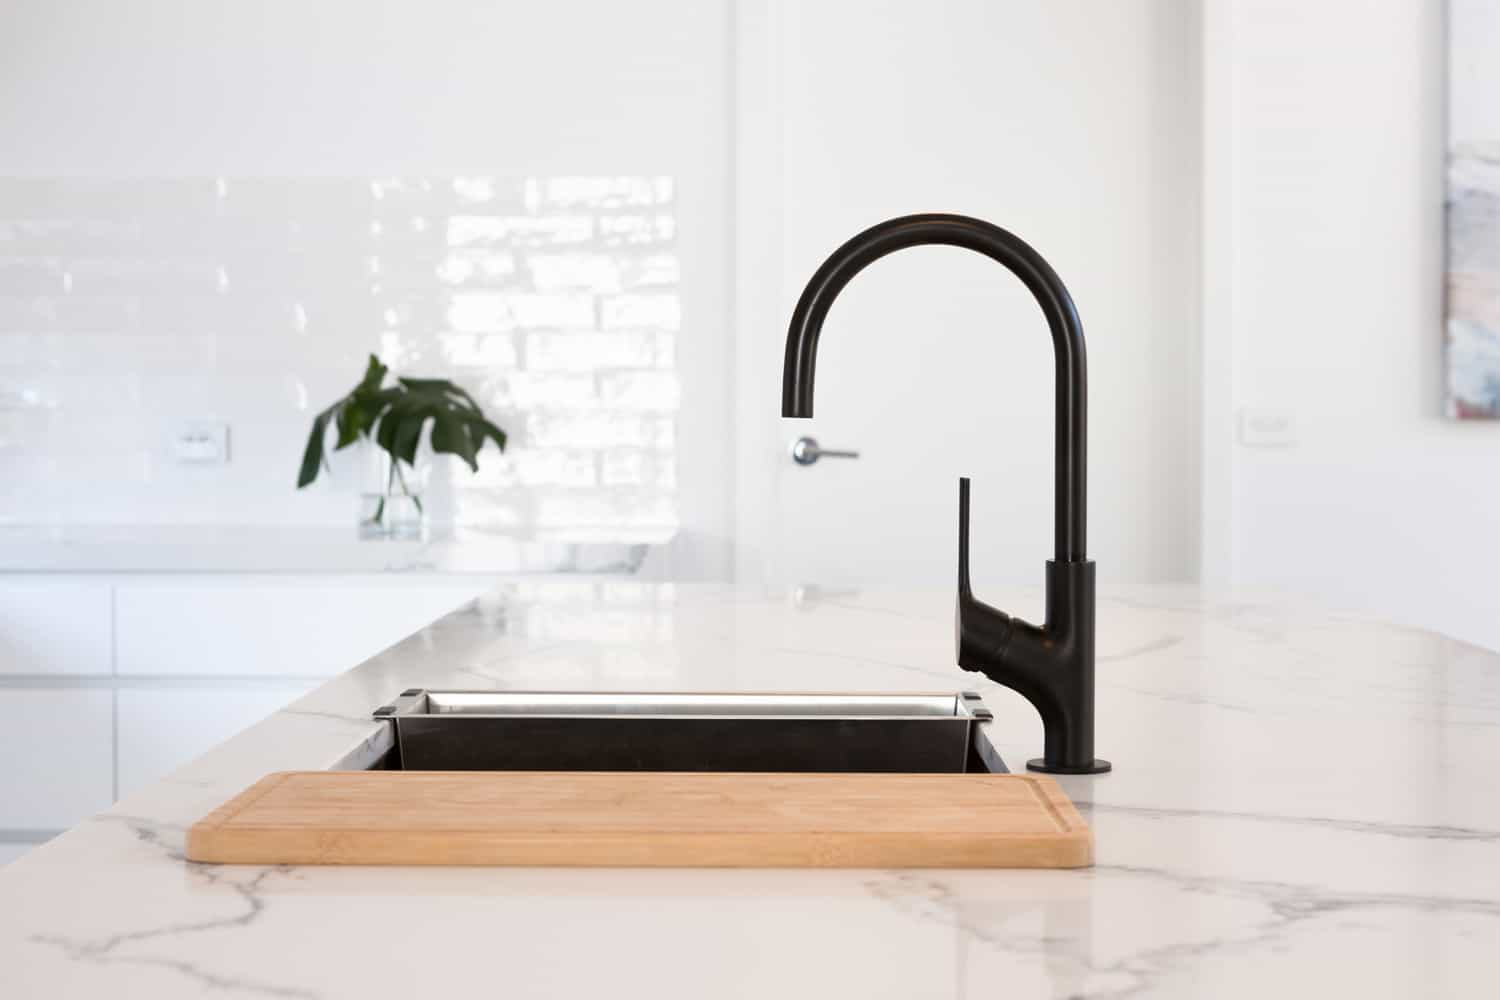
Most kitchen faucets are designed to be mounted onto the countertop or sink, with a baseplate that helps to secure the fixture in place. But then, over time, it is not uncommon for the baseplate to become loose, resulting in a wobbly or leaking faucet. If you suspect that your kitchen faucet has a loose base, there are a few telltale signs to look out for.
- First, check if the baseplate is fixed to the countertop or sink. If it is not, the screws have likely come loose, and you need to tighten them.
- Another sign of a loose baseplate is water damage around the perimeter of the plate. It could be due to a slow leak from the faucet and can be difficult to fix if left untreated.
A few different things can cause a kitchen faucet to loosen, such as age or wear and tear. It could also be due to loose screws or bolts, a broken or worn gasket, sediment build-up, or rust.
Nevertheless, it is still vital for you to solve the wiggling of your faucet by tightening it properly.
How to tighten a loose kitchen faucet base?
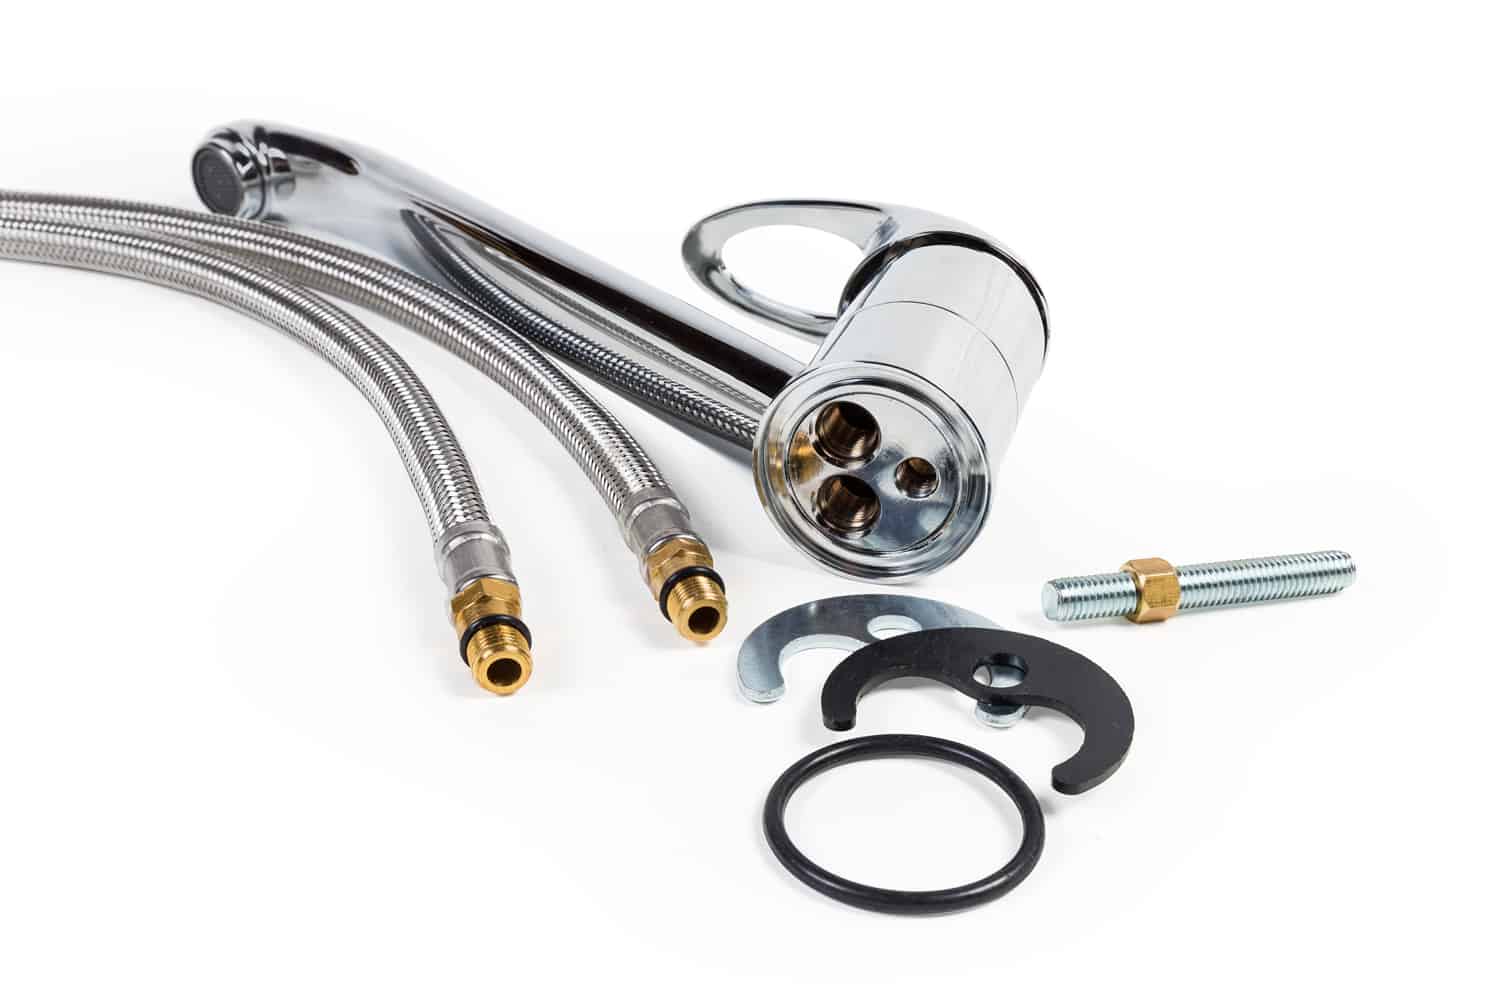
1. Remove things under the sink
If your kitchen faucet is loose, the first step is to remove any objects that may be blocking you from accessing the screws or bolts on the underside of the sink. It includes the drainpipe, P-trap, and garbage disposal (if you have one).
Shut off the water supply to the kitchen faucet by turning the knob on the wall to the left.
If your kitchen faucet has a hot and cold water supply, you must turn off the corresponding valves. The knob on the wall typically looks like a small metal pipe.
2. Locate the screws or bolts
Once you have cleared the area under the sink, look for the screws or bolts that secure the kitchen faucet baseplate to the countertop or sink.
3. Identify the type of baseplate on your faucet to choose the right tools
Read more : Kitchen Hair: How to Grow Nape Hair?
There are two types: square and round. If your baseplate is square, use a wrench to loosen the four screws that hold it in place.
If your baseplate is round, you can consider a wrench to loosen the two screws. In both cases, be careful not to strip the screws.
4. Tighten the screws or bolts
Using a Phillips head screwdriver, tighten the screws or bolts until they are securely in place. Be careful not to overtighten, as this can damage the faucet or plumbing.
5. Use a wrench to tighten the nut (if needed)
If your baseplate has a nut instead of screws, use a wrench to tighten it until securely in place.
6. Check if the faucet base is tight enough
Once you have tightened the screws or bolts, turn on the water supply and check if the faucet base is tight. If it is still loose, try tightening the screws or bolts again.
7. Replace any objects back under the sink
Once you have successfully tightened the kitchen faucet base, reattach any objects that were removed from under the sink, such as the drainpipe, P-trap, and garbage disposal.
8. Turn on the water supply and check for leaks.
Test it out to see if you solved the issue. But then, if there are any leaks, you might consider changing the whole faucet base.
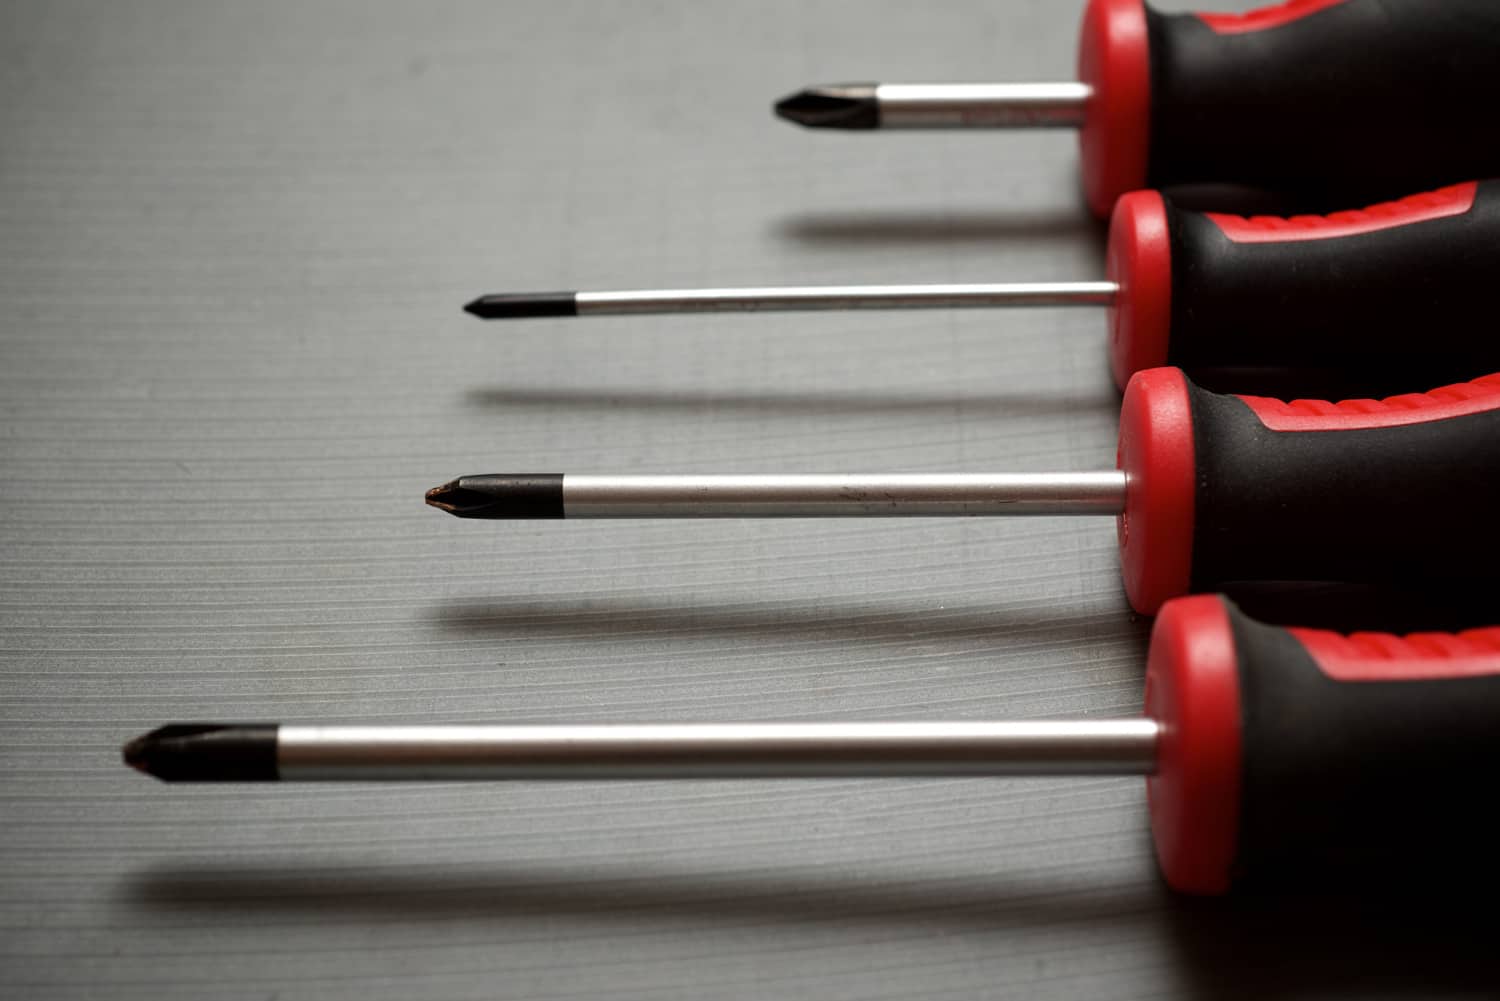
Get a complete set of wrenches for better kitchen maintenance. Check them on Amazon.
How to replace the faucet base?
- Unscrew and remove the handle from the kitchen faucet with a wrench
- Use a screwdriver to remove screws that hold on the faucet base
- Twist and pull out the old kitchen faucet base
- Insert the new kitchen faucet base and tighten screws with a screwdriver
- Reattach the handle to the kitchen faucet with a wrench
If you cannot fix the issue, it is best to contact a professional plumber for assistance. They will be able to diagnose the problem and recommend the best course of action.
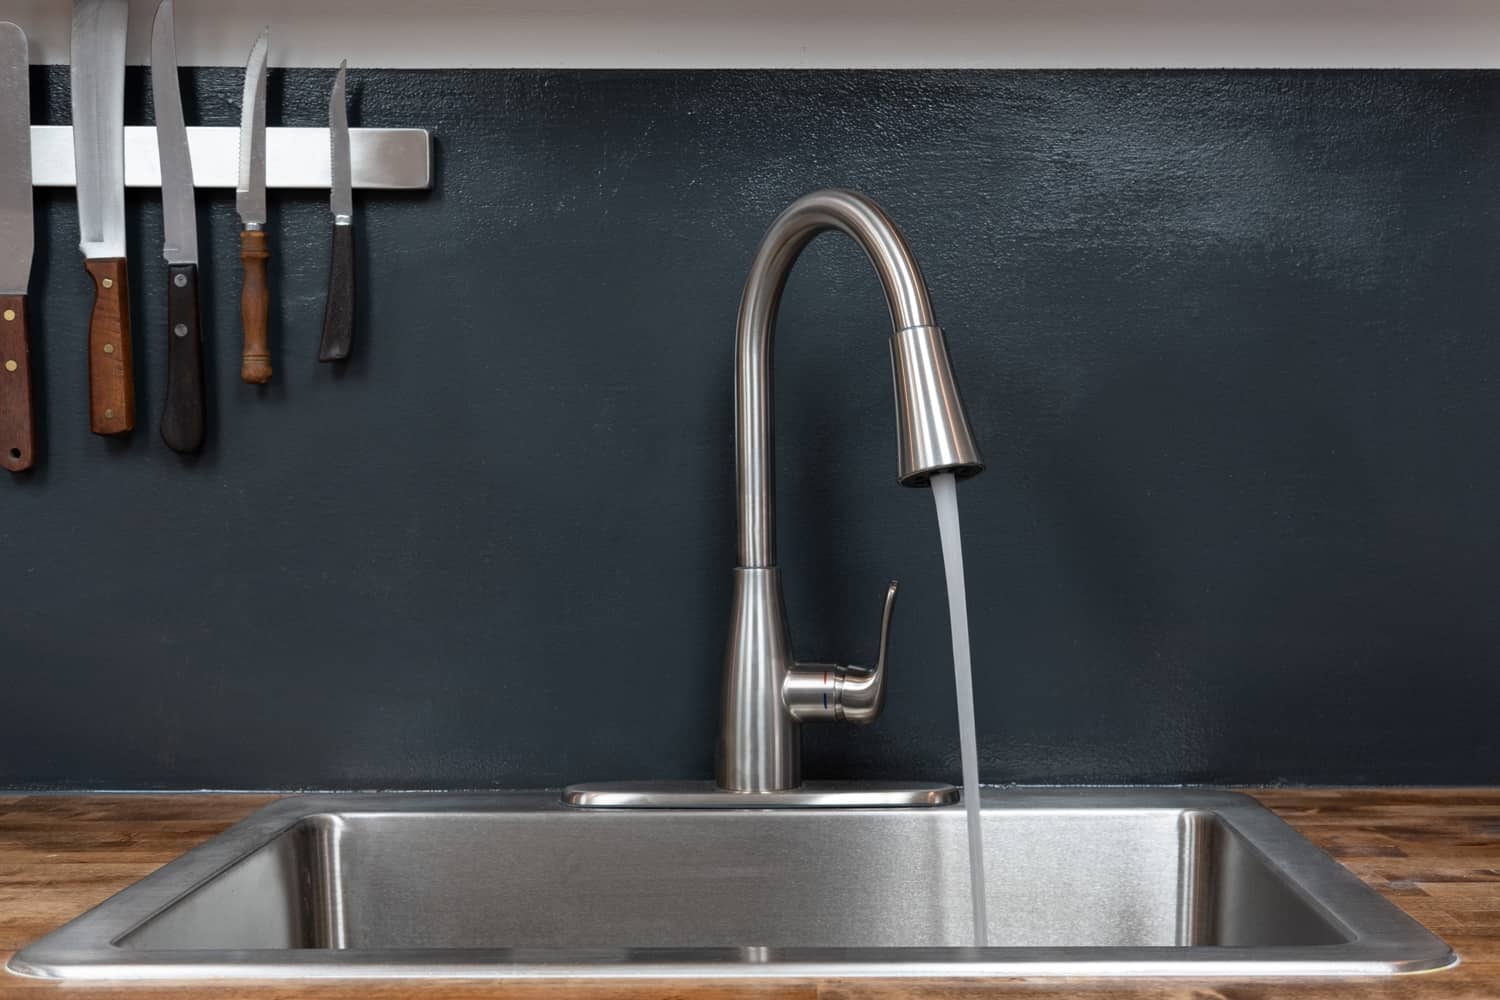
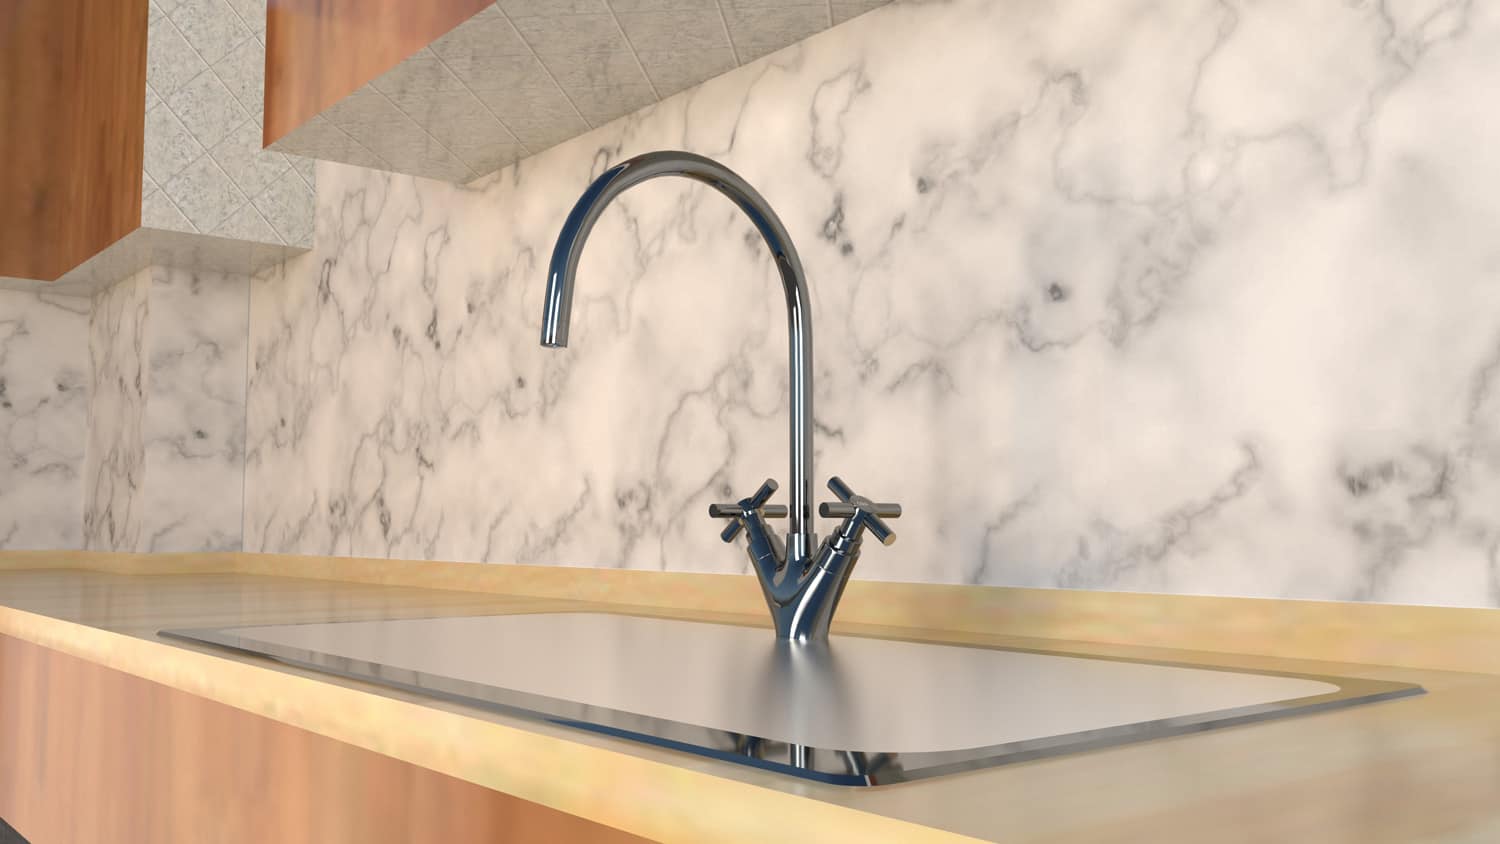
Buy a new faucet baseplate if appropriate. See it on Amazon.
What type of screwdriver do you need to tighten a kitchen faucet base?
There are a few different screwdrivers that you may tighten a kitchen faucet base, but the most common is a flat head screwdriver. If you don’t have a flat head screwdriver, you can also use a Phillips head screwdriver.
To tighten the base, simply insert the screwdriver’s tip into the slot and turn clockwise. It’s important not to over-tighten the base, as this can damage the faucet. Once the base is tight, you can use a wrench to secure the nut. With the right tools, tightening a kitchen faucet base is a quick and easy process.
Read more : Where Is The Hot Water Valve Under The Kitchen Sink?
Collect different screwdrivers to use at home. View them on Amazon.
How do you know if the screwdriver is the right size?
A screwdriver that is too big can strip the screws, while a too-small screwdriver can damage the head of the screw. So, how can you ensure that you’re using the right size screwdriver?
The best way to do this is to identify the type of screw you’re working with. Once you know the type of screw, you can consult a chart to find the appropriate size screwdriver. With a little bit of planning and care, you can avoid making a costly mistake.
How tight should the screwdriver be turned?
The answer to this question depends on the type of faucet you have.
- If you have a compression faucet, you will need to tighten the screw until the rubber washer is compressed and there is no longer any water leaking from the faucet.
- If you have a cartridge faucet, you will need to tighten the screw until the cartridge is snug in the housing.
- If you have a ceramic disc faucet, you will need to tighten the screw until the disc is seated correctly in the housing.
In all cases, it is important not to over-tighten the screw, as this can damage the faucet. If you are unsure how tight to turn the screw, consult your faucet’s documentation or contact the manufacturer.
What should you do if the screwdriver slips while tightening the base?
If the screwdriver slips while tightening the base, stop immediately and try again. It’s important not to force the screwdriver into the slot, as this can damage the faucet.
If you have difficulty tightening the base, it is best to consult a professional plumber for assistance. Kitchen faucets are a vital part of any home, so make sure they are in good working order.
How can you prevent faucet problems from occurring in the future?
A dripping faucet can waste a lot of water, and a build-up of mineral deposits can make it difficult to turn on and off. Fortunately, you can take a few simple steps to keep your kitchen faucet in good working order.
- First, make sure to clean the faucet base regularly with soapy water. It will help to remove any build-up of dirt or grease.
- Second, soak a cloth in vinegar and wrap it around the affected area if you notice any mineral deposits. Leave it for 30 minutes, then scrub gently with a toothbrush.
- Finally, don’t forget to tighten the screws regularly. It will help to prevent them from becoming loose over time.
Get a new faucet. See it on Amazon.
Final Thoughts
A kitchen faucet is a vital part of any home. By following these simple steps, you can keep your kitchen faucet in good working order and avoid costly repairs down the road.
To get more ideas on how to maintain your kitchen, check out the following articles below:
How To Install Laminate Countertop Over Dishwasher
How To Epoxy Kitchen Counters—9 Steps To Follow
Tile Fell Off Kitchen Counter – What To Do?
Source: https://gardencourte.com
Categories: Kitchens

