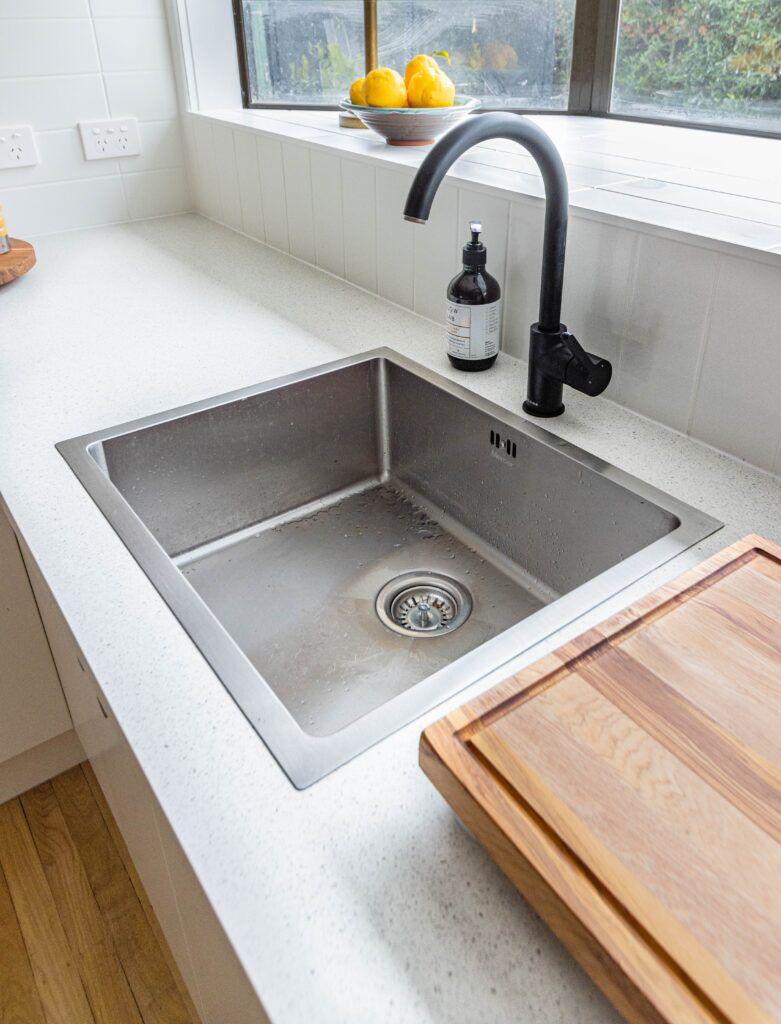
You need to know how to tighten a kitchen faucet. Why? Your kitchen has handcrafted custom cabinets, a beautiful farmhouse sink, and top-of-the-line appliances. The most renowned french chefs could only imagine cooking in a space like this. Last week, however, you noticed something awry; the kitchen faucet was loose. Every time you went for a glass of water, the serene elegance of your kitchen was shattered by a janky, wobbly faucet.
Luckily, you can remedy this situation in just a few simple steps with a few basic tools. Read on to find out how!
You are watching: How to Tighten a Kitchen Faucet- 3 Easy Steps

Tools Required
- Wrench
Read more : Play Kitchens Older Kids Can Enjoy Too
Depending on which kind of nut you find under your kitchen faucet, you may not even need a wrench, but probably best to have it on standby just in case. You can use an adjustable wrench or channel locks if you don’t have the correct size wrench for the job.
Step 1- Clear Out the Sink Cabinet
You’ll have to get under the sink in a very intimate way, so clean everything from under the sink. If it’s gross down there, you should also give it a quick wipe down; you’ll be lying down in there.

Step 2- Locate the Faucet Nut
Wiggle yourself under the sink and turn so that you are looking up. Looking to the back of the cabinet, you will notice your water lines running up towards the faucet.
- If your sink has two handles with a faucet in the middle, your faucet nuts will be underneath the handles with the water lines running up through them.
- If your sink has a faucet with an integrated handle, your faucet nut will be directly underneath, with the water lines running up through it.
Step 3- Tighten the Faucet Nut
Read more : The ultimate guide to proofing bread dough
This may seem easy, but it is a bit of a pain. The space between the sink basin and the back of the cabinet is pretty tight, and those darn nuts live right in that space. Take a couple of deep breaths before starting; you can do it.
There are two types of faucet nuts that you will find underneath your cabinet; winged nuts that you can tighten with your hand and standard nuts that you need to tighten with a wrench.
- Winged Nuts
- These are often made out of nylon or some other type of plastic. As the name implies, you will notice a sort of flange or wings on the nut. If this is what you see, reach up with your hand and tighten as much as required to tighten up the faucet.
- Standard Nuts
- These will be made out of zinc, stainless steel, or some other type of metal. You can reach up and tighten it as much as you can by hand, but you’ll probably need to finish it off with a wrench. This is a pretty tight space for a wrench, so get ready for some frustration. Hang in there, though; you’ll be done soon.
- You don’t want to overtighten this nut; you could crack your sink. Only tighten it enough to stabilize your kitchen faucet.

Congratulations, You Know How to Tighten a Kitchen Faucet!
That wasn’t too bad, was it? And to think, you almost called a plumber for that. It’s pretty uncomfortable under that cabinet, and those darn nuts are in a rather inconvenient space. Still, it’s a pretty simple job. Now you know how to tighten a kitchen faucet, peace and order in your kitchen have been restored.
Source: https://gardencourte.com
Categories: Kitchens

