I still have my mother’s wooden box full of all her Handwritten old recipes and every now and then, I’ll pull one out and make one of her delicious meals. I’ve seen recipes transferred to cutting boards and It’s such a special way to honor the memory of a loved one.
TIP:Using label paper or freezer paper you won’t need to use a laser printer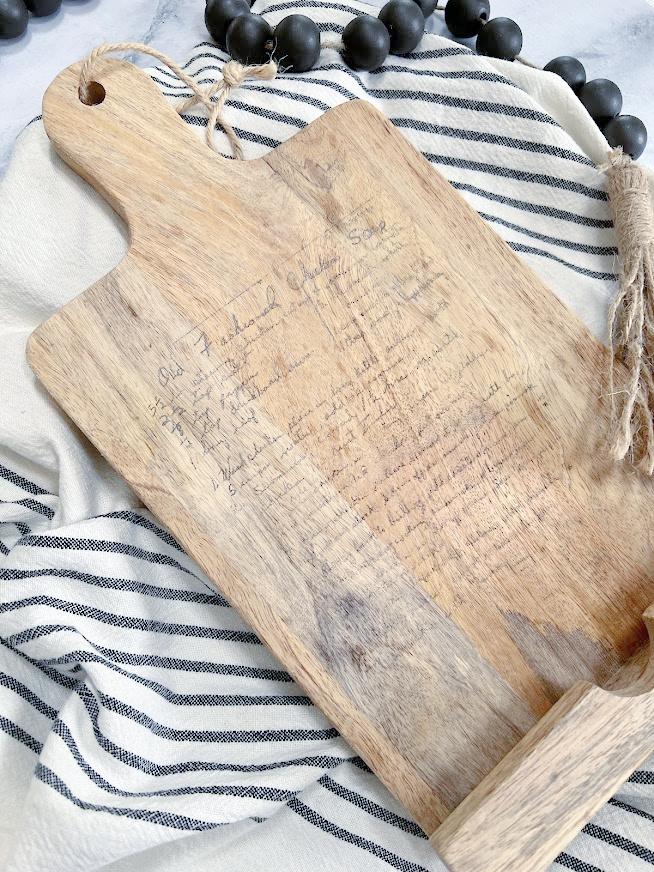
You are watching: How to Transfer A Handwritten Recipe Onto A Cutting Board
It’s thrift store decor day where you will find NEW thrifty ideas from the team. You’ll find links to all of the projects at the end of the post, don’t miss out.
Affiliate links listed below
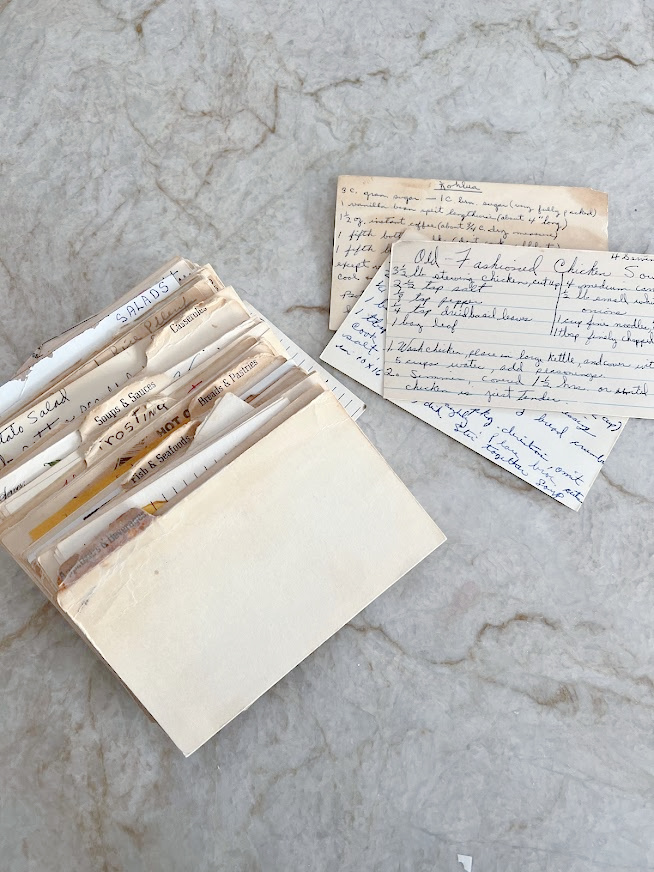
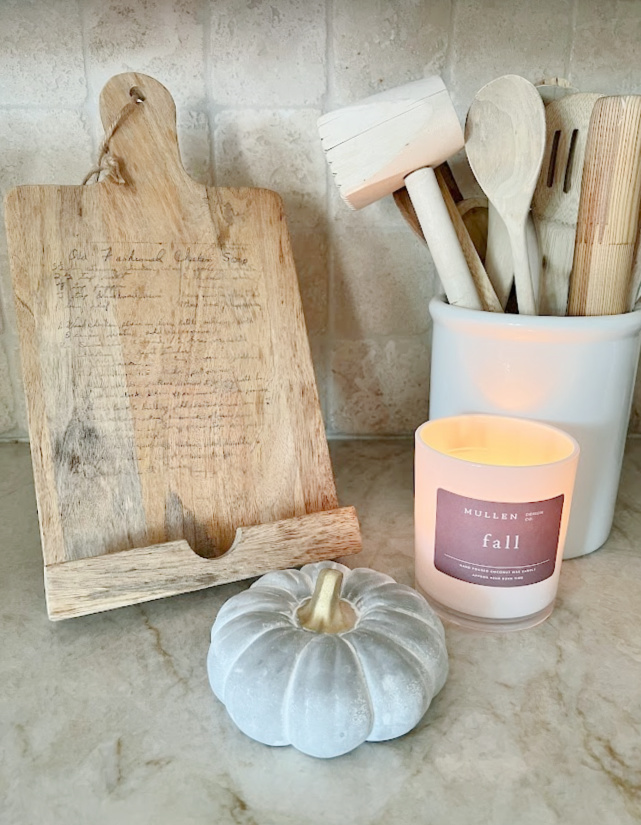
It was hard to pick out the perfect recipe to transfer over to the cutting board but when I found her chicken noodle soup recipe I knew that was the winner! Nothing better than when I was sick and mom would whip up a batch of her soup, I love that I do the same for our boys. It was her birthday last week, and I won’t lie, it was a hard hard day, visiting her grave, boy do I miss her.
There are a ton of ways to do this and I’ve tried most of them on past projects. However, for this particular project, I didn’t want to have to go by more products or run to staples to use their laser printer, this heat has me staying indoors! I found this cutting board/display board at an estate sale about 2 years ago for $5, they sell them new for triple the amount and I have had it displayed in my kitchen ever since. I thought this was the perfect piece to transfer her chicken soup recipe.
I have to say, this did come out a little lighter than I anticipated, however, this wasn’t the process that was the issue but the actual recipe card itself. The card is about 50 years old, yellowing had begun and the print had lightened up a bit. I think whatever method I used I would still get the same outcome. If you do have an extremely light recipe card, I’m thinking the laser printer/mod podge method might work a little better, I’ll have to give it a try. The thing is, it doesn’t bother me in the least, because the minute I lifted the paper from the wood, I could see her handwriting immediately and it brought me such joy, envisioning her back in the kitchen cooking her homemade meals for 6 o’clock dinner.
Tools:
- Label Paper
- You could also use wax paper or freezer paper, you would just need to cut it down to size and it’s a little tricky to work with
- Inkjet printer
- A photo editing software, I used Canva (it’s free)
- A clear finish like spray lacquer you could also use mod podge
- Wooden cutting board or wood surface
Directions
First things first, make sure your cutting board is clean. You could also sand it down smooth as porous surfaces will show more of the ink
I placed the recipe card onto my printer and scanned it. I then downloaded it into canva and mirrored the print.
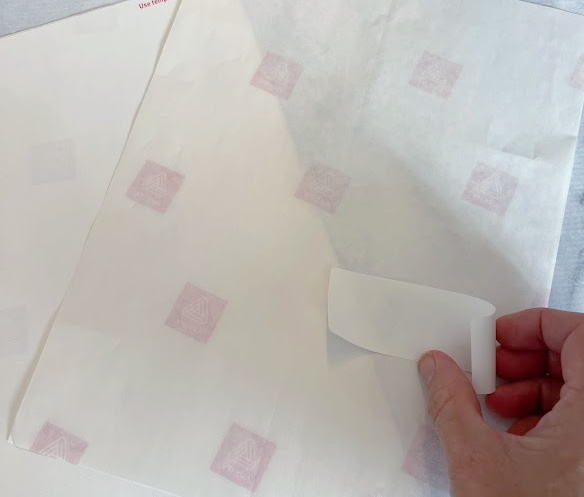
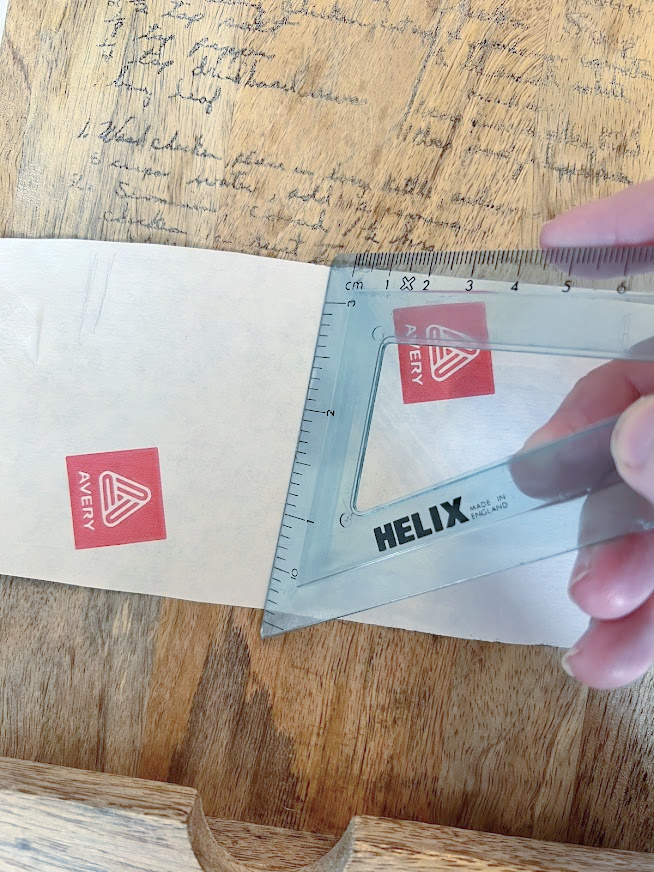
Take off all of the labels from the shipping label sheet. The side that had the labels is the side that you will be printing on.
 Feed the shipping label into your printer so that the image prints on the shiny side (the side where the labels were). Print. The paper will hold your ink in place but will not absorb it. Do not touch the print or it will smear.
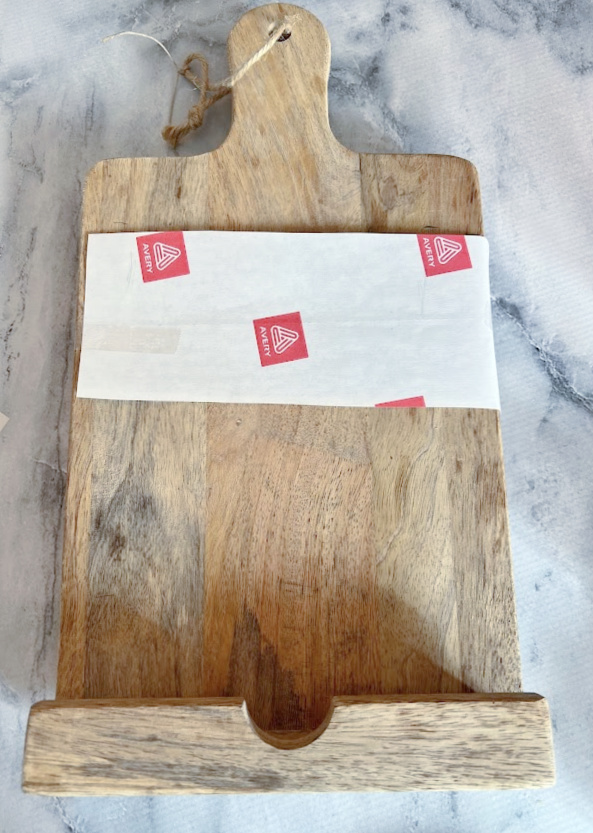
Draw out exactly where you want the recipe to go on your cutting board, you only have 1 try at this. Carefully place the recipe image ink side down onto the wood and tape the sides. Do not re-position once placed. Hold the paper in place with one hand, Using a credit card, ruler, etc, gently smooth the card over the entire surface of the paper, do not move the paper.
Once the ink is dry to the touch, apply a clear coat. I would use a spray so you don’t smudge the print, and let dry. You can also seal with mod podge just be certain the ink is dry.

Best Tips:
Read more : Salted or unsalted butter? Are they interchangeable?
Brighter colors will show up more since you lose some of the saturation when transferring over to wood
Remember your printer will not print white. So if you have white in your picture it will take on the color of the wood.
The lighter the wood the more the picture will stand out.
This is such a great way to preserve a handwritten family recipes and would make the perfect gift for mother’s day. It would also make for a great gift idea during the holiday season. There is nothing better than a personalized cutting board that can be passed down to future generations!
More creative ideas: (You can find lots of Etsy sellers that will fulfill custom orders)
Take grandma’s favorite recipe and transfer over to a tea towel
Engraved on a casserole Dish
Personalize a plain apron
Printed on a pie plate
Personalize a kitchen flour sac
Transferred to a ceramic Jar
Etched onto a mason jar
I also wanted to show you a past project where I used this method. I have been wanting to share this tutorial for a few years but never got around to it. I had created a printable for fall and I transferred it over to a wood block to use in vignettes. You can see how clear it is when the original print is dark and clear. If interested you can find the printable here.
I little shout out to, Artsy Fartsy Mama who linked up her recipe cutting board to Inspire me Monday and gave me the motivation to create this, thank you!
Now let’s see the crafts and DIY projects my friends worked on this month. I know you will find lots of inspiration.
Rose Back Chair Makeover My Repurposed Life
Transfer a recipe to a cutting board My Uncommon Slice of Suburbia
Modern Fall Decor for the Fireplace Sadie Seasongoods
Window Art With Glass Plates House Of Hawthornes
Desktop Hanging Clock Makeover Domestically Speaking
Framed Wedding Seating Chart Our Southern Home
Large Thrifted Wooden Tray Makeover Organized Clutter
DIY Recycled Sweater Pumpkins Petticoat Junktion
Vintage Trash Can Upcycle Shop At Blu
Thank you so much for stopping in today!
Download your free printable here!
Source: https://gardencourte.com
Categories: Recipe

