A lot of older lighting installations in kitchens used fluorescent tubes.
It provided a wide, bright amount of light over larger surfaces and didn’t need a lot of individual pendants that might get in the way of cupboards, extractors, and other kitchen fixtures.
You are watching: How To Update Recessed Fluorescent Lighting In Kitchen?
But it is all a little retro now.
Many older fixtures can look tired, and they can take a few ways to warm up as well.
How do you update your kitchen fluorescent lights to improve them?
The best way to update fluorescent lights is to replace them completely – there are various LED options, including LED tubs and lighting boxes, that don’t require a complete kitchen remodel. Or you can add more modern covers to fixtures to give them an updated look.
Let’s dive in and take a look at:
- How to remove old fluorescent light box fixtures
- What you can use instead of recessed fluorescent lights
- How to replace old fluorescent tubes with new LED ones
How To Remove Old Fluorescent Light Box Fixture?

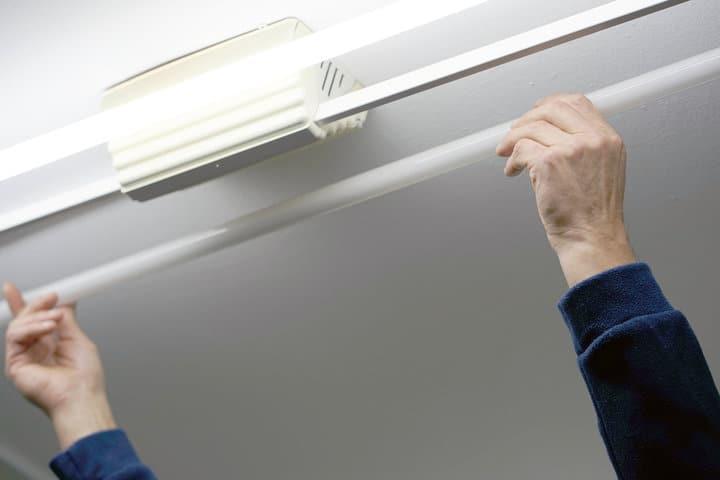
Fluorescent light boxes aren’t so difficult to remove.
They’re just like surface-mounted fluorescent light fixtures, except they’re situated within a recessed hole.
Start by disconnecting the power and removing any cover over the fixture.
Most fluorescent covers are clipped into place, or they rest on a lip and need to be lifted at one side so you can angle them down and remove them.
Once the cover is removed, you can access the bulbs – twist them and remove them, making sure to put them to one side.
You don’t want to smash them during the process accidentally.
With that done, you should be able to locate the screws holding the ballast, but first, disconnect the wires running into the ballast.
With that done, go ahead, unscrew them, and remove the ballast, sliding the wires out as you do.
Once the ballast is removed, you should have access to the mounting screws that hold the whole light fixture into place.
Unscrew them, and you should be able to remove the light fixture itself, leaving a small hole with the wires coming through from the ceiling inside the recess.
Should I Patch The Recessed Box Hole?
Once you remove the light fixtures, you’ll be left with a box hole, and even if the lights had a cover, normally, this hole is properly drywalled, so you can leave it if you prefer.
Some LED lights are designed to fit inside a recessed box already, or you could keep the recessed box and install LEDs within it.
But many people would prefer to patch the hole instead so that the entire ceiling was flat and even.
Read more : 15 Genius Ways to Organize Your Spices
This is a lot more work since you’ll need to buy some new drywall and likely some wood to secure it, as well as the putty and paint to cover the seal.
But the results are much neater.
Here is the video of the whole process.
If you plan on replacing the fluorescent lights with LEDs, you can cut the new drywall section for the lights before you install it, which makes the work a little easier.
It’s down to your preference, but if you leave the recessed lights within a box hole, bear in mind that you’re restricting the light since it will only be cast on the inside of the box hole itself.
They won’t light the room as effectively.
What Can I Use In Place Of Recessed Fluorescent Lights?

Once you’ve removed your recessed fluorescent lights, you’ve got a few options on what you could replace them with.
The first option would be to look at replacing like-for-like and adding LED tube lights in place of the fluorescent ones.
For this, you wouldn’t even have to remove the fixture.
They won’t look a lot different – so if you want to modernize, you’ll also want to consider a cover (more on those below), but they will give you a more responsive light, switching on a lot quicker.
The tubes will have a longer lifespan, too, so you won’t need to worry about replacement bulbs for a long while.
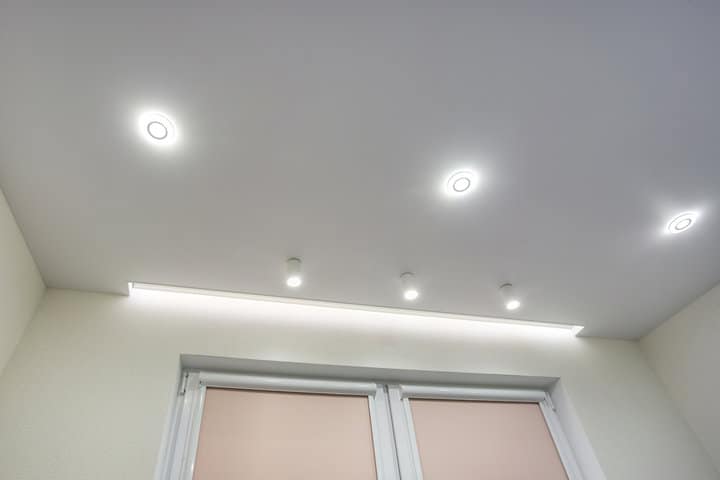
But if you want to fill the space, you can drywall it and then add recessed LED lights, or you could instead go with a lighting box (Amazon).
Lighting boxes come in different shapes and sizes but offer a flush, contemporary finish and a nice even light.
You likely only need one or two to fill a room with light, meaning they’re often a like-for-like replacement for a room with fluorescent lights.
But if you’d prefer to, you can replace the hole with drywall and add individual recessed lights.
You’ll need to run new wires for the lights you’re adding if you choose this option or extend the existing one.
How To Replace Old Fluorescent Recessed Kitchen Lights With LED Tubes?

If you’re replacing fluorescent tubes with LED tubes, you don’t need to do anything special – provided you have bought ballast-compatible ones, sometimes called plug-and-play bulbs.
To be clear – fluorescent lights won’t work properly if they’re just wired into a lighting circuit.
The current will overcharge the gas and burn the bulb out.
So they have a ballast – a device that manages the current.
This is installed on the light fixture and is usually a black rectangular box hidden behind the bulbs.
LED bulbs don’t need a ballast and, by default, won’t work properly if they’re installed in a fixture with a ballast.
But some LED bulbs are designed specifically for replacing fluorescent bulbs, and these will be ballast-friendly, working fine without the need to remove or replace the ballast.
Instead, it’s as simple as removing the old tube light bulb and putting the new compatible LED in place.
If you haven’t bought ballast-compatible ones, you’ll need to remove the ballast.
Cut the power off, and with the bulbs removed, you should be able to remove the screws that hold the ballast cover in place, or it will be able to be opened from a clip.
With that done, disconnect the wires and remove the screws holding the whole ballast.
You should be able to remove it.
Then, check the fixture to see if the wires can connect directly.
If not, you’ll need to buy a new fixture and replace it with one suitable for use with LEDs.
But honestly – it’s easier to buy LED tubes that are compatible with a ballast by this point.
They have no real downside except that they may be a little more expensive.
Once your new LED tubes are in place, you can add a new cover if you want to modernize the fixture.
Frosted light covers are popular, as are prismatic ones.
They don’t tend to be widely available on Amazon, so you’ll need to check lighting stores near you.
They act as a diffuser, so the light still gets through (and likely covers a wider space with a softer glow), but you can’t easily see through them.
Final Words
Upgrading your fluorescent and CFL lights to LEDs is an excellent way to future-proof your home, and it doesn’t have to be a challenging job.
Just make sure you’re buying suitable bulbs, and you should be able to swap them easily.
And if you want to update the look of your lighting, lighting boxes are relatively easy to find in most lighting stores.
Have you updated your kitchen lights? Any design tips you want to share?
Source: https://gardencourte.com
Categories: Kitchens


