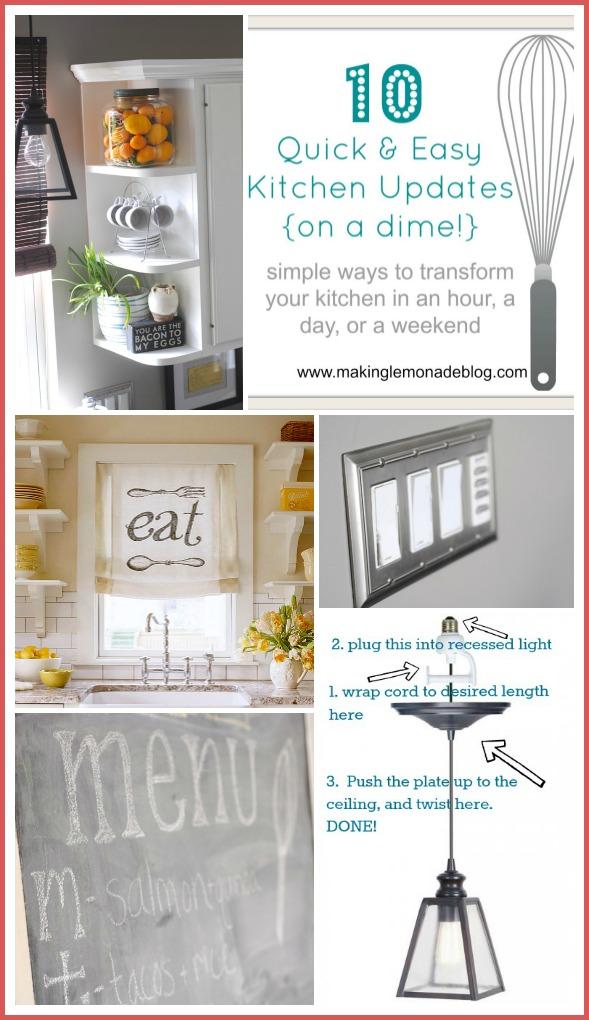
Let’s face it, we can’t all spend tens of thousands of dollars on kitchen renovations. In fact, some of us are loath to spend more than TEN dollars on a kitchen update. Whether you fall into the former category or the latter, I’m excited to share a few easy and inexpensive ideas for updating your kitchen on a budget. In fact, all of the ideas below cost less than $100, and some are close to free. How’s THAT for a good excuse to get cranking on that kitchen update you’ve been dreaming of? Because it’s amazing how even the smallest change can energize your kitchen and spice it up!
You are watching: 10 Easy Kitchen Updates {on a Dime!}

1. Chalkboard Wall
Have you ever thought about painting a chalkboard wall in your home? The kitchen is the perfect place to do it. I originally wanted one so I could write out the weekly menu (and therefore remember what the heck I planned to make), but it’s become so much more. My husband created a calendar and my kids love scribbling all over it. And erasing what I wrote. And making chalk dust. But I digress. 🙂
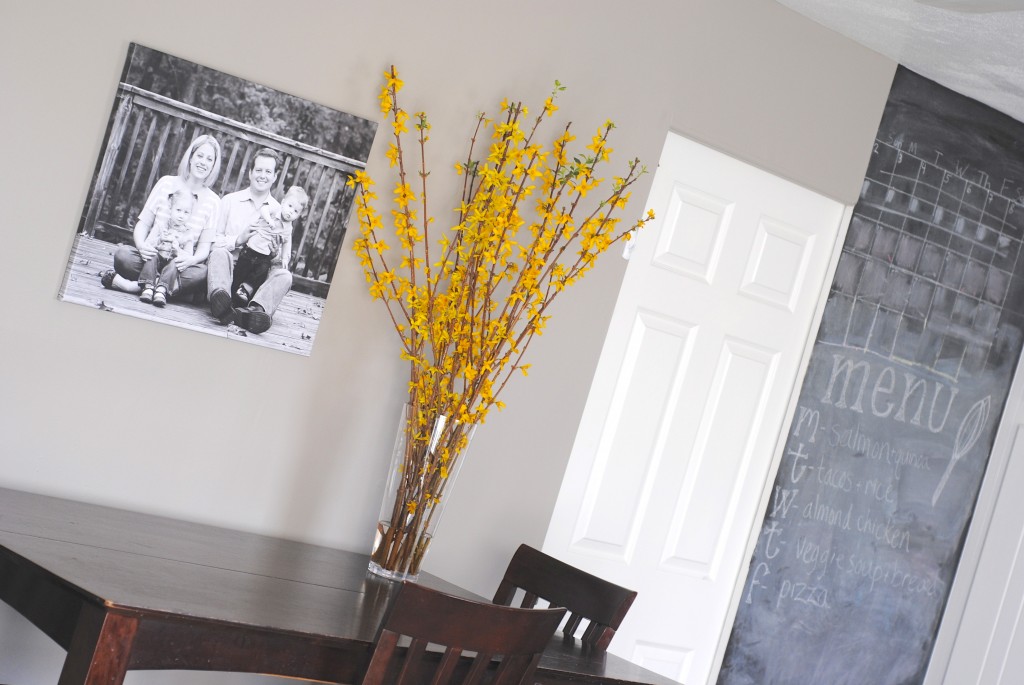
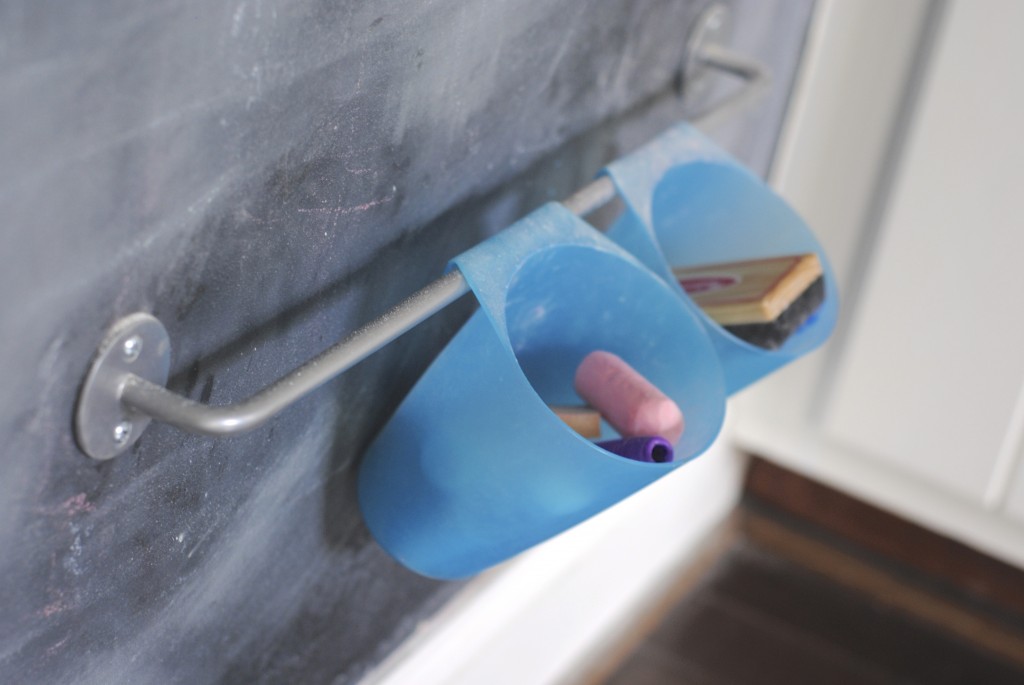
Painting it was really easy. We used Rustoleum chalboark paint (I got a can at Home Depot in the paint aisle for about $12) and rolled it on. I did several thin coats, letting them dry in between. It was a warm day, so the project took about an hour total including prep and cleanup, but not including the breaks for dry time. Once dry, I added a rail from IKEA and these two buckets to hold the chalk. Since I had the rail on hand, the entire project cost about $15 TOTAL. That’s a lot of bang for your buck, right?!
And really, I could have washed it and made it look all sleek and sophisticated before I took this photo, but I wanted to show you what an actual chalkboard wall looks like if it’s used on a daily basis. I’ll leave sleek and sophisticated for the other blogs out there!
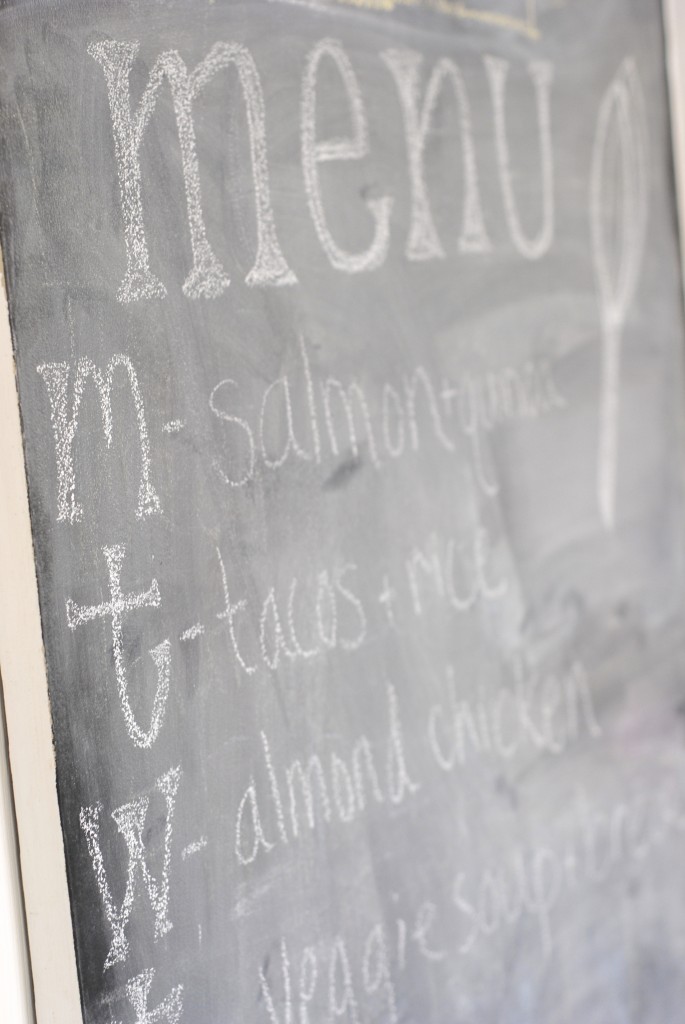
The only downside is it does create chalk dust. But that’s a small sacrifice to pay for something so practical and fun! Using ‘dust free’ chalk will help, and I just try to wipe it up every few days.
Here’s one of my favorite House Beautiful featured homes. They used chalkboard paint on the island, which is pretty brilliant since that’s a “high scuff mark” area. Add in a favorite quote, and WOW you’ve made quite an impact with a little bit of paint.
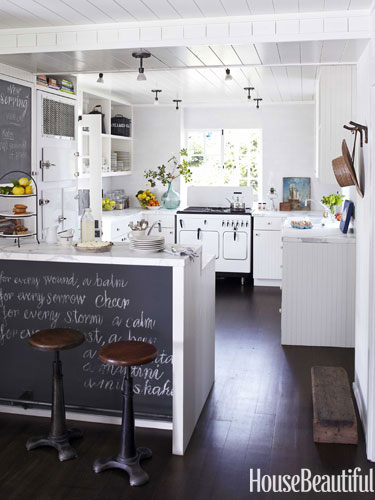 {image via House Beautiful}
2. Update lighting by adding pendant lights.
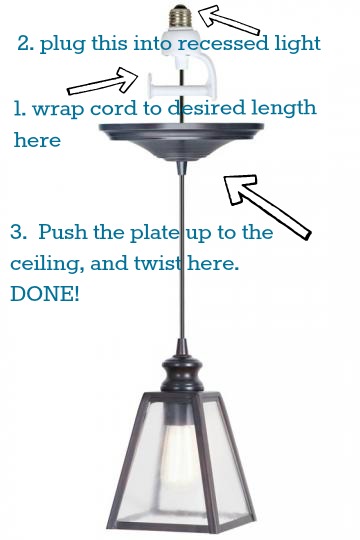
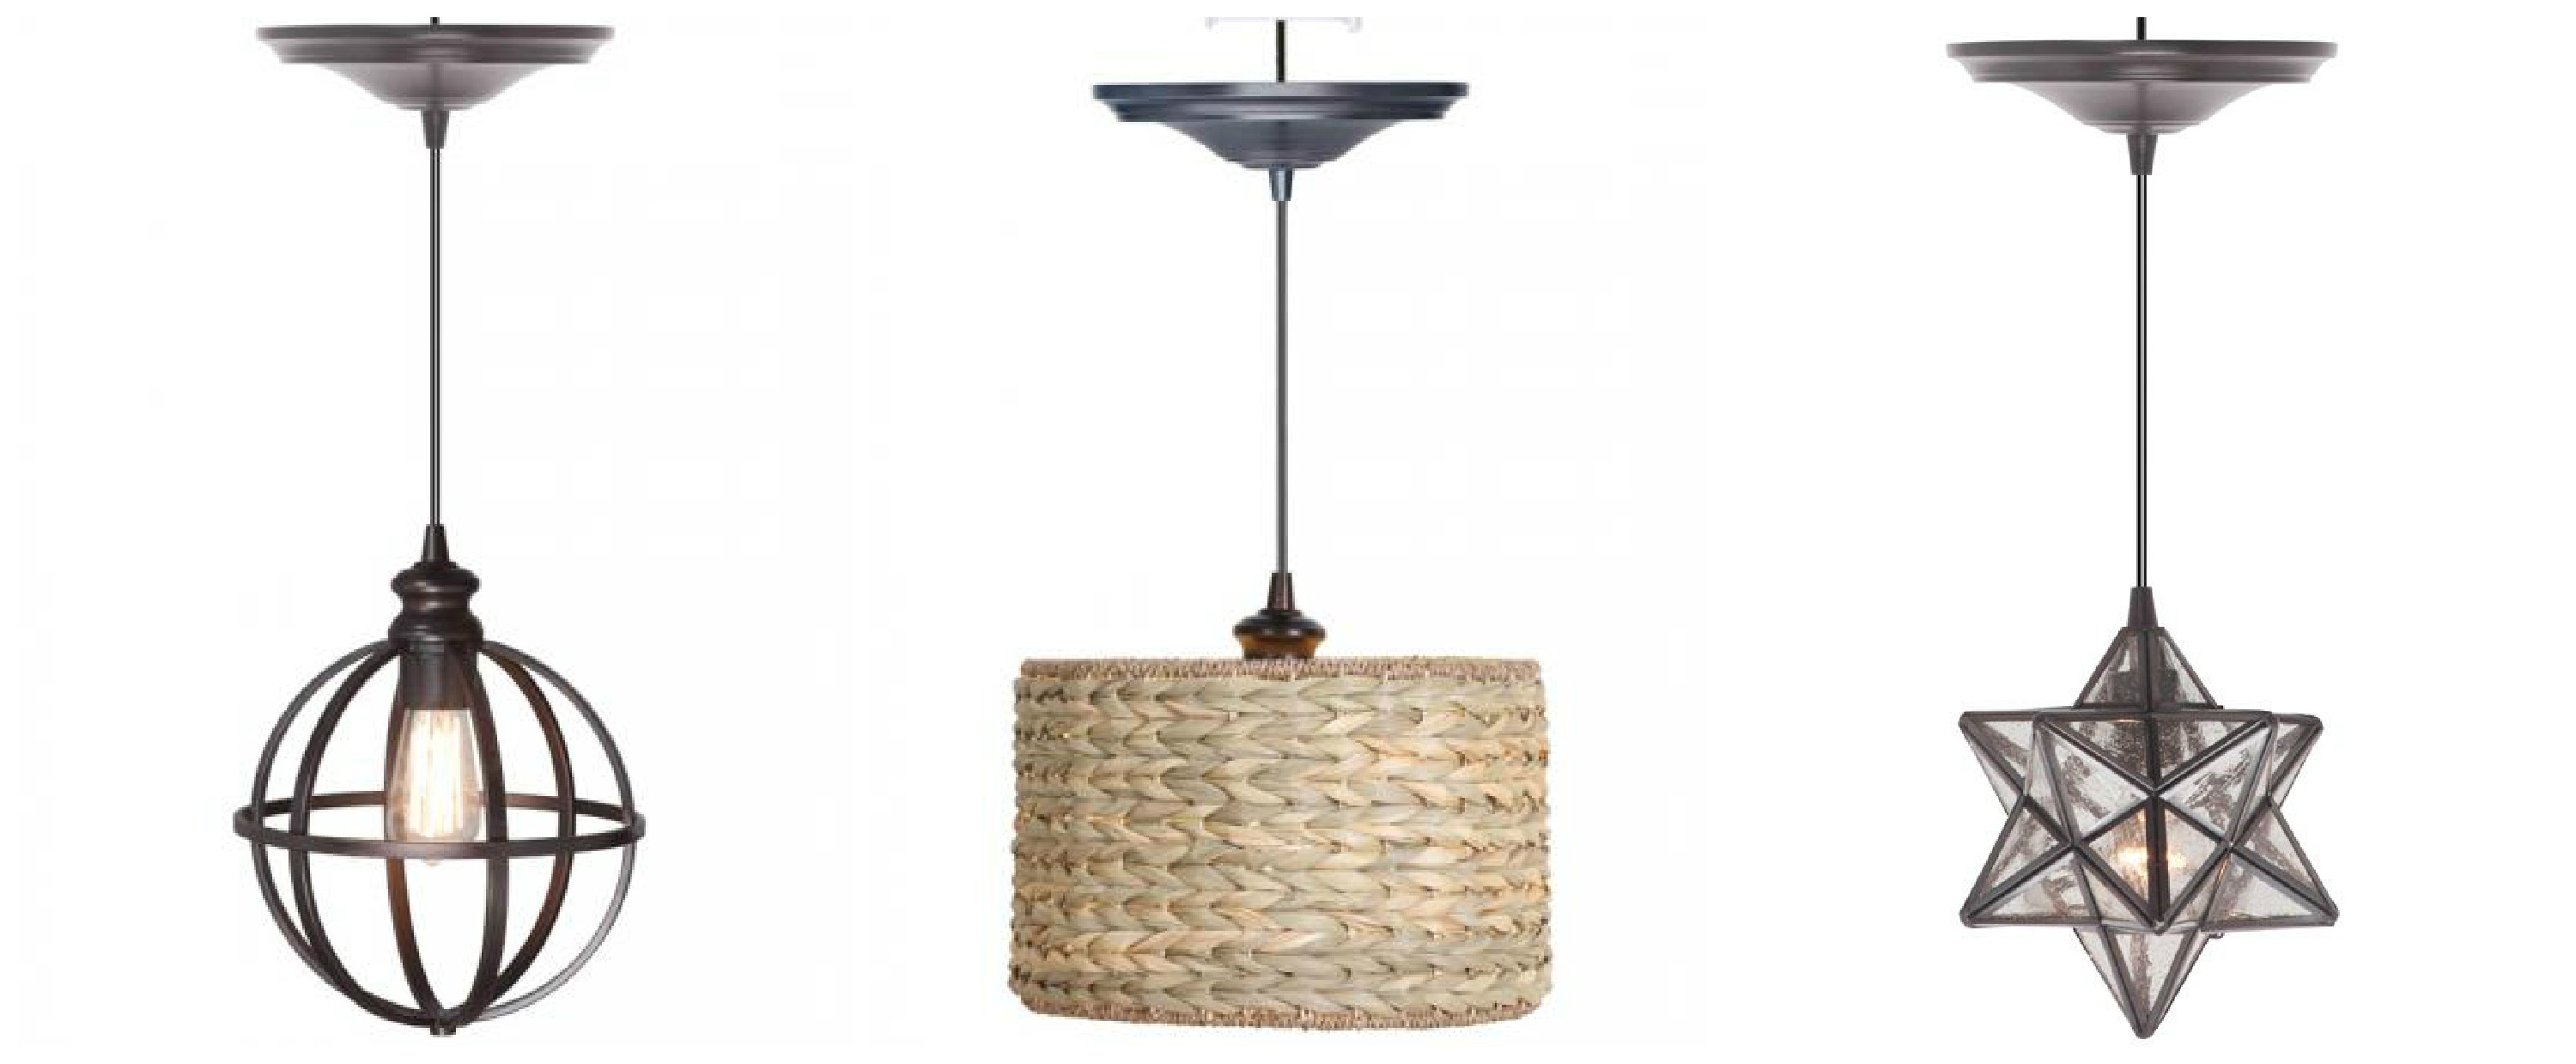
Pendant lights are the hottest trend in kitchens right now. From farmhouse chic to modern kitchens, they go with every style. So what’s the solution when you are on a budget and don’t have much time to fuss with complicated installation or extra money to pay an electrician? How about these pendant lights from Home Decorator’s Collection that screw right into recessed lighting, taking FIVE MINUTES to install?
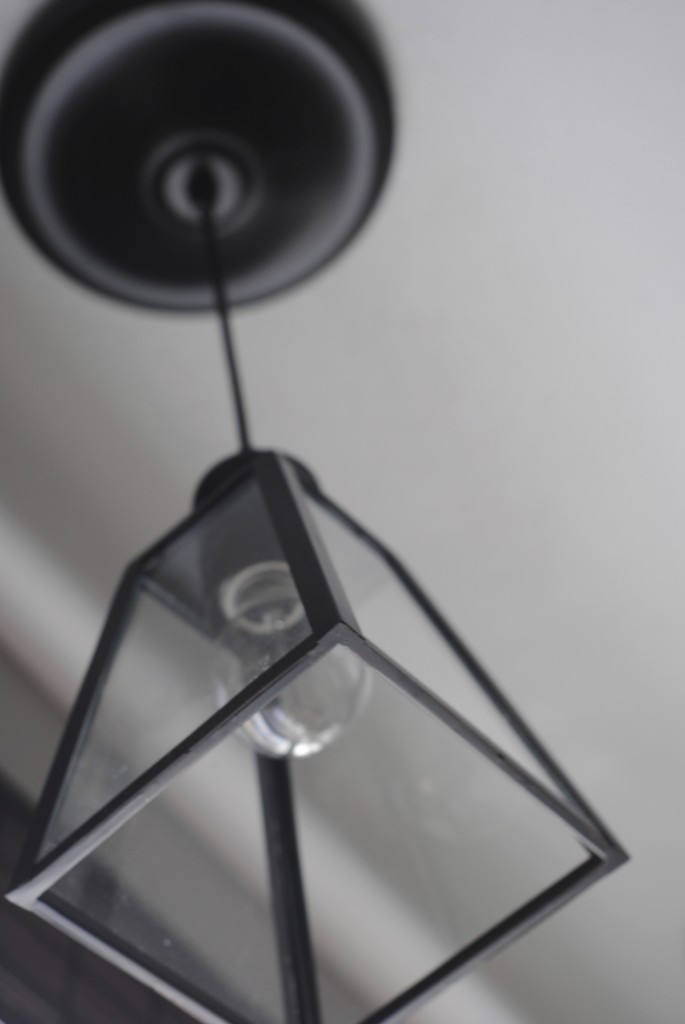
Ack! Aren’t they amazing? These Harper pendant lights cost $59 each, which is a steal considering what most places charge for pendant lights. They come ready to install into recessed lighting fixtures. You simply roll the cord up to the desired length, screw the end into the place where the lightbulb would go in your recessed light, and then push and secure the plate flush with the ceiling with the included nut/bolt/whatever the official name is for the ‘thingy’. In a normal home this would take about 5 minutes per light. Our recessed lighting was a little more fussy because the cans kept falling out, so we had to finagle them a bit. My husband told me he doesn’t mind finagling cans, whatever that means. 🙂
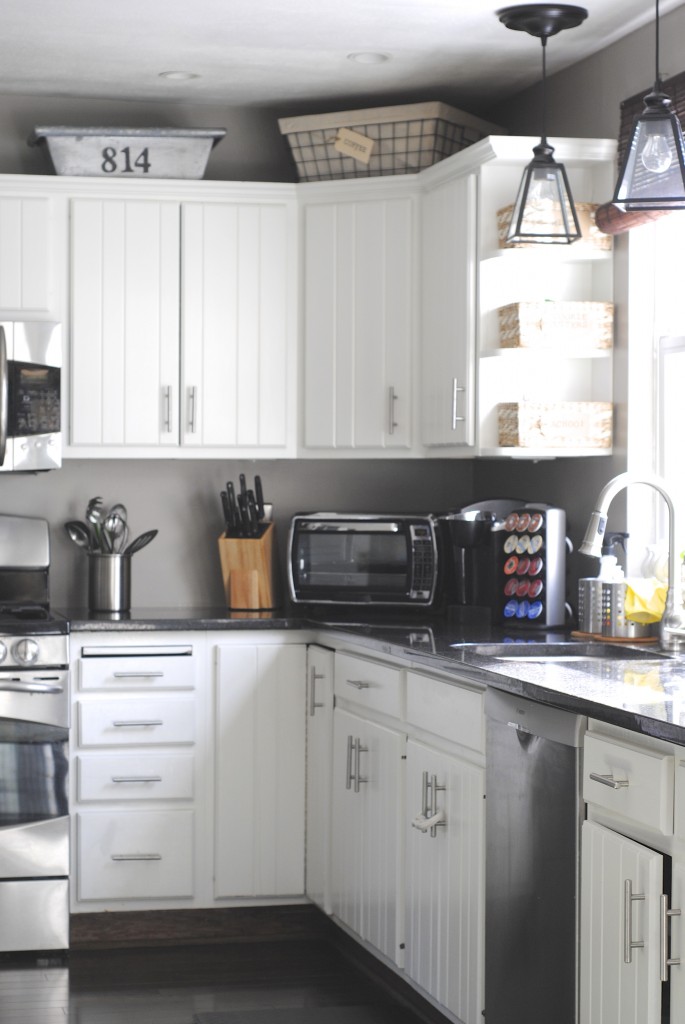
Design wise, they should be lower. But I don’t like staring into bare bulbs while I wash dishes (hello, migraine!) so I made them closer to the ceiling and they are perfect for us.
Here’s a few more styles that I’ve fallen in love with. I’m going to get the woven pendant lights for our hall and perhaps the moravian star pendants for our living room when I’ve saved up a bit more money.
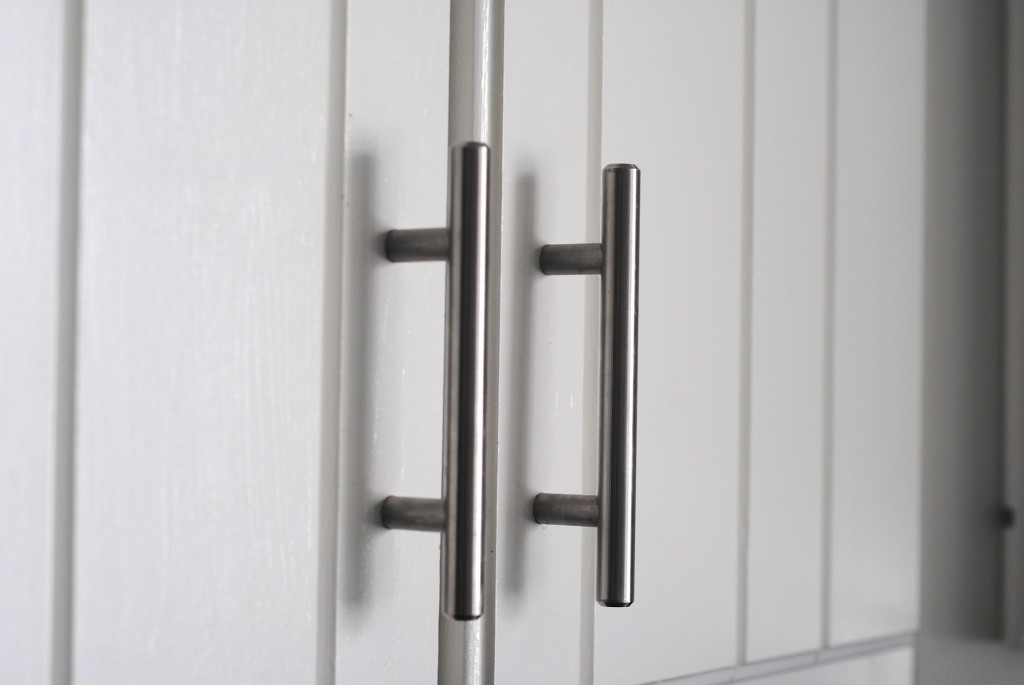
3. Switch out hardware. Before we made the decision to remodel our kitchen, I updated the cabinets by switching out the hardware. We had 22 handles to purchase, but were able to do so for exactly $100. In hindsight I’d have liked a different handle and probably in an oil rubbed bronze finish, but at the time I bought them they worked well with our {ugly} oak cabinets.
Read more : What Causes Low Hot Water Pressure In Kitchen Sink Only?
Just be aware that this style can snag little ones when they are climbing cabinets, NOT that I know that from experience. {sigh. I totally know that from experience.}
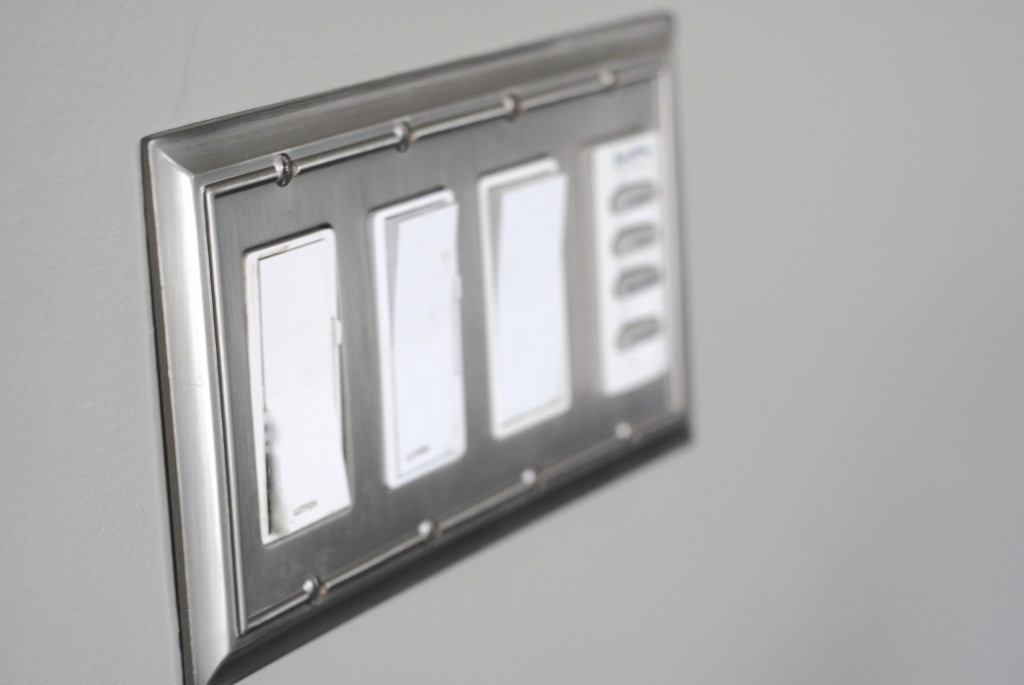
Don’t forget the switchplates, either. That’s the first thing I did in our house when we moved in, they are worth every penny!
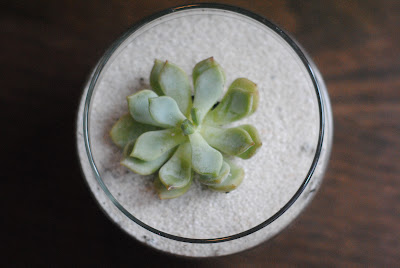
4. Plants. According to the principals of feng shui, adding plants is an easy way to add a ‘life force’ to your space. You could add more pets too, but let’s go with plants today because I don’t want to be the root cause of any animal hoarding. It started with this little succulent I planted in a recycled jar. I layered in pebbles, dirt, and aquarium sand to make it pretty. This little guy sits on our windowsill and makes me so happy. 9 months after I planted him, he’s still going strong, quite a feat in this home!
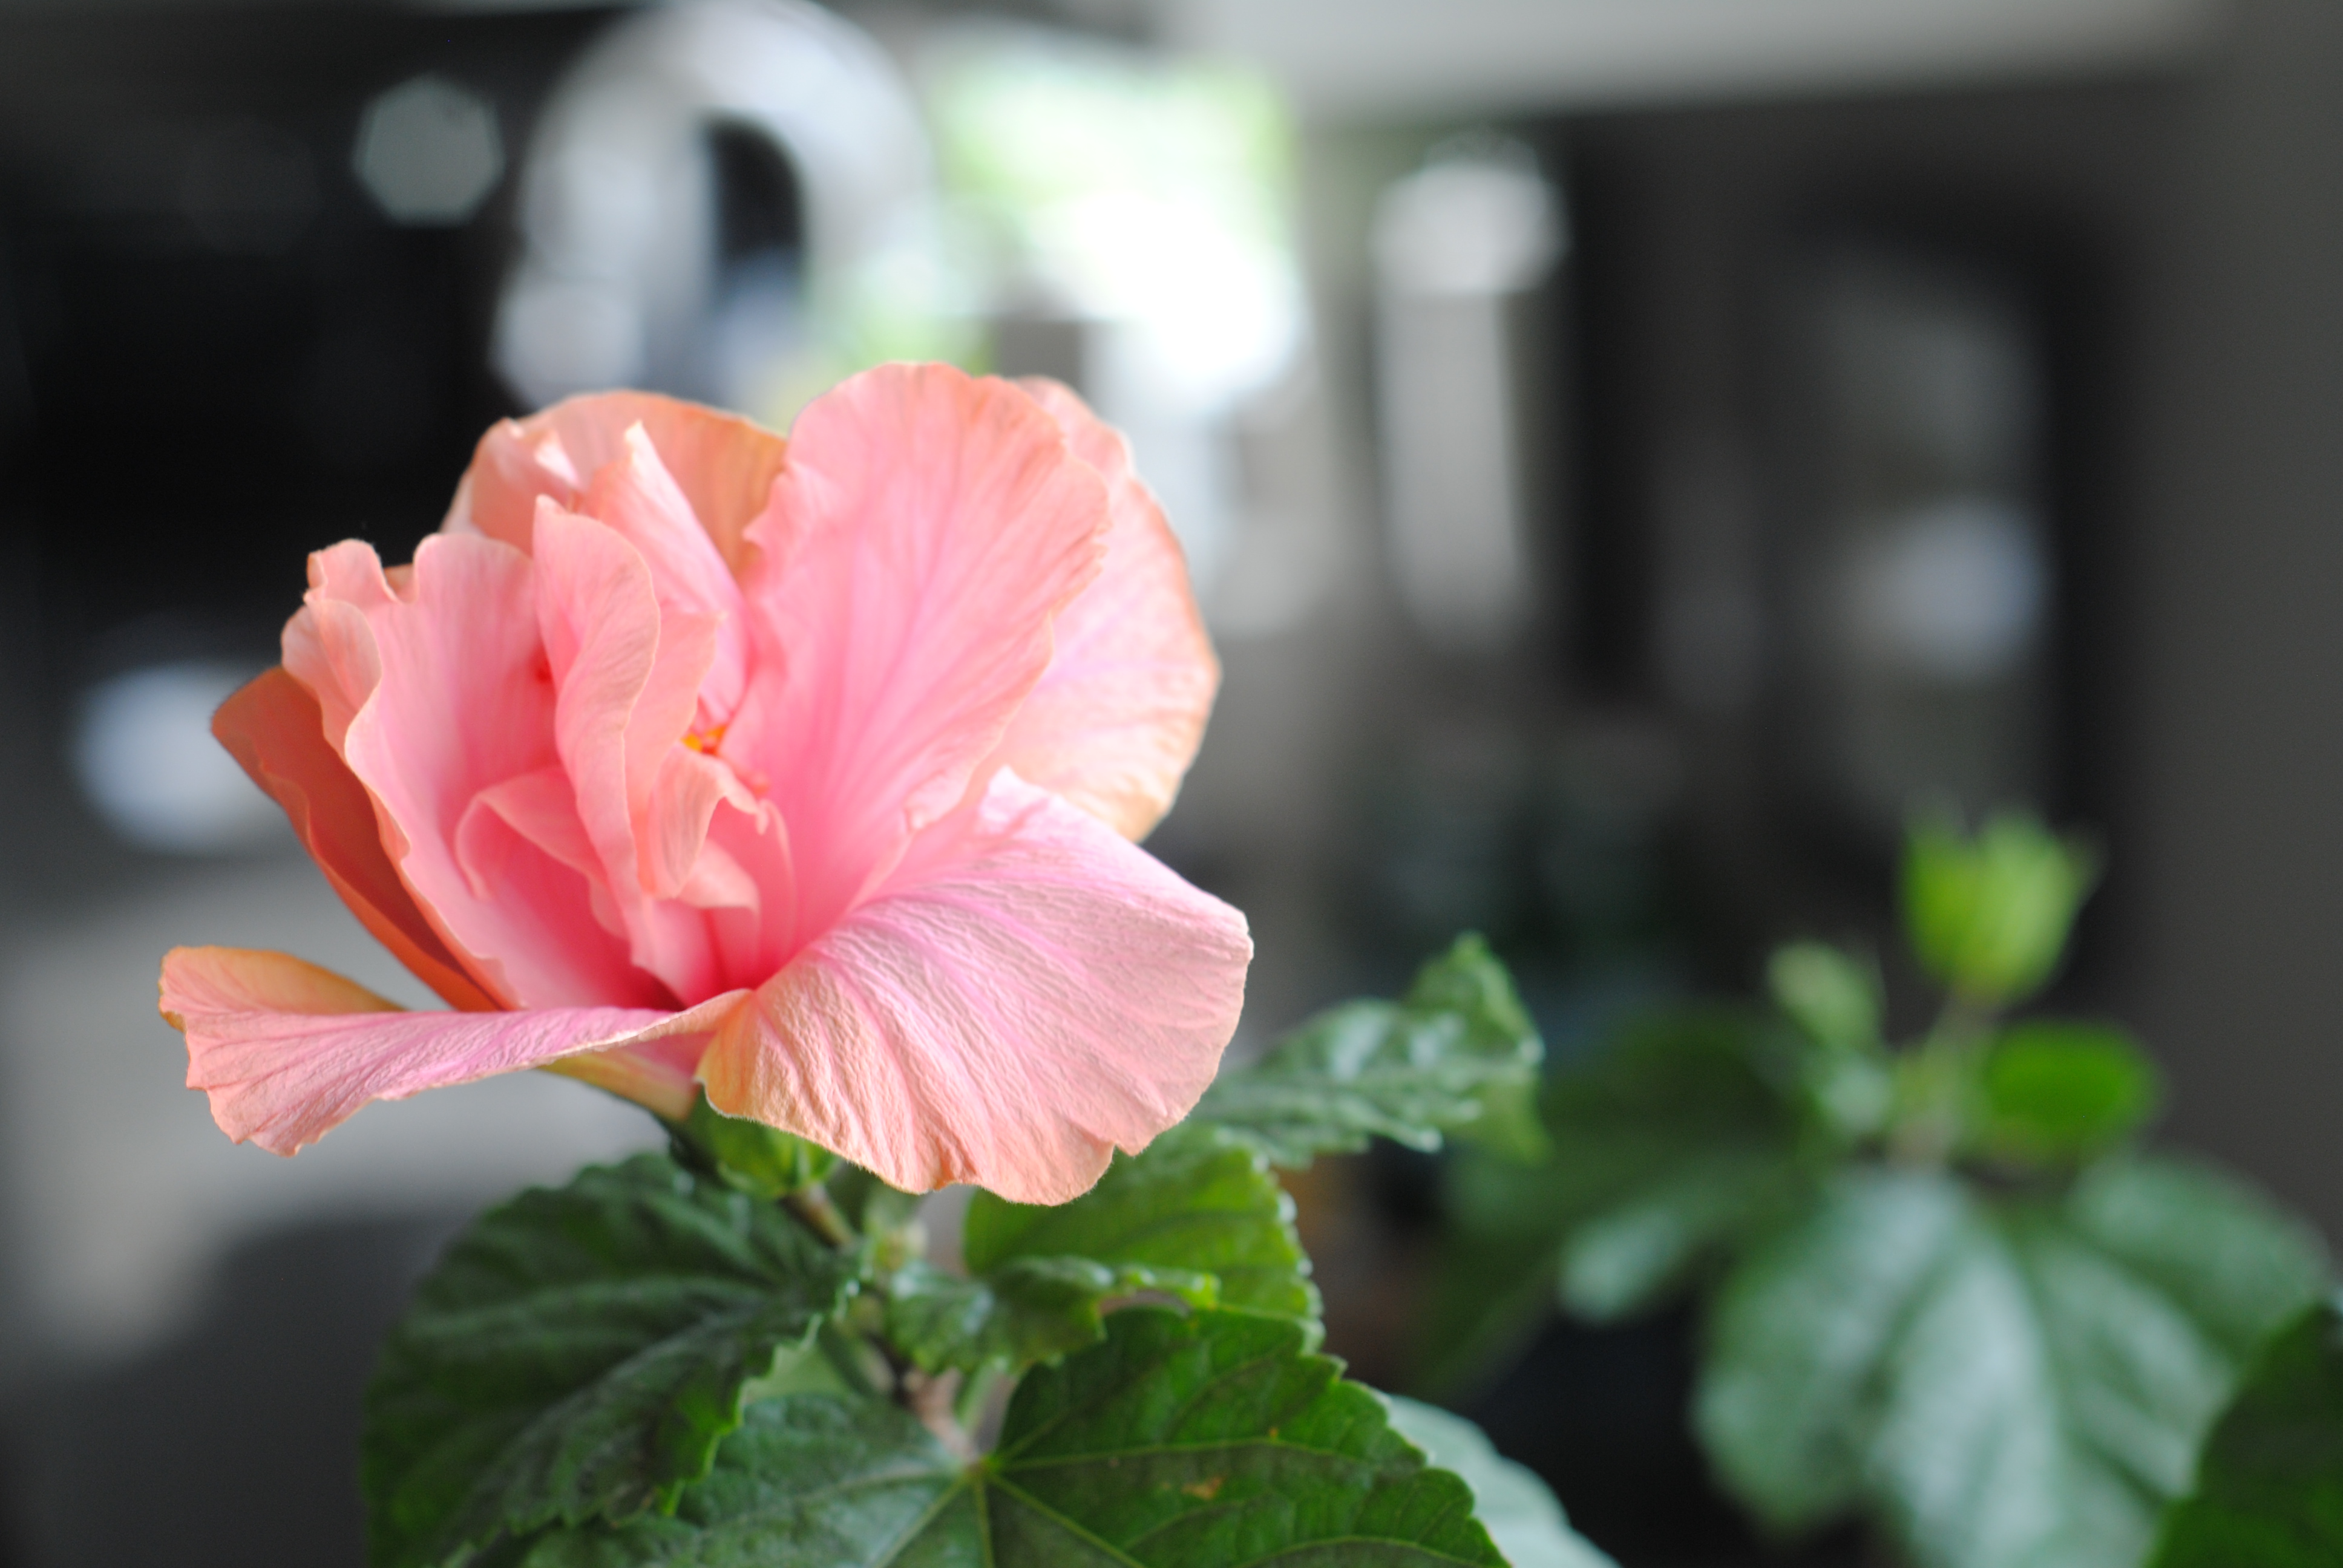
Then there’s this big guy, a hibiscus. He’s the one I kidproofed and he certainly brings an incredible amount of ‘happy’ to this cold, gray winter.
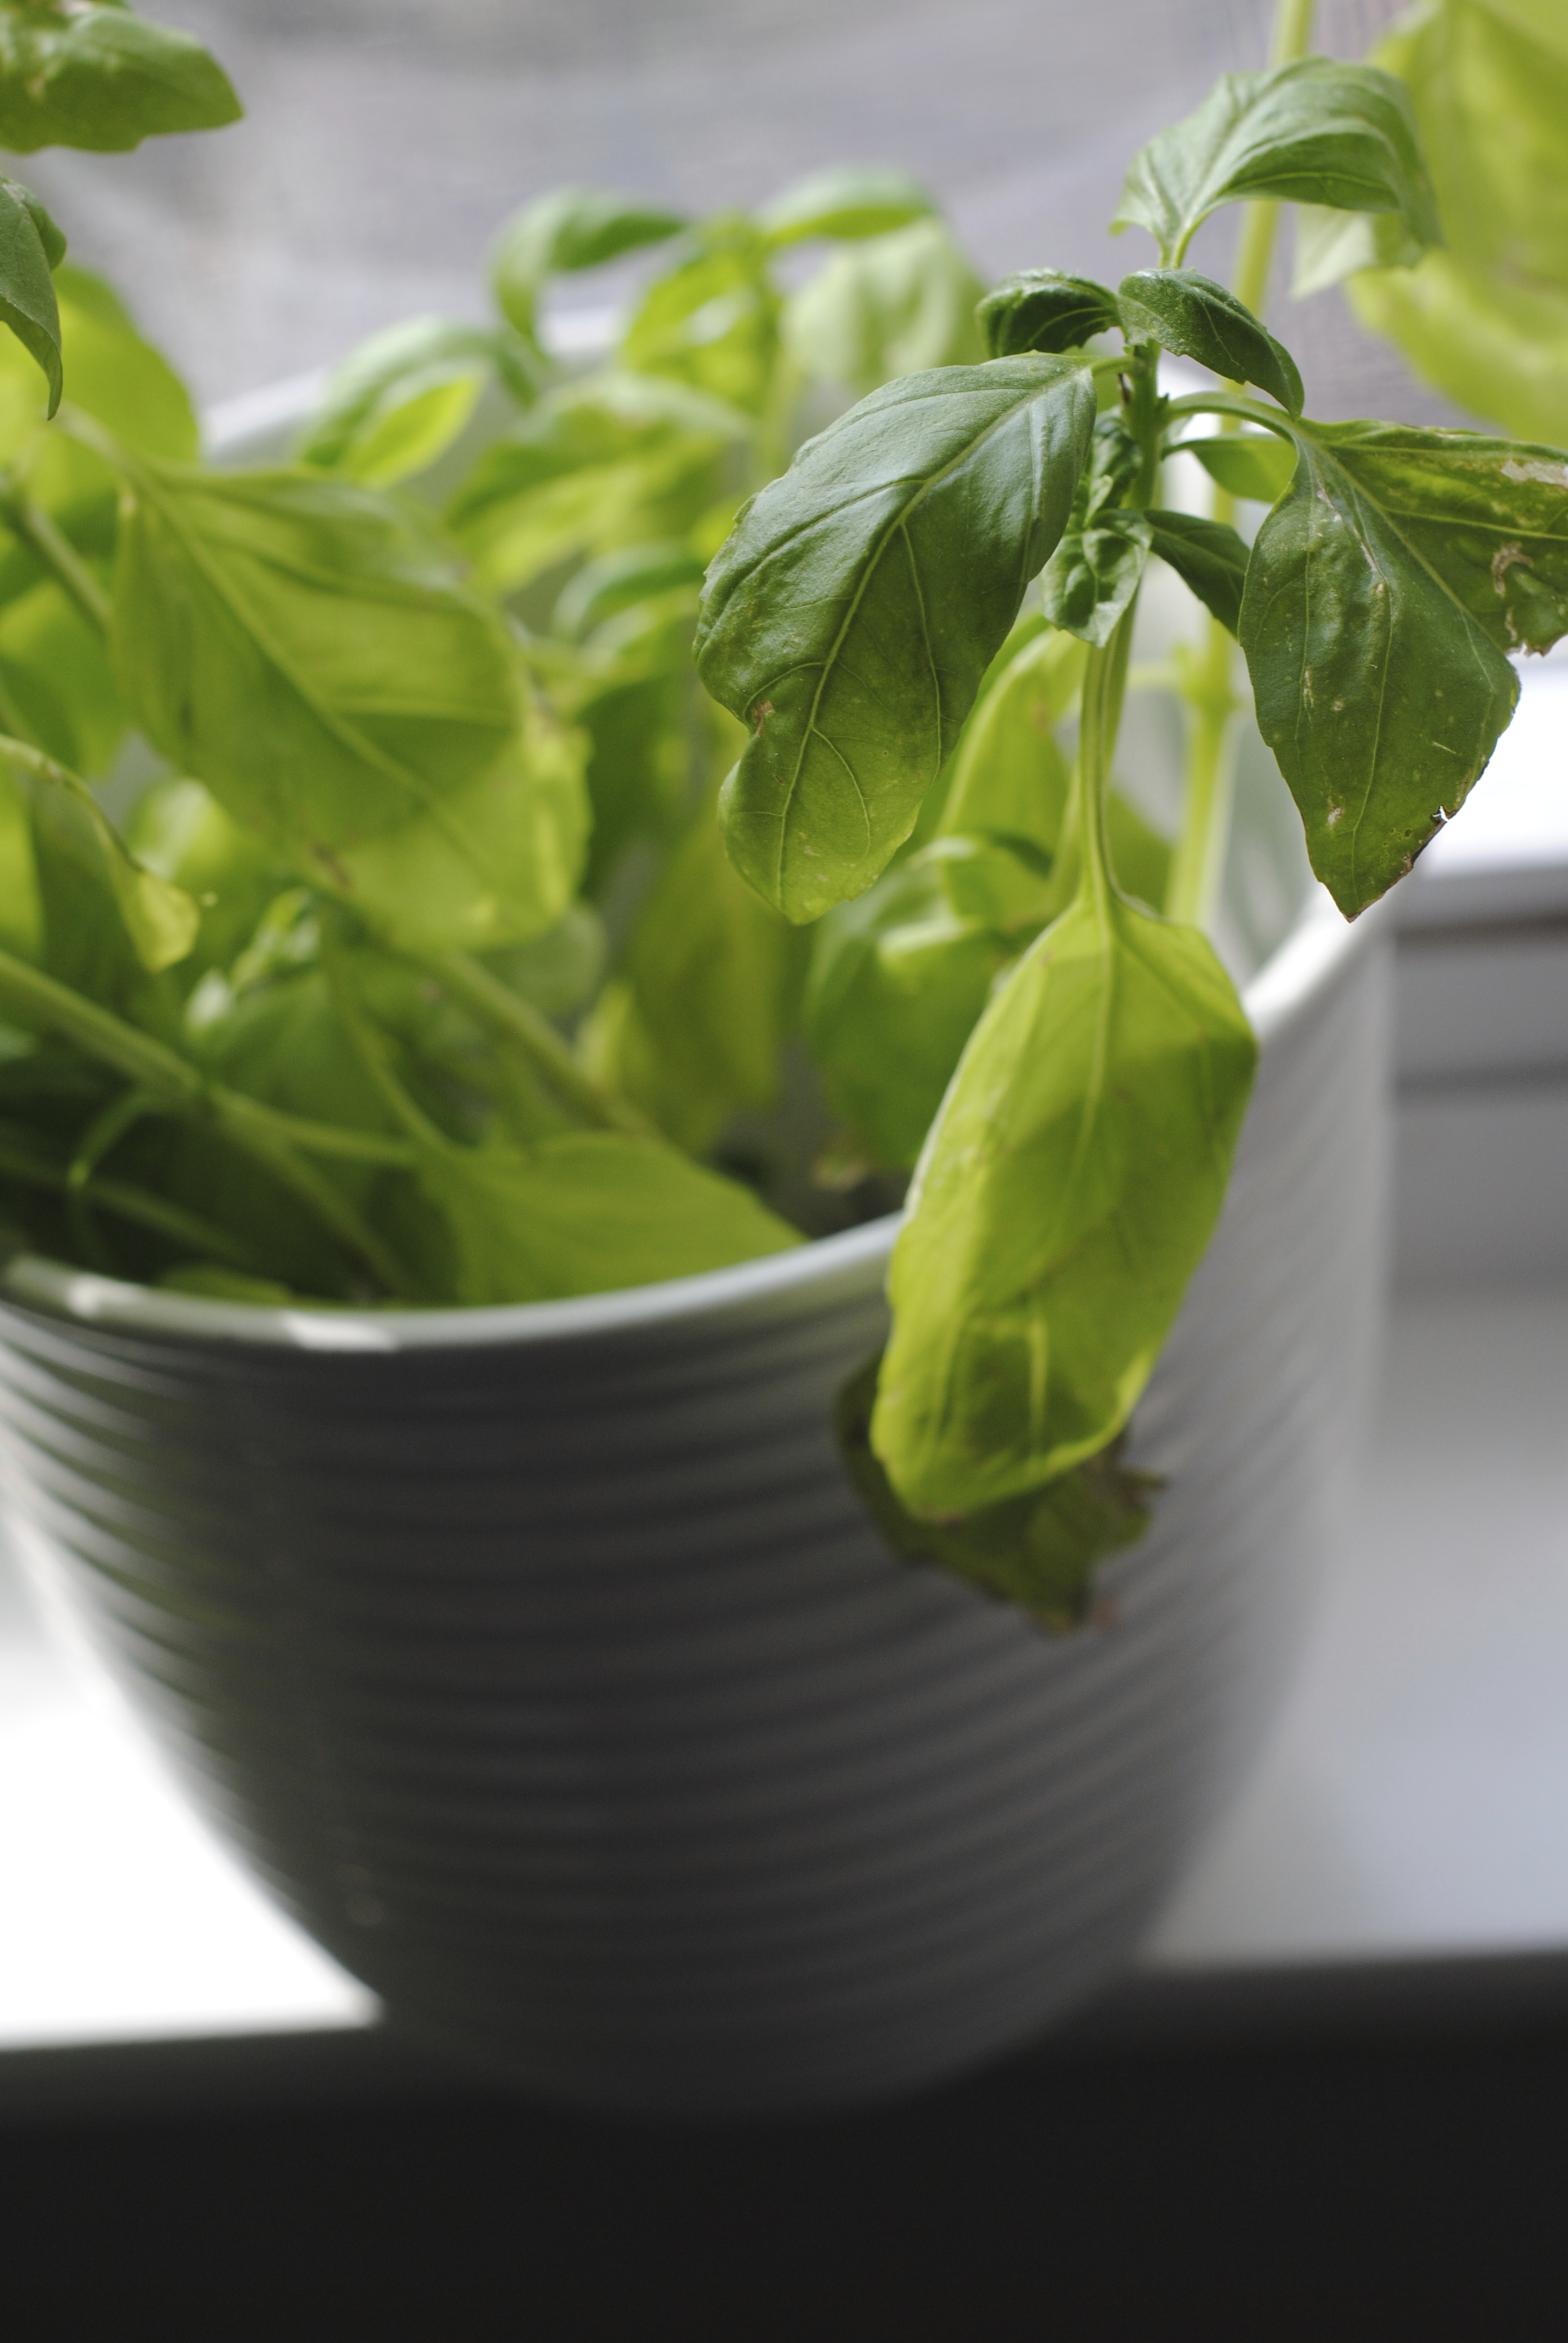
Herbs are another way to add life, scent, AND use as a cooking ingredient. In the fall, I bring any living herbs inside and sit them on my windowsill. I also like to add in a hydroponic basil for summer flavor all winter long. Pesto, anyone?
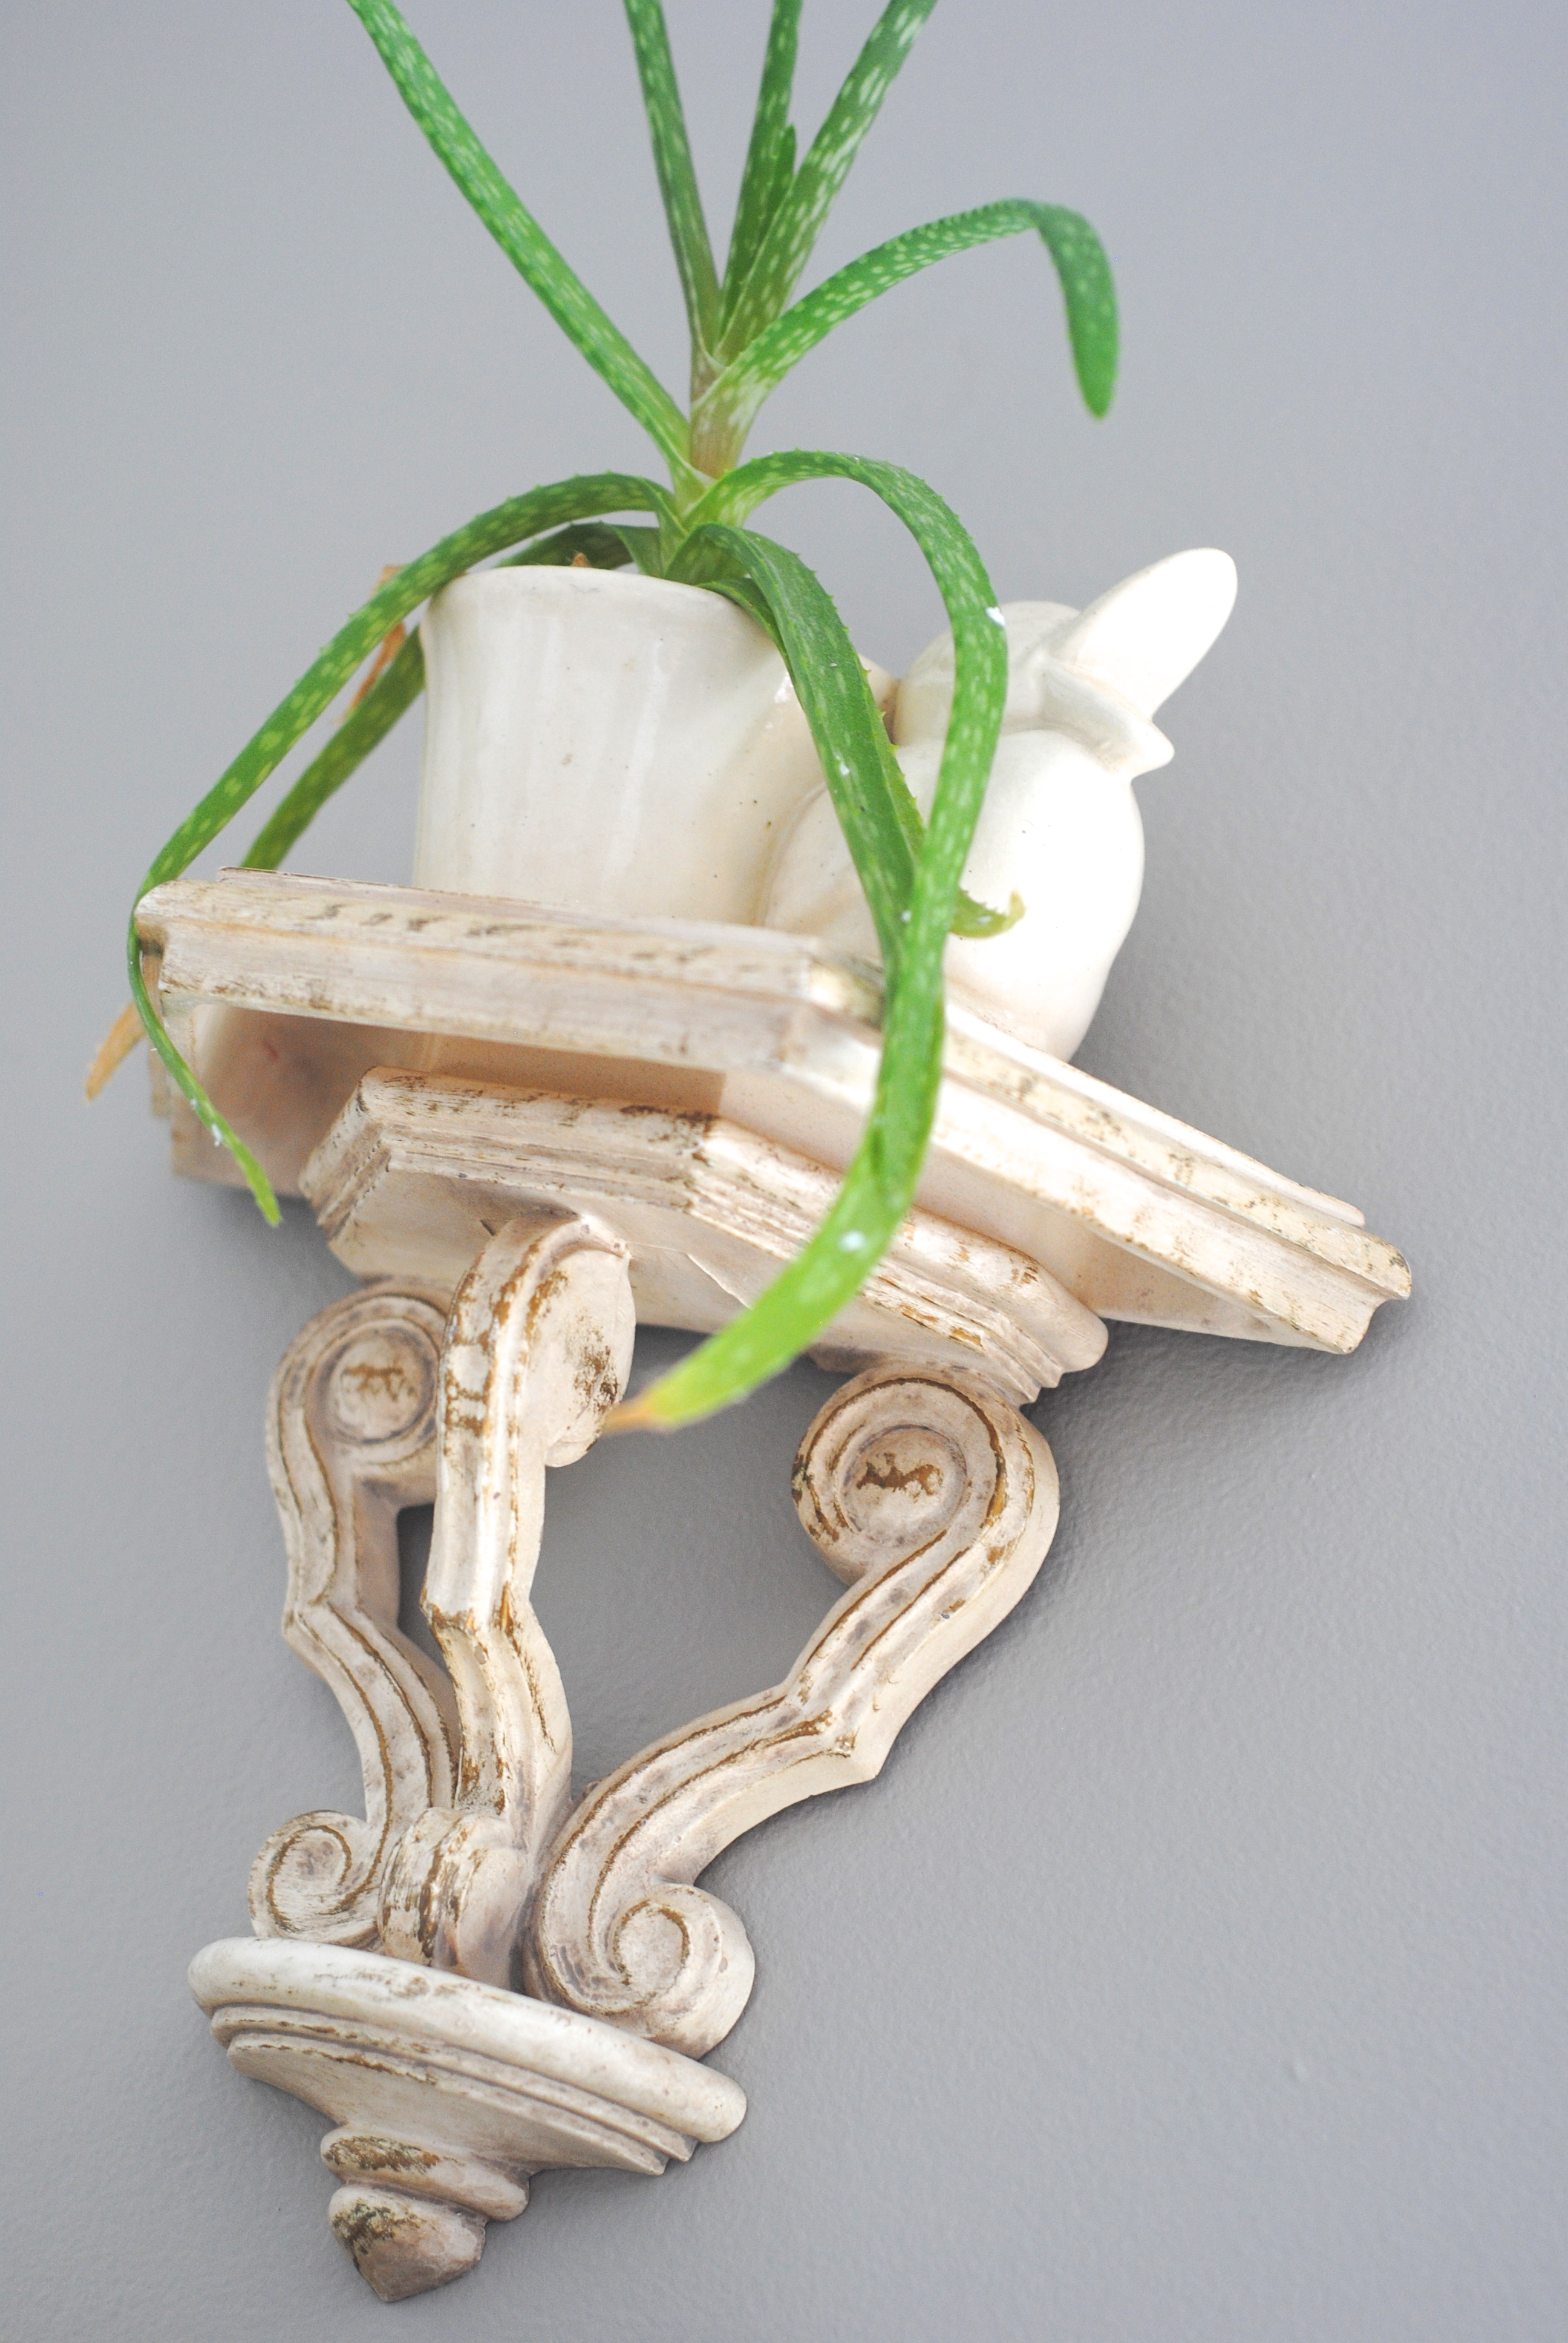
Another plant I haven’t killed yet, and it’s been about 8 years!, is this aloe in a vintage duck planter. The shelf was $7 in a vintage shop. Whole lotta happiness over here!
5. Open shelving. I didn’t do this to our cabinets… yet. We’re still in the sippy cup stage so open shelves are a few years away- unless orange plastic becomes chic. BUT! But, open shelves are very easy to add. Simply remove the doors of your cabinets and display your prettiest dishes and cups. Or, add some shelves to a bare space and put out objects that make you happy.
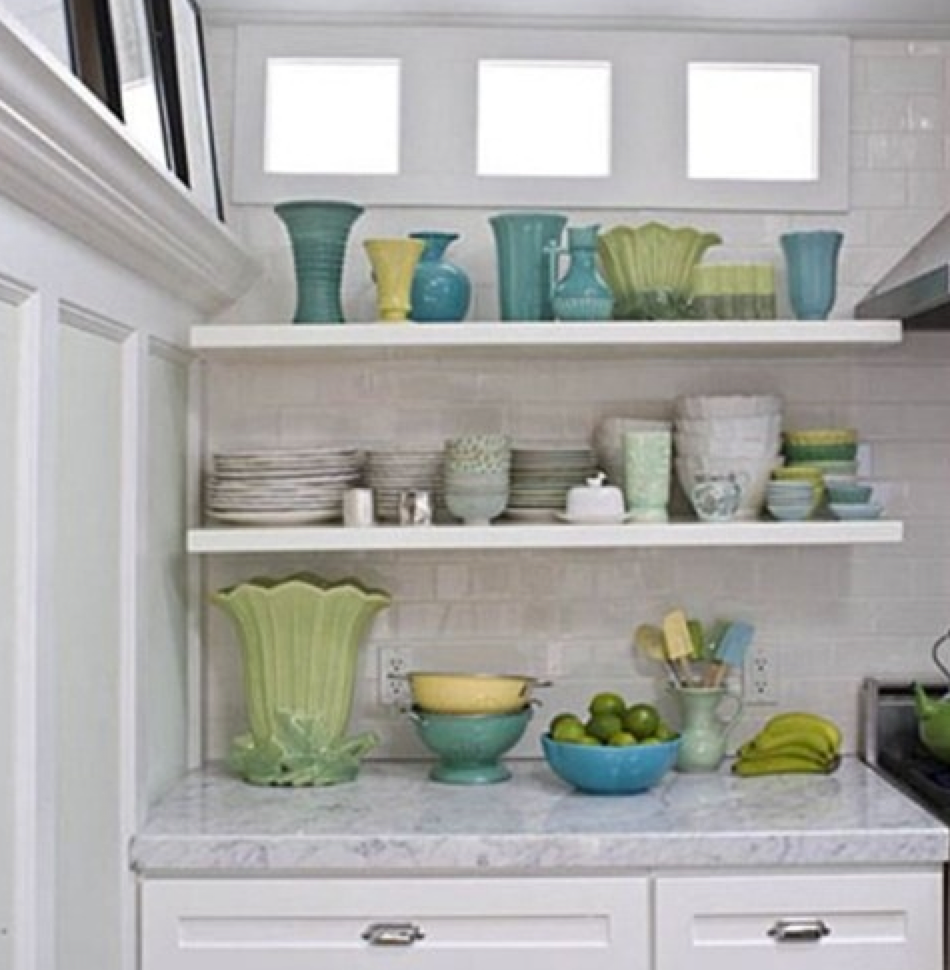 {via Centsational Girl}
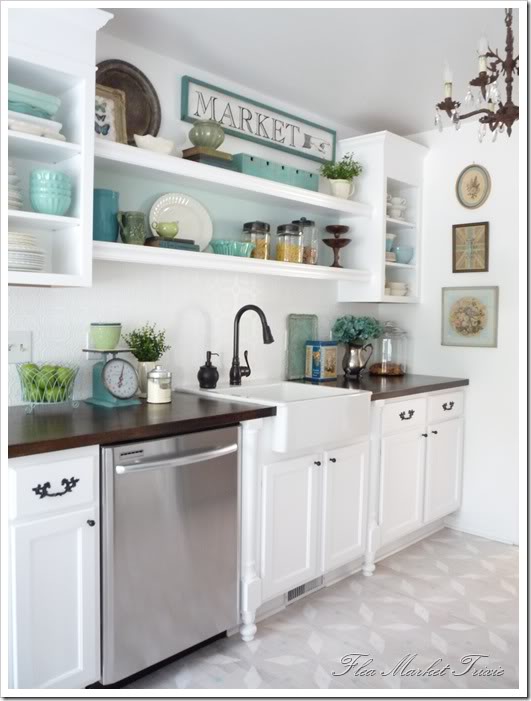 {via Inspiration for Decoration}
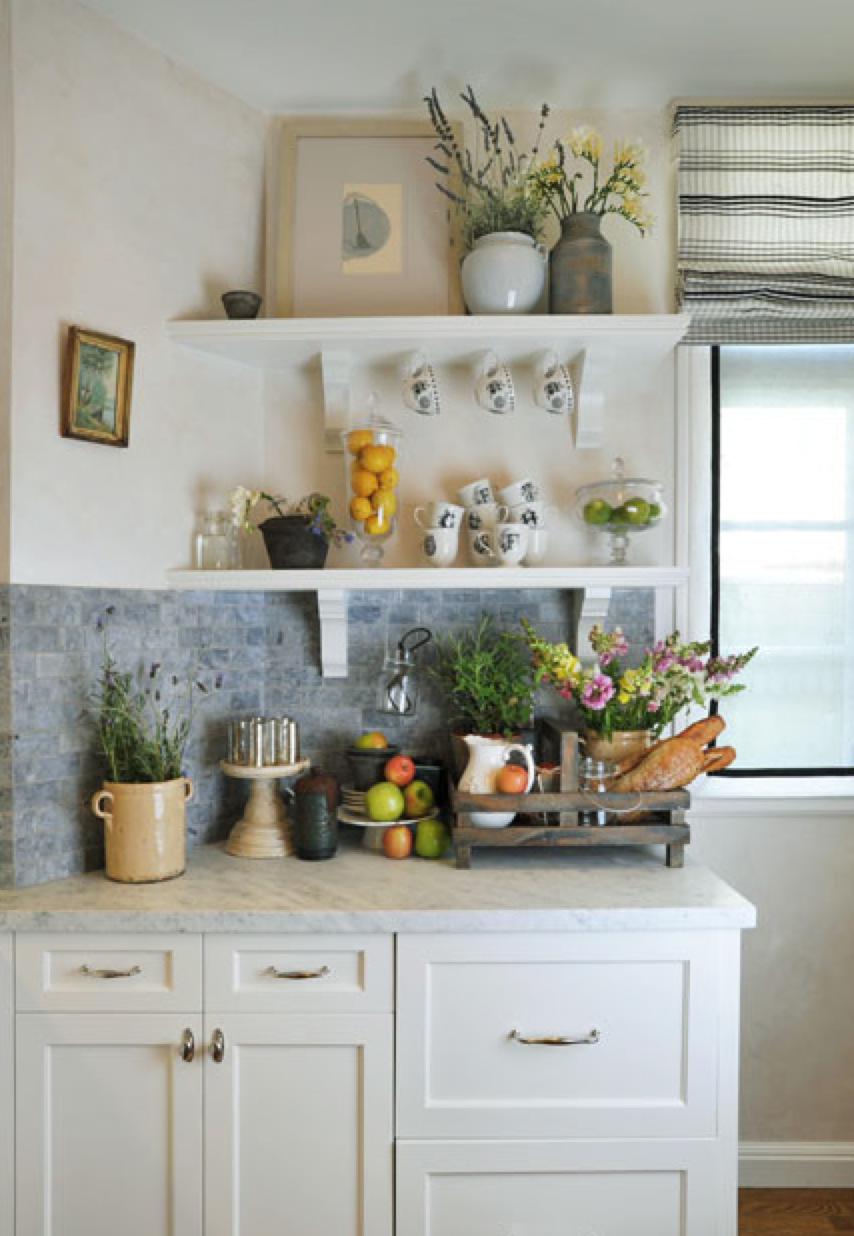 {via Frugal Flourish}
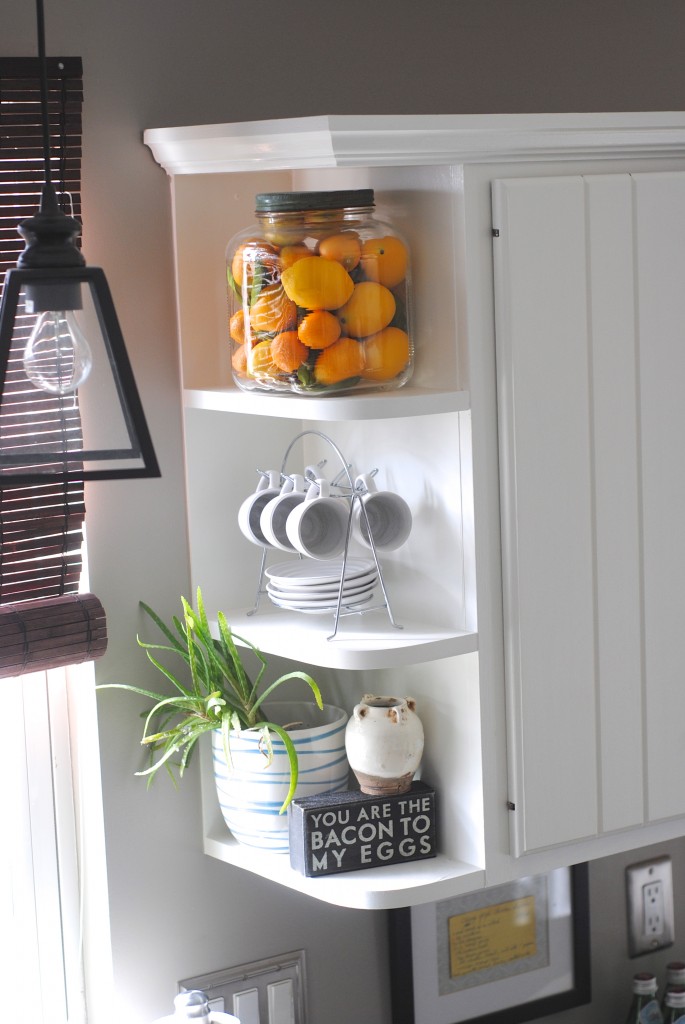
I do have a few small shelves, simply for a few favorite accessories…
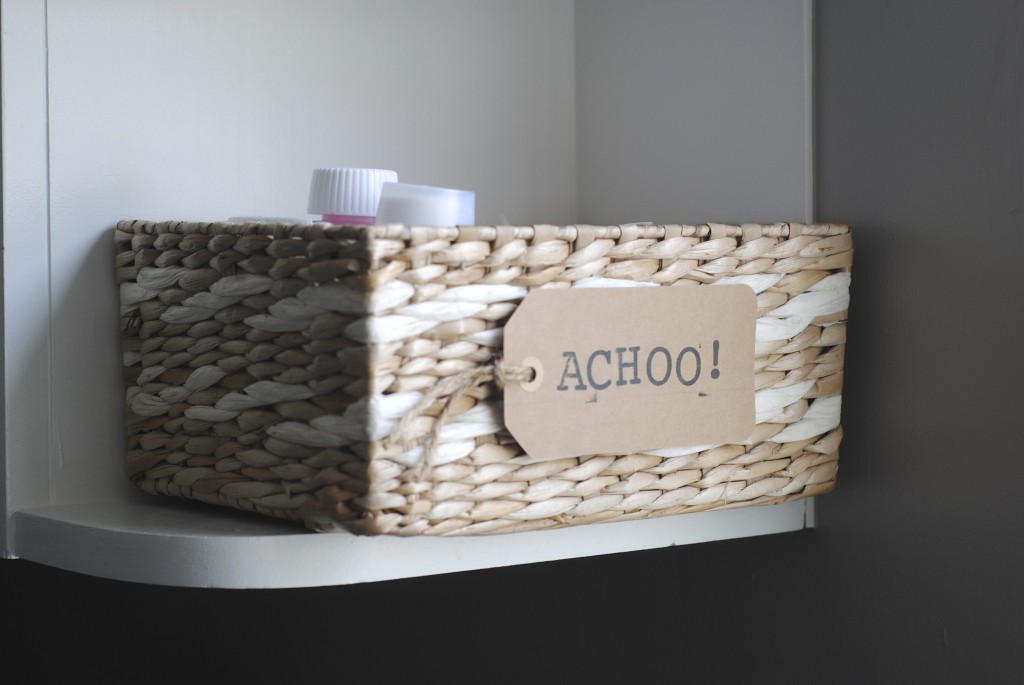
… and storage.
6. Paint the backs of shelves/cabinets. Already have open shelves and want to take them up a notch? Paint the backs! If you aren’t ready for that commitment, you can cut foam display board to size, cover in fabric or wrapping paper, and place in the back of your cabinets. Pretty instant update, right?
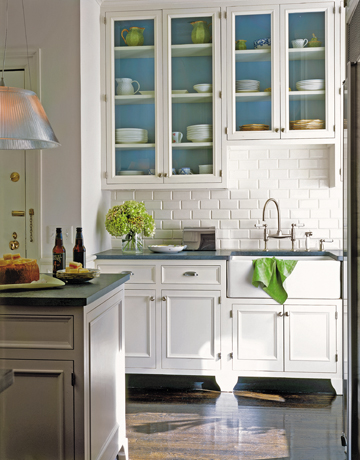 {via The Polished Pebble}
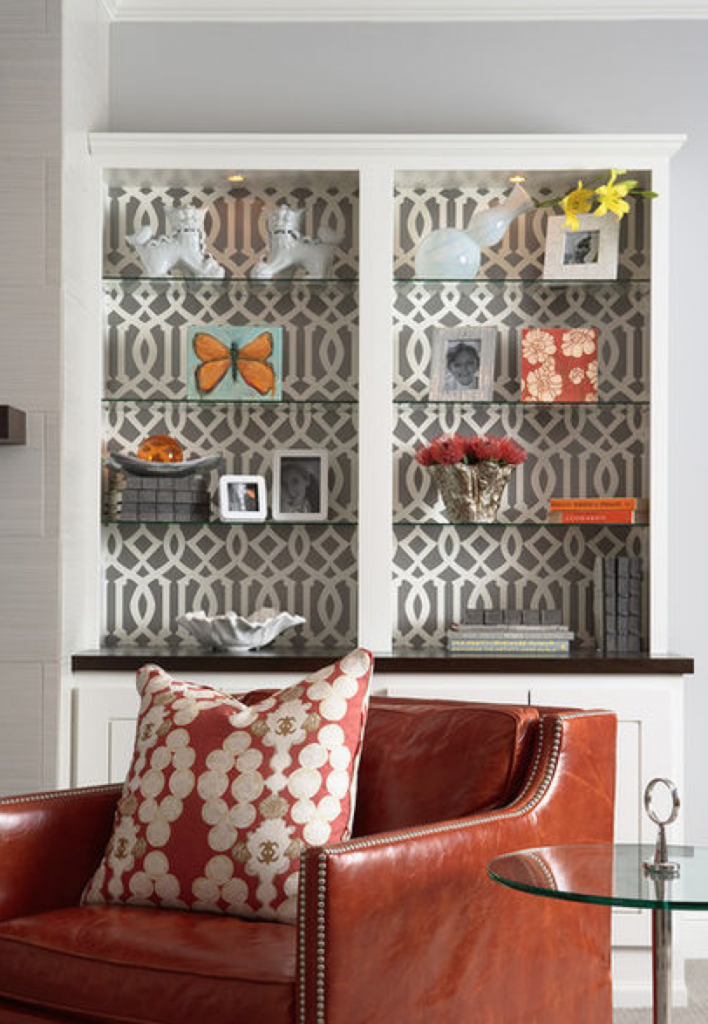 {via Houzz}
7. Add a rug.
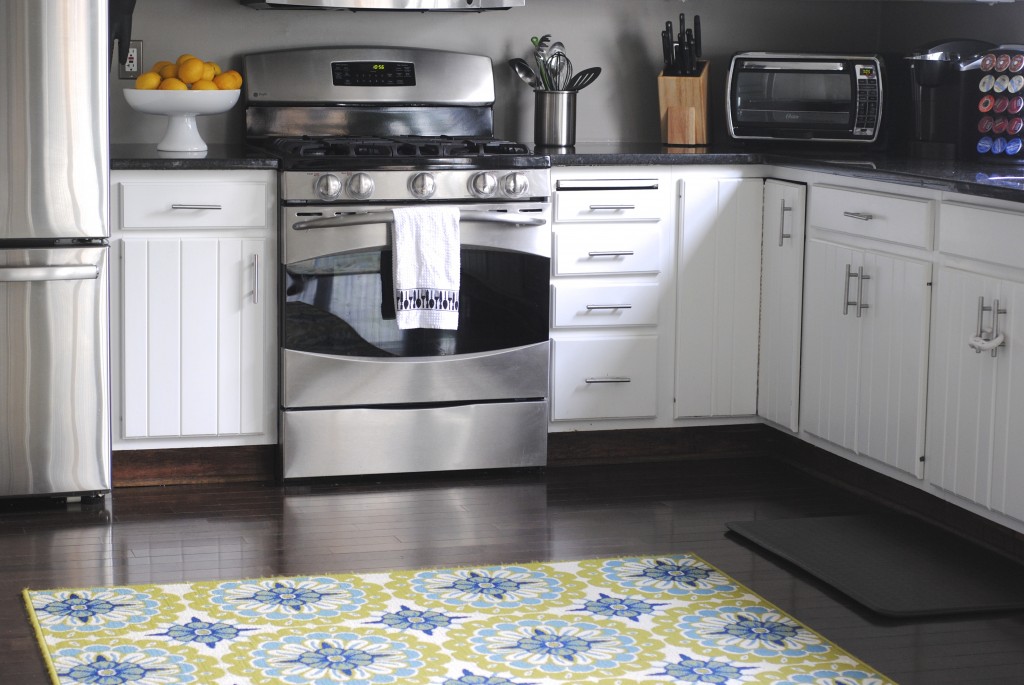
When you have an expanse of wood flooring, a rug softens it up, allows you to add color, AND protects the floor. So for under $100 (with my One King’s Lane credit, it ended up being $94) I purchased a large outdoor rug that wakes up our kitchen and gives the kids a soft place to read while I cook dinner. I LOVE having a rug in the kitchen, and honestly there’s so many that would have been perfect in this space it was hard to choose.
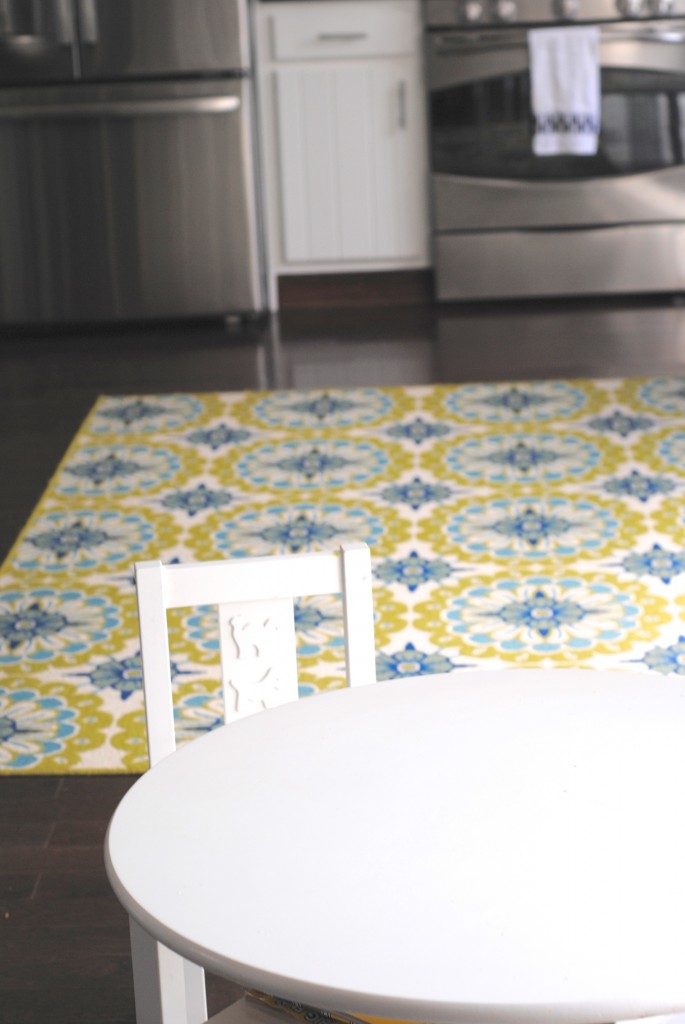
{you can get $15 off your first order of $30 or more by signing up for One King’s Lane, too!}
8. Install new blinds, shades, or curtains.
Since my former kitchen was so out of date, installing wooden matchstick blinds gave it a modern touch. Now that my kitchen renovation is over, it’s on my list of things to update- inexpensively, of course! Here’s a few kitchen pictures I’ve been using as inspiration for my future window update:
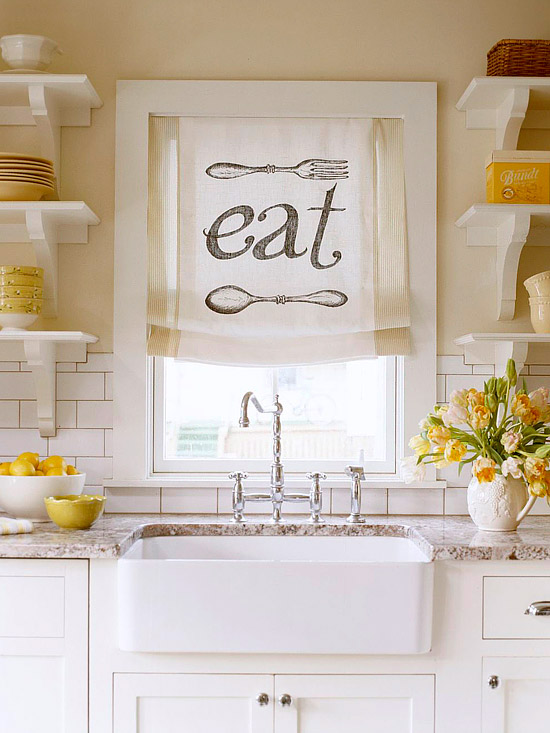 {via Better Homes and Gardens}
These DIY fabric covered roller shades from Cottage and Vine are pretty amazing:
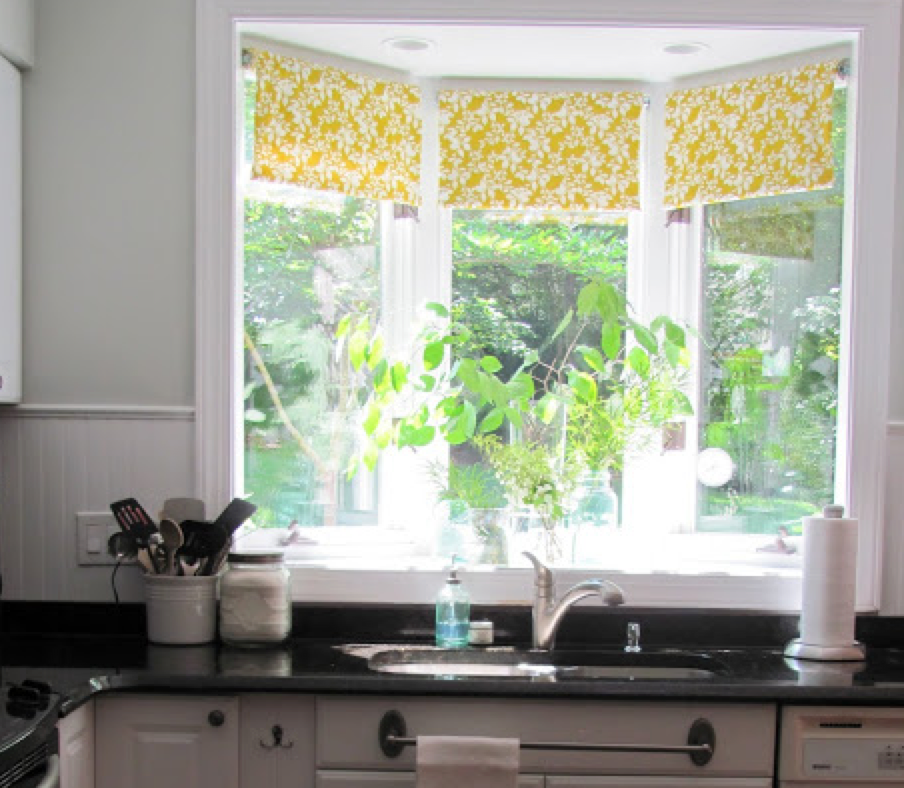
And it’s possible I’ve posted this photo from 320 Sycamore eleventy billion times on my blog, but it so embodies everything I strive for when decorating:
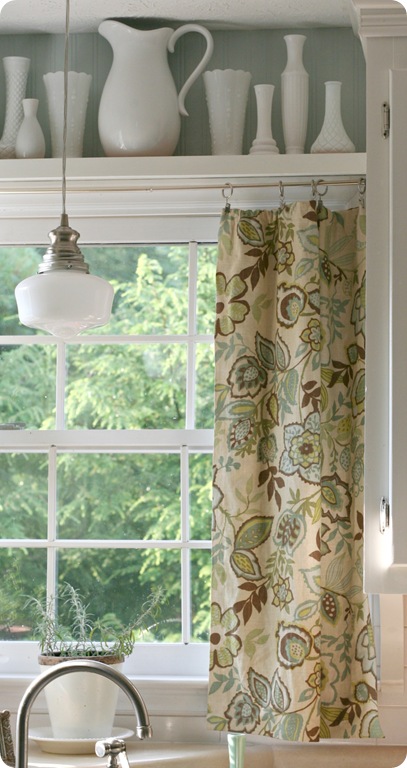
9. Get creative with your backsplash.
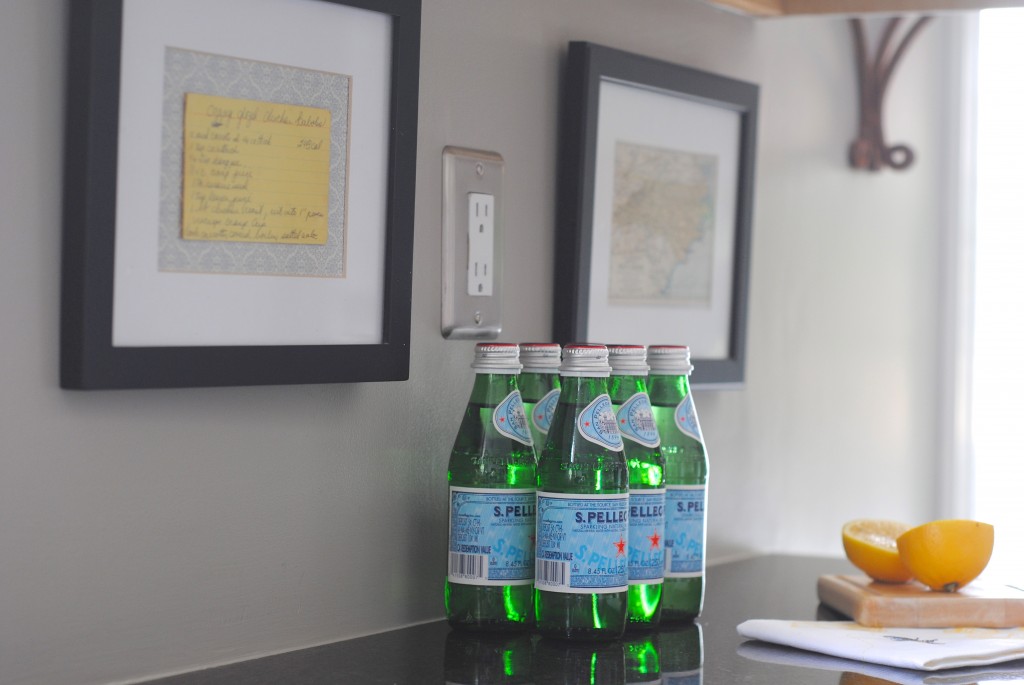
A backsplash isn’t in the budget right now (time wise, I just can’t!) so I’m thankful I still adore the framed pictures I placed in that spot.
The cost was FREE, since I had the frames, map, and recipe card that my mom wrote out when I moved away. :: sniff :: You can put anything in your frames, there’s so many clever ideas out there. Plus, if food gets splattered on them you can wipe them right off. Who needs a tiled back splash when you have a spot to display something you love?
10. Add interest to a wall with art, large photos, or stencil faux wallpaper.
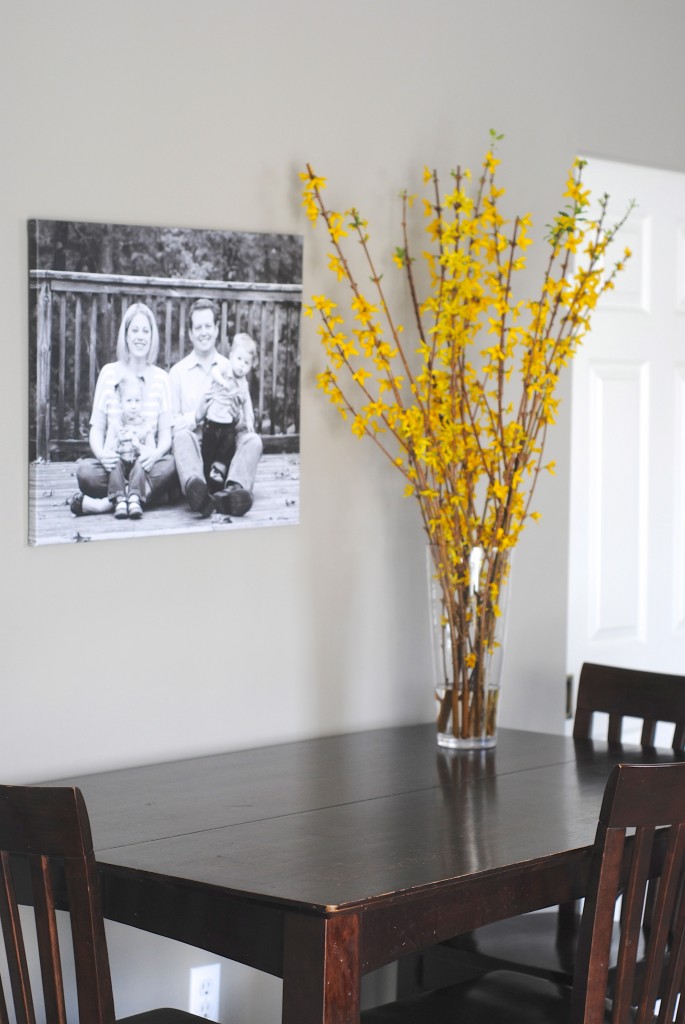
Right now, we have a family photo on stretched canvas on the wall above our table. It makes me incredibly happy every time I see it, and the kids always talk about it! We used Canvas On Demand and I’ve always been impressed with the quality and service they provide.
If photos aren’t your thing, how about plates? Start scouring thrift stores and estate sales for plates you love (these ironstone plates in white are gorgeous) and soon you’ll have a wall-worthy collection to hang.
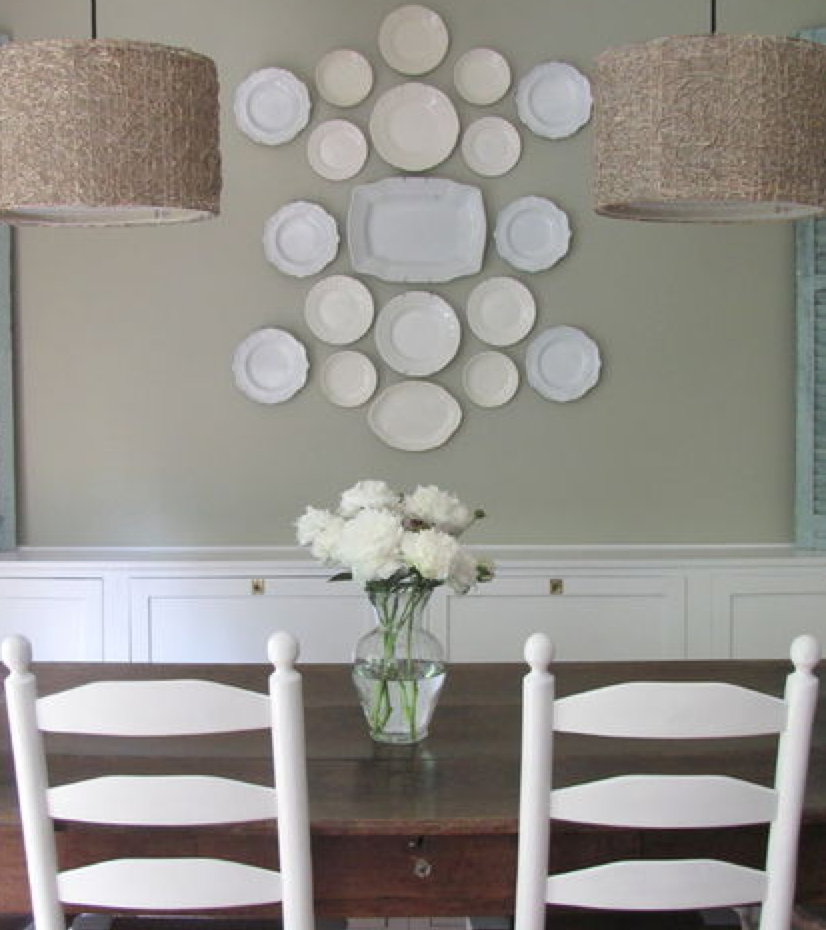 {via Houzz}
Or, create faux wallpaper by stenciling a pattern. Actually, this could be real wallpaper- but you are doing this on a BUDGET so let’s go with ‘it’s a stencil’ here. Your stenciling will totally look like faux wallpaper, anyways, because YOU are a rockstar.
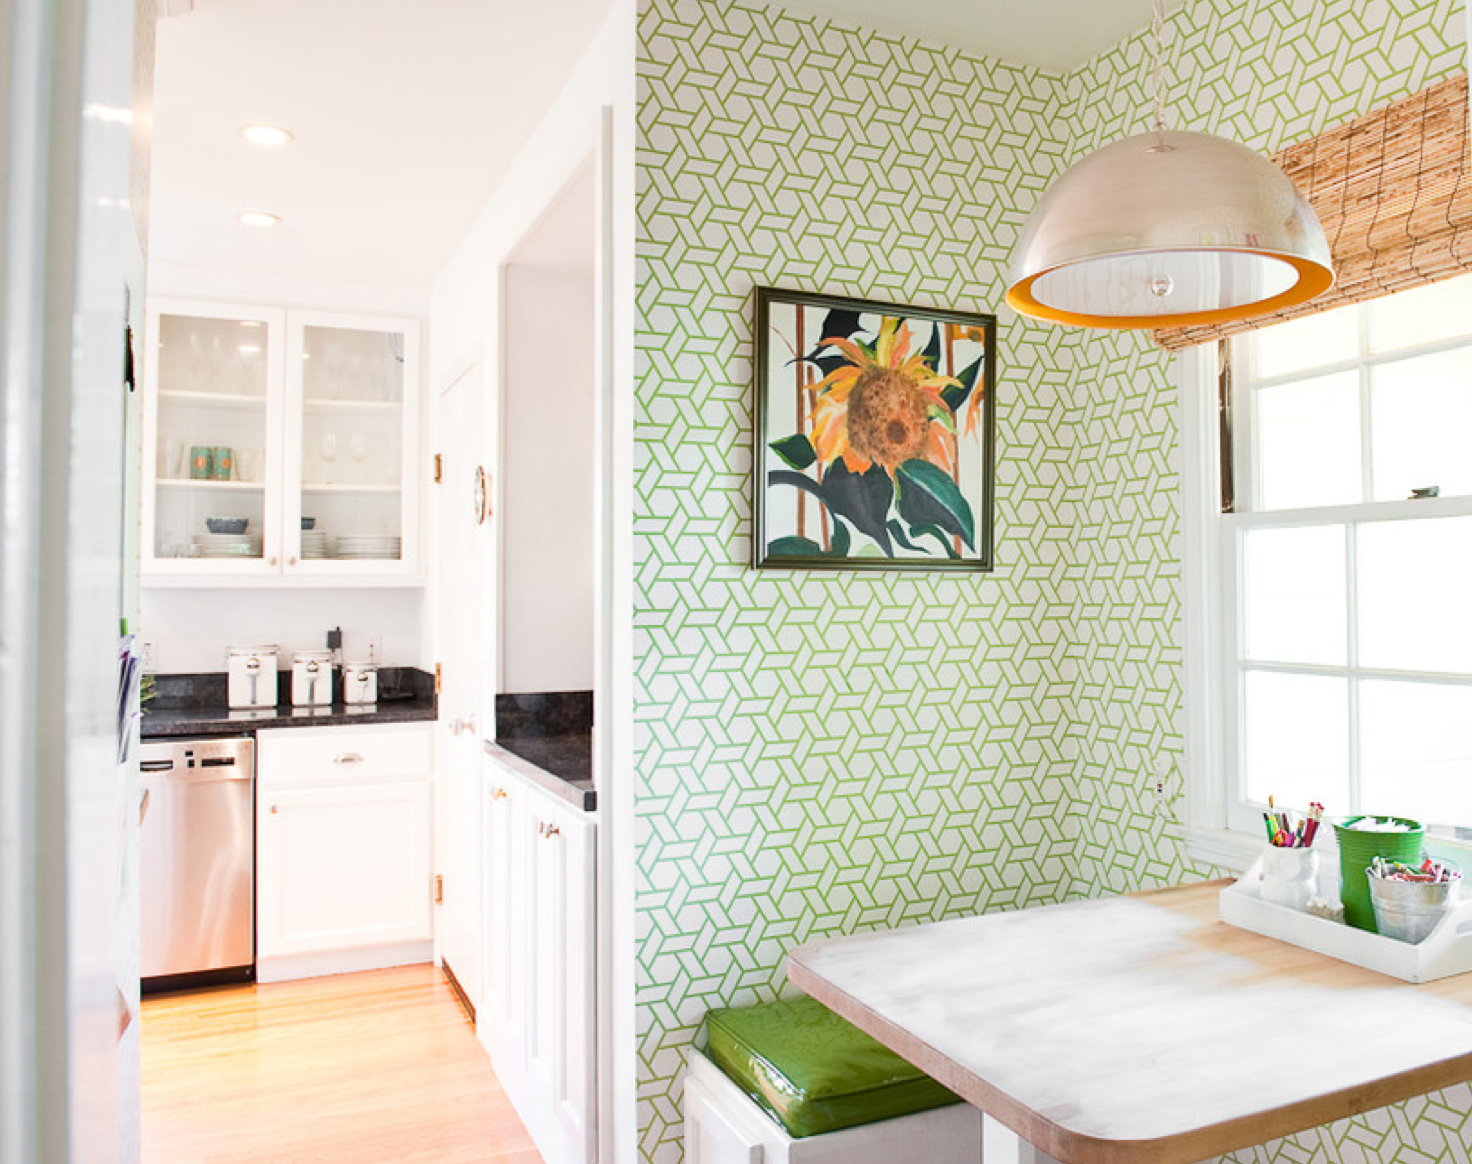 {via Houzz}
Hopefully you found some kitchen pictures to inspire you to do your own budget kitchen remodeling. Next week, I’ll share my kitchen remodel that included many of these updates plus a few other bigger changes- all within a budget, but a tad more than $100. Plus the things I wish I’d known before remodeling; mistakes we made so that YOU don’t have to!
So, which of these updates are you going to tackle first? Have you done a budget update kitchen update, and how did it go?
{Linking up with: DIY by Design | Not Just A Housewife | DIY Showoff | My Uncommon Slice of Suburbia | Restoration Redoux}

Source: https://gardencourte.com
Categories: Kitchens

