One of the first decisions a mushroom grower has to make is which mushroom substrate to use to grow their mushrooms.
We always recommend using substrates that are easy to find in your area, and generally, coco coir is one of these as it’s readily available at most garden centers.
You are watching: How to Grow Mushrooms on Coco Coir Substrate
Another benefit of using a coco coir mushroom substrate is that it’s easy to make in bulk and does not need sterilization.
But different types of mushrooms have different substrate preferences, and coco coir may not always be the best option for you.
In this article, you’ll discover what coco coir is, how to make a coco coir mushroom substrate, the pros and cons of using coco coir and how to grow mushrooms using coco coir substrate.
What is Coco Coir?
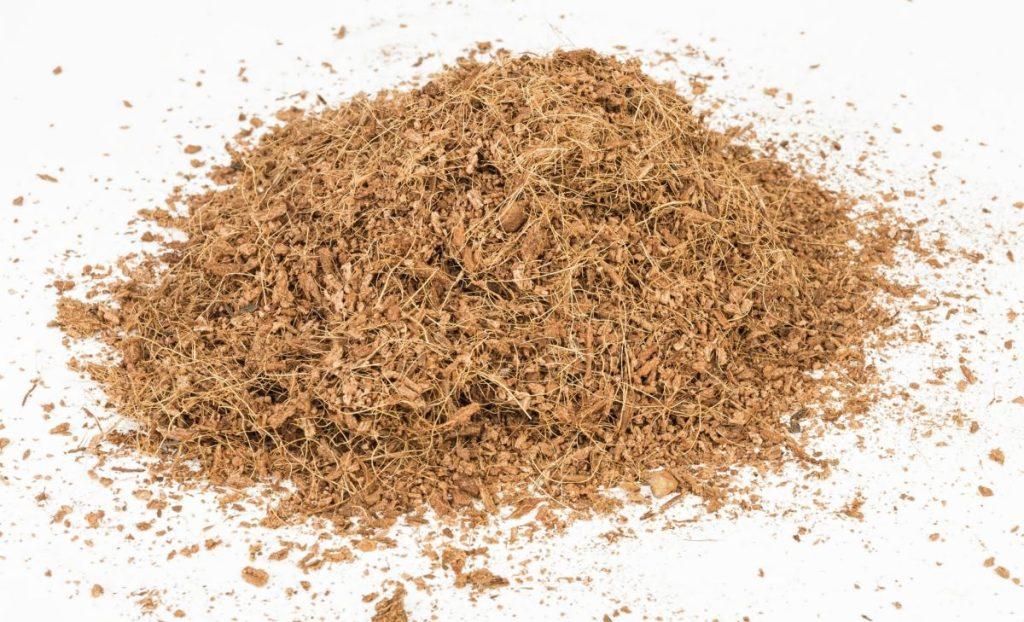
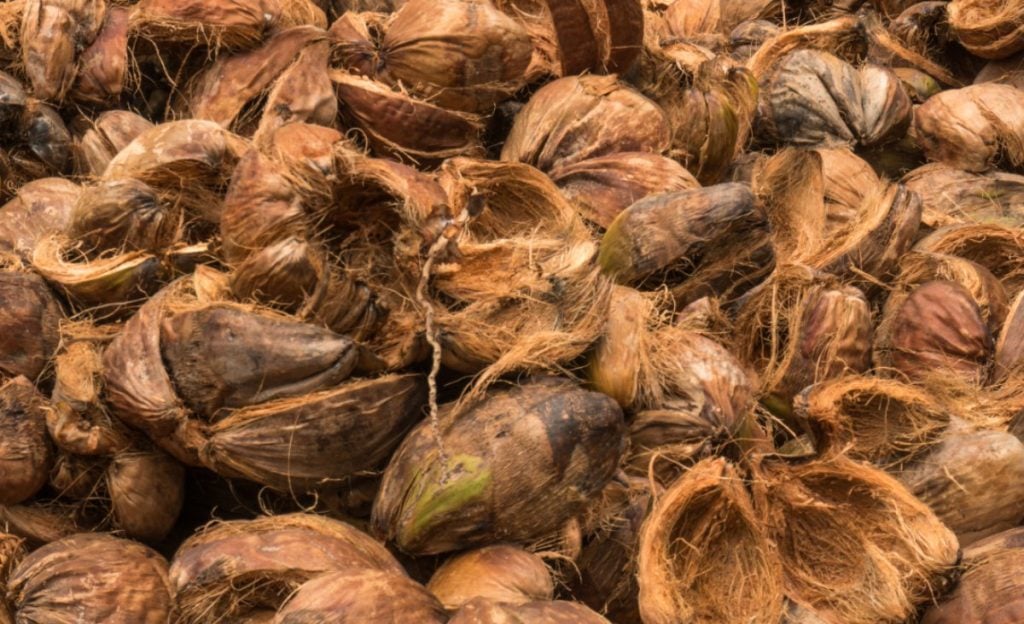
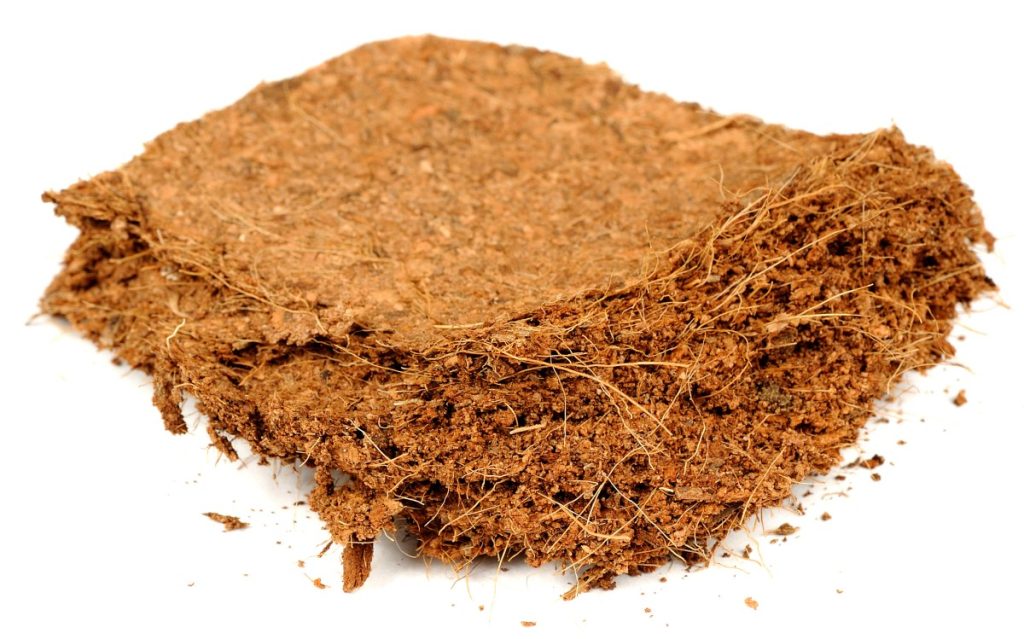
Coco coir is a lightweight, organic coconut husk material obtained during coconut fiber extraction.
Initially, manufacturers considered it the leftover byproduct after removing the coconut fiber from the space between the outer husk and the coconut.
Now it’s an in-demand, sustainable substrate popular with many gardeners and mushroom cultivators.
Coconut husks go through a shredding that extracts and separates out longer fibers for use in various industries.
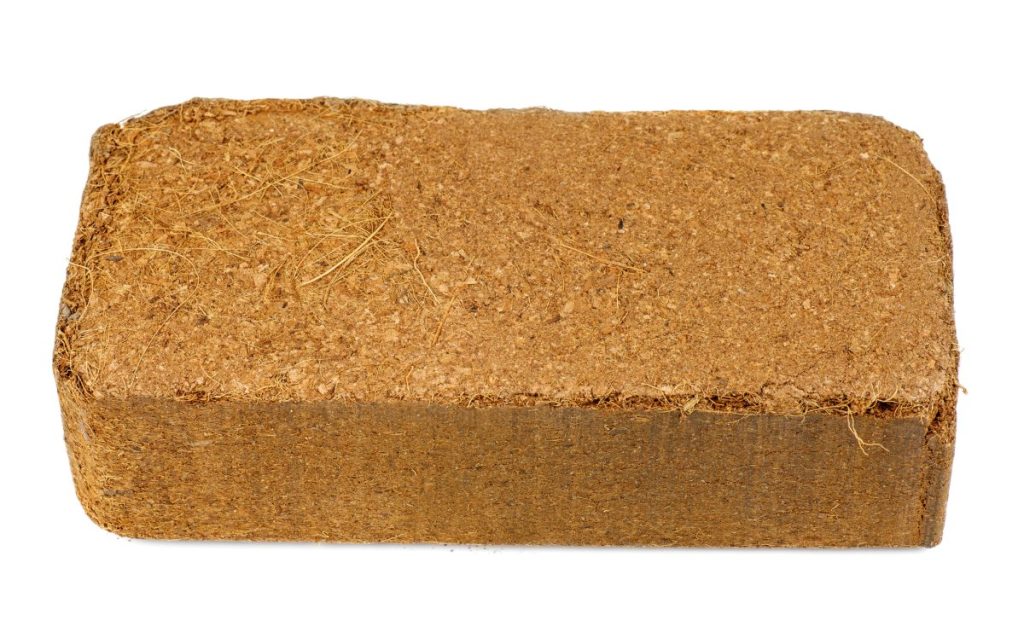
Coco coir is the leftover mix of short fibers and spongy non-fibrous material. It’s sold for horticultural purposes in several forms and comes loose in bags or compacted into bricks.
Are Coco Peat and Coco Coir the Same?
Yes, coco peat and coco coir are the same material, and people use the names interchangeably.
But some feel that coco coir is a more accurate description as the product is not the same as peat.
Can You Use Coco Coir as Substrate?
Yes, you can use coco coir as a mushroom substrate, and people often use it to grow Psilocybe Cubensis mushrooms.
Coco coir retains water well and contains enough nutrients to grow several mushroom species.
But not enough to substantially increase the chances of contamination and need sterilization.
As it does not require sterilization, coco coir is one of the easier materials to use as a substrate.
While you can grow several types of mushrooms on a coco coir substrate, many species need more nutritious substrates to produce high yields.
It’s beneficial to know a little about the mushroom life cycle and how mushrooms reproduce, as this will help you understand the role substrates play.
How Do Mushrooms Grow?
Mushrooms are the fruiting bodies of fungi that are often hidden underground or in a substrate.
The role of the fruiting bodies, or mushrooms as we know them, is to produce and distribute millions of mushroom spores, allowing the fungus to reproduce and spread to new locations.
Most cultivated mushrooms are the fruiting bodies of fungi that feed on dead and decaying organic matter.
People call fungi that get their nutrients this way saprotrophic fungi.
And although several mycorrhizal fungi also produce mushrooms, they’re not easy to cultivate as they need a symbiotic relationship with a tree to thrive.
To grow saprotrophic mushrooms, you need to provide moist organic matter for the fungus to grow through.
It will feed on the substrate and extract the moisture and nutrients needed to produce mushrooms..
You can use a wide range of organic materials to create a mushroom substrate, such as coffee grounds, cardboard, books, straw, compost, coco coir, soy hulls, sawdust and logs.
But, some species of fungi are fussier than others.
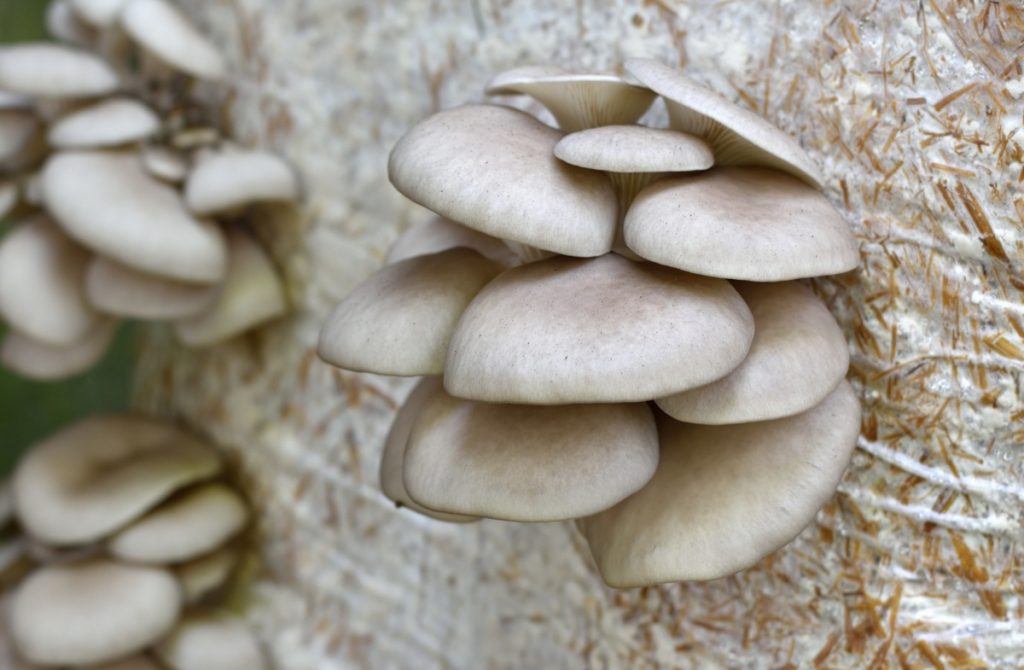
Oyster mushrooms are one of the easiest mushroom species to grow and thrive on almost anything, while many other species only grow on specific substrates.
What is a Coco Coir Substrate Recipe?
A coco coir substrate recipe is a recipe that mushroom growers use to make an effective mushroom substrate using specific ratios of coco coir and other ingredients.
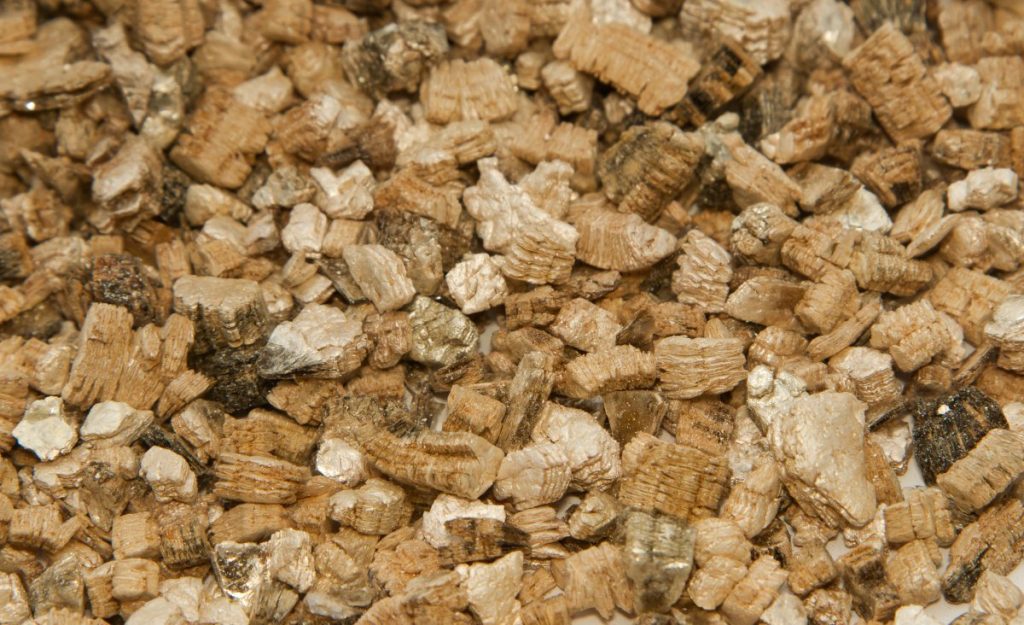
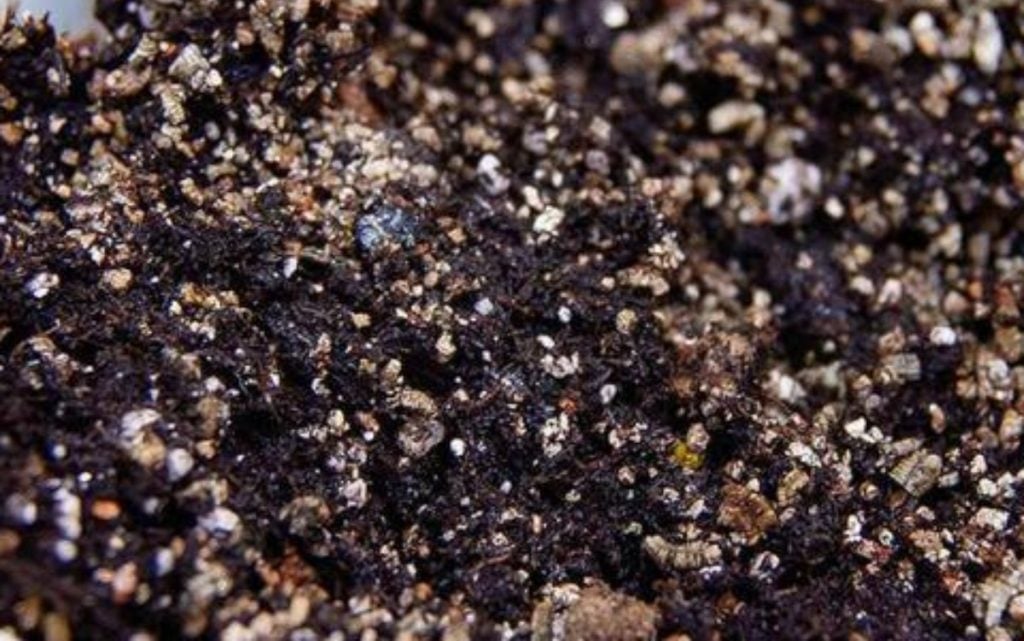
The most common coco coir substrate recipe combines coco coir and vermiculite.
Growers add vermiculite, a porous, inert substance found at garden centers, to help maintain the moisture content in the substrate and assist with aeration.
The coco coir vermiculite substrate ratio to use when making this recipe is 1 part coco coir to 1 part vermiculite.
Some growers also add powdered gypsum to this recipe to create a substrate they call CVG (Coir, Vermiculite and Gypsum).
The gypsum acts as a pH stabilizer and enhances yields by supplying extra minerals and trace elements for the mycelium.
Other growers use a mix of coco coir and vermiculite with coffee grounds to provide extra nitrogen for the mycelium.
You can grow mushrooms on plain coco coir but adding vermiculite with gypsum or coffee grounds increases yields.
Can You Mix Soil With Coco Coir?
You can mix soil with coco coir, but people use this mixture for growing plants, and it does not work as a substrate for mushrooms.
Should I Add Perlite to Coco Coir?
You only combine perlite and coco coir when using coco coir to grow plants.
The mixture is particularly beneficial when growing plants from cuttings.
And while mushroom growers don’t use perlite in mushroom substrates, they often use it in fruiting chambers to maintain humidity levels.
Read more : Cornstarch and Water Non Newtonian Fluid
Perlite is sterile, has a neutral pH and holds a lot of water, making it perfect for use in DIY fruiting chambers.
Do You Have to Pasteurize Coco Coir?
Yes, to be on the safe side, you’ll need to pasteurize your coco coir substrate.
Although coco coir is naturally resistant to bacteria, it’s still organic material and contains nutrients that attract pathogens.
Pasteurizing your coco coir substrate will kill most organisms and give your fungus the best chance of growing without competition for the nutrients.
How Do You Make Coco Coir Substrate?
It’s easy to make a coco coir mushroom substrate, and you don’t need expensive equipment.
Once you have all the ingredients ready, you can complete the process in a few simple steps.
How Do You Make a Bulk Substrate Coir?
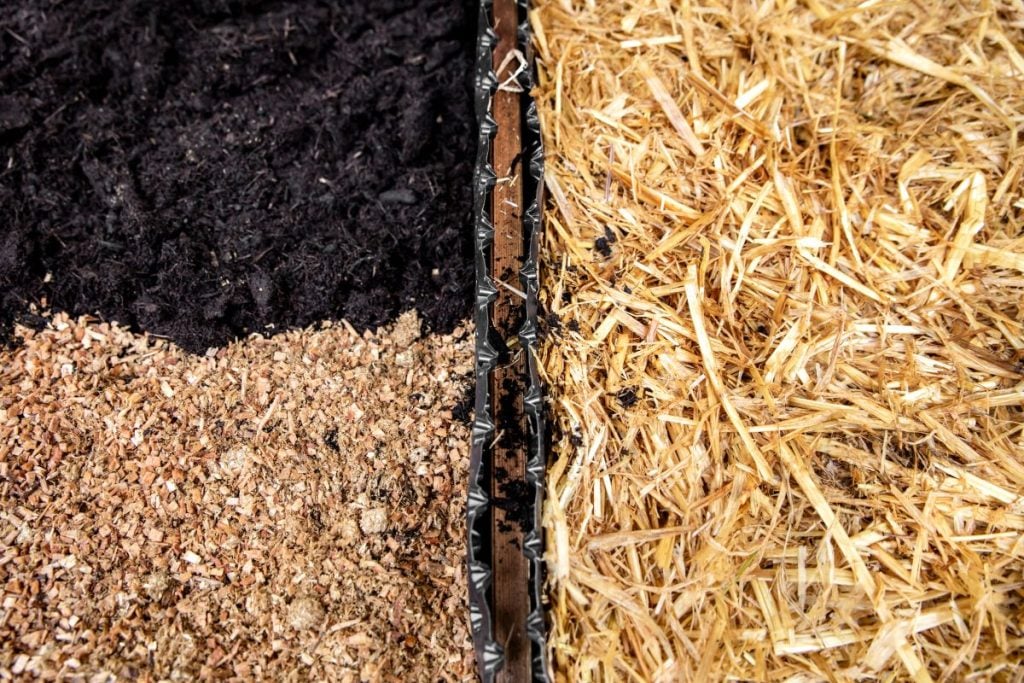
A bulk coco coir substrate is usually made by hydrating, supplementing and pasteurizing dried coco coir.
A bulk substrate is any nutritious organic material prepared and used for mushroom cultivation.
Growers usually use pre-colonized grain spawn to inoculate bulk substrates with mushroom mycelium.
Straw, sawdust, cardboard, coco coir and coffee grounds are all examples of bulk substrate materials.
Bulk substrates may have supplements added that provide extra nutrients for the mushrooms and increase yields.
How to Make Coco Coir Substrate Step by Step
Follow the steps below to make coco coir and vermiculite substrate:
Step1: Gather Materials
The first thing you have to do is gather all the ingredients and equipment required.
Ingredients:
- A brick of dried coco coir
- Fine Vermiculite
- Gypsum (Optional)
- Water
Equipment:
- A pot to boil water
- A large bucket with a lid
- A cup measure
- A spoon for stirring
A standard brick of dried coco coir weighs around 1.43 pounds (650 grams) and expands five to seven times in volume when you add water.
Here are the quantities to use when making bulk substrate using one compacted coco coir brick:
- 1 x 1.4 pound (650 gram) brick of dried coco coir
- 8 cups of dry vermiculite
- 16 cups of boiling water
These quantities should give you a substrate that has the correct moisture content.
If you want to add gypsum to your coco coir vermiculite substrate to create CVG, most growers recommend adding 1 cup.
You’ll also need to add more water.
Step 2: Boil The Water
Once you have all the ingredients, add 16 cups of water to a large pot and bring it to a rolling boil on the stove.
Aim to get the water to 165°F (74°C), the temperature required for pasteurization.
Step 3: Place Ingredients in The Bucket
While waiting for the water to boil, place the coir brick and 8 cups of vermiculite into your bucket.
If you are adding gypsum, you would add it to the bucket at this stage, as it also needs to go through the pasteurization process.
Pour the boiling water into the bucket and close the lid.
Step 4: Mix The Ingredients
Depending on who you speak to or follow, there are different recommendations for mixing the ingredients.
So, how do you mix coco coir and vermiculite?
All 3 methods below are easy and create a nice substrate mix.
No matter which method you choose, you’ll need to use a strong spoon or something similar to stir the mixture until you have evenly distributed the vermiculite throughout the coco coir.
You may want to experiment and see which of these methods works best for you:
1. Mixing Before You Close The Bucket
This method involves adding the boiling water to the coco coir block and breaking it up with a spoon until there are no lumps or dry spots.
You then add the vermiculite and mix the ingredients together before closing the lid and leaving the mixture to cool to room temperature.
Generally, we recommend leaving it for at least 6 hours to ensure it has cooled sufficiently before moving on to the next step, inoculation.
If you plan on using gypsum, add it with the vermiculite.
2. Mixing After an Hour
For this method, you place all the ingredients and the boiling water in the bucket and close the lid.
After an hour, open the bucket and stir the mixture well to combine all the ingredients.
By this stage, the coco coir will have rehydrated, and you’ll be able to mix it with the vermiculite.
Then close the bucket again and leave the mixture to cool down for at least 6 hours.
3. Mixing When Cool
This method may be the easiest as you are not working with the mixture while it’s still hot.
Simply add the coco coir, vermiculite and boiling water to the bucket and close the lid.
Around 6 to 8 hours later, when the temperature has dropped, open the bucket and mix the ingredients using a strong spoon or your hands.
The substrate should be at field capacity, which means that when you squeeze a handful, it should hold together and only release a few drops of water.
Read more : Why are apple cider vinegar fans coming for Katy Perry?
If too much water comes out, it’s too wet. If no water comes out and the substrate isn’t staying together in your hand, it’s too dry.
When well mixed and cooled to room temperature, your coco coir vermiculite substrate is ready to use.
How to Grow Mushrooms on Coco Coir
Follow the steps below to grow mushrooms using coco coir substrate:
Step 1: Gather Supplies
Before you begin, you’ll need to gather a few mushroom growing supplies.
To grow mushrooms on coco coir, you’ll need:
- Mushroom grain spawn – We recommend purchasing mushroom grain spawn from a reputable local supplier.
- Prepared coco coir substrate – Prepare your substrate using the steps in the section above.
- Containers or grow bags – You can use your bulk coco coir substrate to grow mushrooms in bags, buckets or other suitable containers.
Step 2: Inoculation
Inoculation is the name given to the process of adding mushroom spawn to your prepared coco coir substrate.
Before starting, wipe down all work surfaces and clean your hands well with soap to avoid contamination.
Also, ensure your substrate has cooled down enough as high temperatures could kill the mushroom mycelium.
How Do You Inoculate Coco Coir?
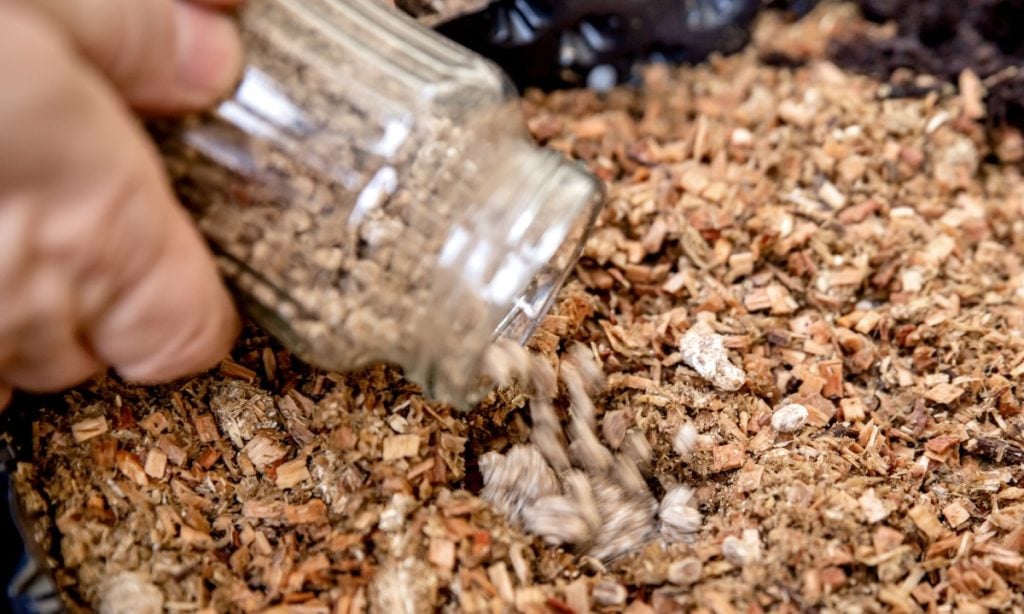
You can inoculate your coco coir substrate in the bucket you used for pasteurization or move it into a clean tote where it may be easier to mix the spawn into the substrate.
When the spawn and substrate are evenly mixed, transfer the inoculated substrate to your grow bags or containers.
If you’re using a monotub fruiting chamber, you can place the prepared coco coir substrate in the monotub and inoculate it in the tub.
You’ll need to add mushroom spawn at a minimum of 20% spawn rate to wet coco coir vermiculite substrate.
And growers recommend a spawn rate of 50% when using a plain coco coir substrate to speed up colonization.
Mix in the spawn through the substrate as evenly as possible.
Unevenly distributed spawn may result in slower colonization and increase the chances of contamination.
Step 3: Incubation
Once you have inoculated your coco coir substrate, the next step is to incubate it.
This step involves putting the bags or containers of inoculated coco coir substrate in a warm dark area at around 65 – 77°F (18 – 25°C) and leaving them to incubate.
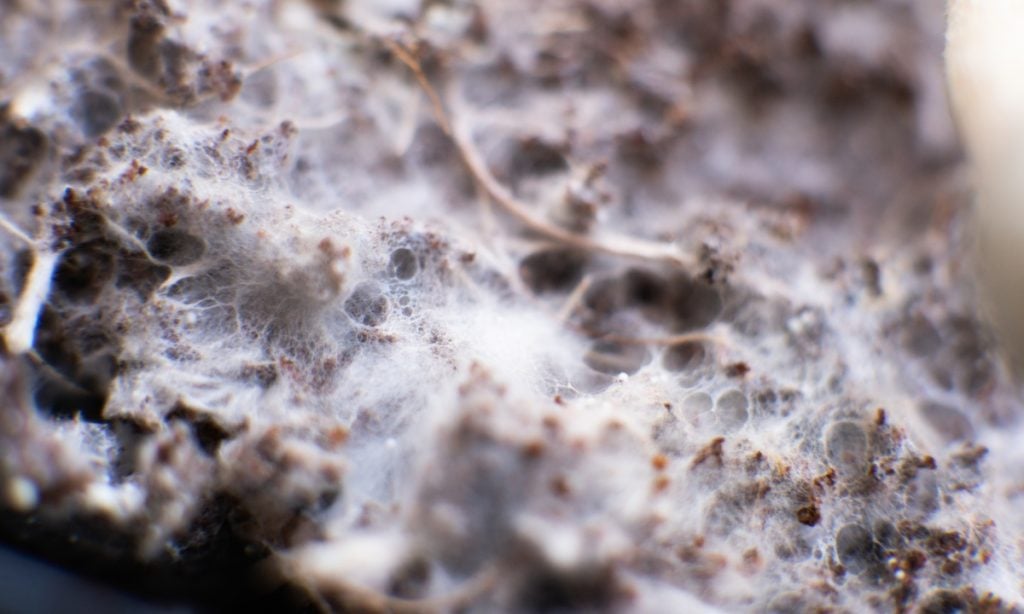
The mushroom mycelium will spread from the grain spawn and grow through the coco coir substrate, feeding on the organic material.
The name given to this process is colonization.
How long the mushroom mycelium takes to colonize the substrate varies from species to species.
The colonization speed is also affected by the spawn rate used and incubation temperatures.
When the mycelium has spread throughout the substrate and completely covered the surface, it’s time to place it in fruiting conditions.
Step 4: Fruiting
This stage is the most exciting part of the process as you finally get to watch your mushrooms grow.
To encourage fruiting, you need to replicate the ideal fruiting conditions for the mushroom species you’re growing.
Light, humidity, airflow and temperature play an important role in this.
Depending on the type of mushrooms and where you live, you could create fruiting conditions on a kitchen counter or windowsill.
But for those in hotter, dryer areas, a greenhouse, monotub, shotgun fruiting chamber or Martha grow tent will all help to create ideal fruiting conditions.
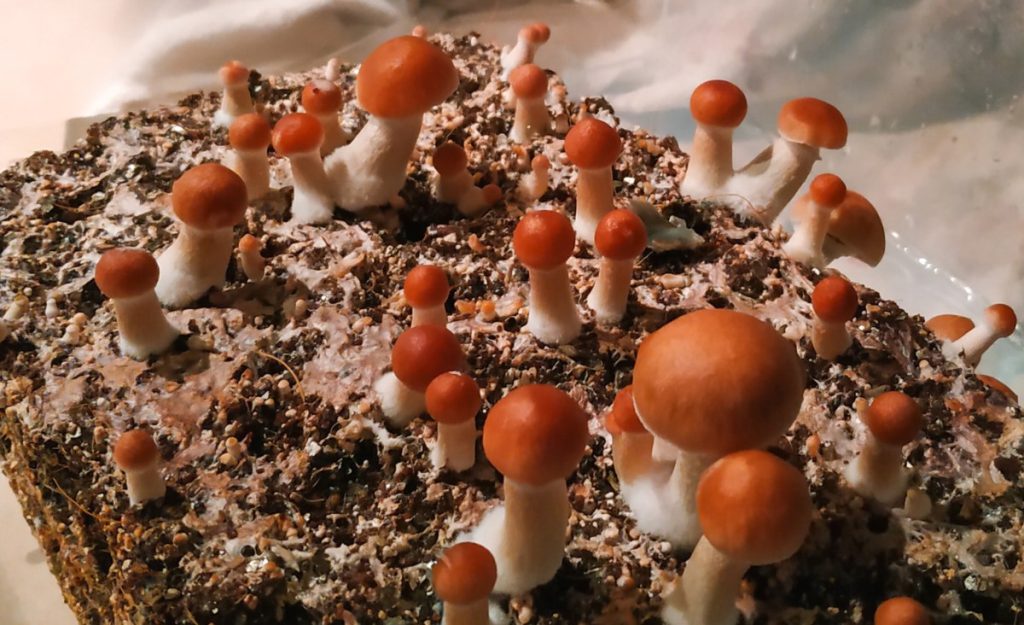
Once in fruiting conditions, it won’t be long before you see mushroom pins forming on the colonized coco coir substrate.
Enjoy watching as they mature and give you your first flush of homegrown mushrooms.
Pros and Cons of Using Coco Coir
Coco coir has many properties that make it popular as a mushroom substrate, but, like all substrates, there are also some cons.
Here are some of the pros and cons of using coco coir as a mushroom substrate.
Pros
Coco coir is an easy, inexpensive mushroom substrate that growers often use in monotubs, and its pros include:
- 100% organic and biodegradable – Coco coir is a sustainable, biodegradable, non-toxic byproduct of the coconut fiber extraction process.
- Readily available – Coco coir is readily available in gardening shops in most areas, and you can also buy it online as it’s easy to ship.
- High moisture retention – One of the main benefits of using coco coir is its ability to retain moisture which is very important when growing mushrooms.
- Disease-resistant – Coco coir is naturally resistant to pests, bacteria and mold.
- Excellent aeration – Coco coir’s porous structure enables good air exchange, which is important in a mushroom substrate during the incubation phase.
- No sterilization required – Coco coir does not need sterilization, making it an easy substrate for beginners who can pasteurize it without expensive equipment.
Cons
You can avoid most of the cons of coco coir can by using organic coco coir processed without harmful chemicals and cons include:
- Possible high salt content – Make sure you research the production process of the coco coir you choose.
If the manufacturer soaks the coconut husks in salt water and does not rinse the coco coir, it may have a high salt content.
- Possible chemical residue – During processing, some manufacturers use chemicals, and the coco coir bricks could retain chemical residues that may affect mushroom growth.
- Varying product quality – Not all commercially processed coco coir bricks are the same, and in some instances, processing destroys some of the natural elements.
- Low nutrient content – Coco coir contains a few important minerals and enough nutrients to grow some species of mushrooms.
But to get a good flush, you’ll need to supplement coco coir, and most gourmet mushrooms do better on substrates with more nutrients like hardwood sawdust.
Final Thoughts
When growing mushrooms, we recommend using bulk substrate materials that are easy to source in your area.
But, this is only one of the factors that you need to consider as substrate choice could have a significant impact on your mushroom growing experience.
Coco coir is inexpensive and found in most garden centers making it ideal for urban mushroom growers who may not have access to other agricultural byproducts.
Depending on the type of mushrooms you want to grow, it may not be the best substrate for you, as many gourmet mushrooms do better on substrates with more nutrients.
To learn more about growing mushrooms using different substrates and containers, visit our Mushroom Growing Hub.
Source: https://gardencourte.com
Categories: Recipe


