Do you have a light in your home that you love the shape but hate the color? Not talking about lamp makeovers – that’s a different DIY!
I mean pendant light fixtures.
You are watching: How to Paint a Light Fixture in 3 Easy Steps
Did you ever consider painting it?
We have a lot of lights right now that are ok in shape, not color. (Well, except for the boob lights – those have to go!)
We love our brand new construction home here in NC. But the light fixtures they chose? Ehh. Very builder-y.
They are stainless steel, which isn’t horrible.
But with gray cabinets, gray counters, and stainless steel appliances (oh, and our couch is a dark gray), we are on gray overload!!

Some of the lighting we have completely taken down and replaced. Others, like those infamous boob lights, have a few more months (years!??) to live before I tackle them.
One fixture that needed a change right away was the pendant light in our breakfast nook.
It’s the small area off our kitchen where we eat dinner most nights.
Unless we are feeling fancy and want to eat in the dining room. “I’m so fancyyyyy … you already know … I’m in the fast lane …” Ok, sorry. It felt right to start singing.

Anyways, the shape of this fixture isn’t bad. I like it. But again, the stainless steel color is so overused in this house I’m going a little crazy.
Related Post: How to Redo a Lamp Base
One of my favorite colors is black. And black seems to go with a lot of our decor. I just love it as an accent in most rooms. So I took my favorite spray paint and painted it.
This is one of those projects where there is no going back. But if I didn’t like how it turned out, we would just buy a new one. At some point.
Luckily, it turned out amazing!
Read more : The ultimate list of dog friendly plants
You would never know that this light fixture wasn’t originally black. I’m going to show you how to do this and it’s so easy.
Things You’ll Need
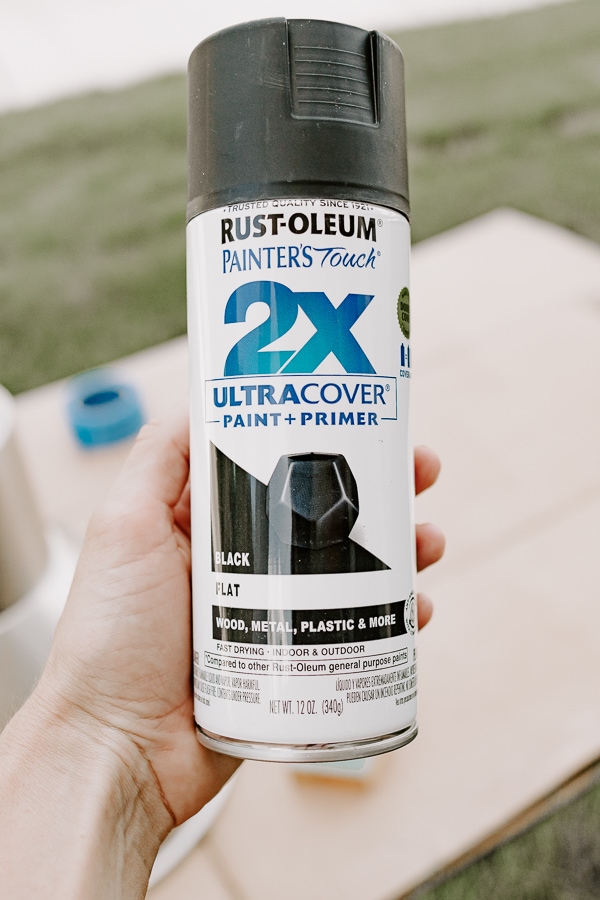
- Rustoleum Paint and Primer
- Sandpaper
- Painter’s Tape
- Tack Cloth
How to Paint a Metal Light Fixture
I broke this process down into simple steps – it might seem like each step is a lot, but it really doesn’t take long after you tape everything off.
Step 1: Turn off power and Prep your fixture for painting
The most important thing when working with any electrical device is to turn off the power to the fixture.
Go ahead and switch off that circuit breaker. And make sure it’s really off.
We took our fixture down completely so I could spray paint it outside.
Can you paint a light fixture without taking it down?
Yes, you can!
But it’s a little more tricky this way. And here’s why.
While you don’t need to take it down, you will need to tape off walls, floors, move furniture, and have some cardboard handy to use as a spray painting screen.
If you mess up, you’ll have to sand down your paint carefully without pulling on the fixture too much. It also could be difficult to get the top of the fixture where it meets the ceiling, without actually painting the ceiling.
However, if you use a lot of painter’s tape and a cardboard screen around where you’re painting, then yes you can absolutely do it.


After taking down the light fixture (or skipping this if you are painting it without taking it down) you’ll have to tape off the areas you don’t want to be painted.
The cord, and the entire inside of the fixture, including the socket.
Take some sandpaper and lightly sand your fixture.
Our fixture is metal, so lightly sanding it gives a coat of spray paint more bonding power. I promise you won’t see the scratches after spray painting.

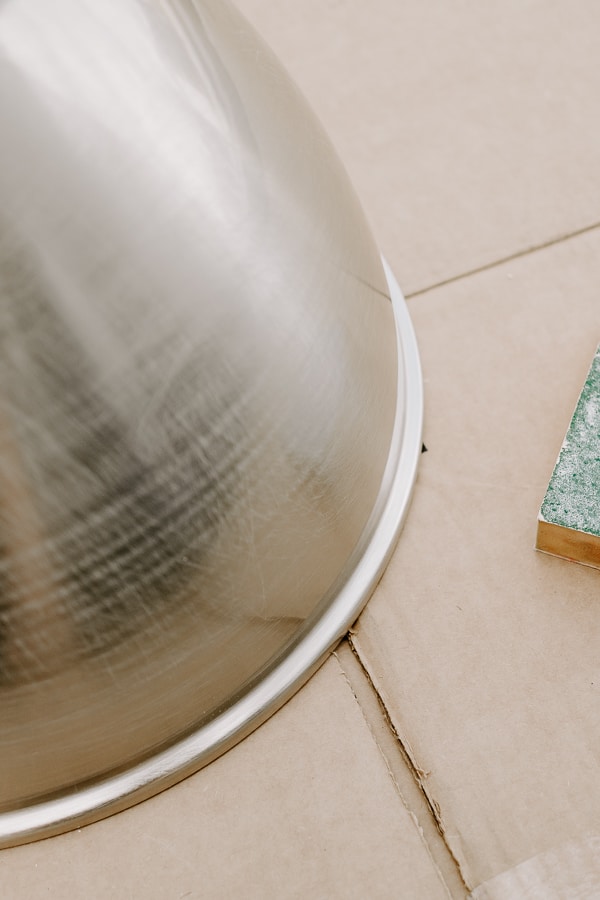
Take a tack cloth or a clean, dry rag and remove all the dust, dirt, and debris from your fixture.
Now you’re ready to paint!
Step 2: Spray Paint Your Fixture
Time to paint!
Read more : Municipal Elevator
No going back now. Hahahahahahaha. Ahahahahahahahah, hahaha, haha. ha. (evil laugh.)
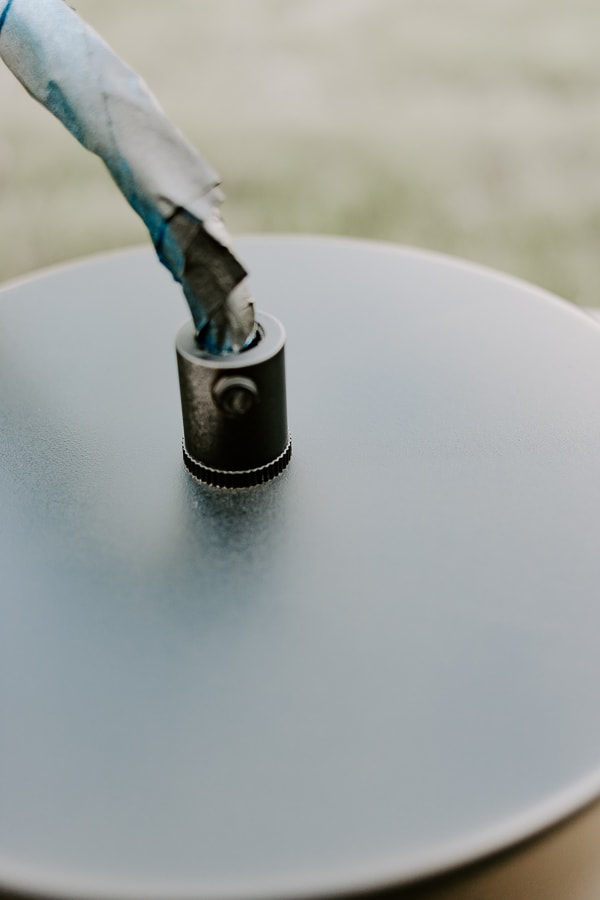

Spray paint using light coats – this ensures the paint won’t drip and run. I applied 2-3 coats and each coat took around 5 minutes to dry outside. It won’t completely cure for about 24 hours or more.
What if I mess up?
I messed up when I accidentally tried to remove a piece of grass that blew onto the fixture and stuck there.
It left a small fingerprint mark. If this happens to you, all you need to do is wait for that coat of paint to dry, and then take fine-grit sandpaper and sand it down smooth.
The sanding will remove the paint and the blemish with it.
Then, remove the sanding dust with a cloth and spray paint that section again. Easy peasy!

Step 3: Allow your fixture to dry for 24 hours
Leave your fixture alone for 24 hours after painting. No touching! Don’t even look at it. I’m just kidding. You can look at it.
I left mine go for a full 24 hours and then it was ready to hang again.
Hang it up and fire that bad boy on! (That means, turn on the power.)
The After – Our end result!
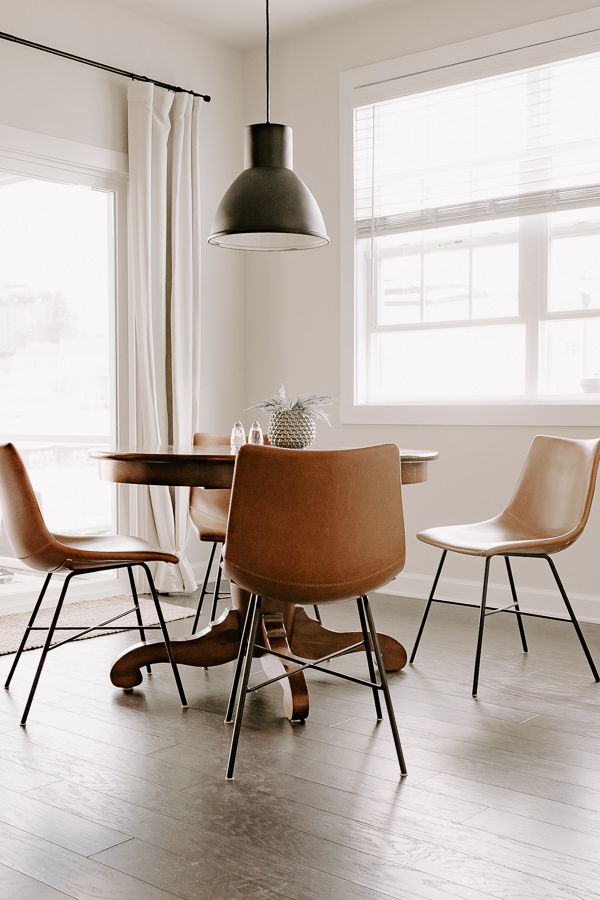
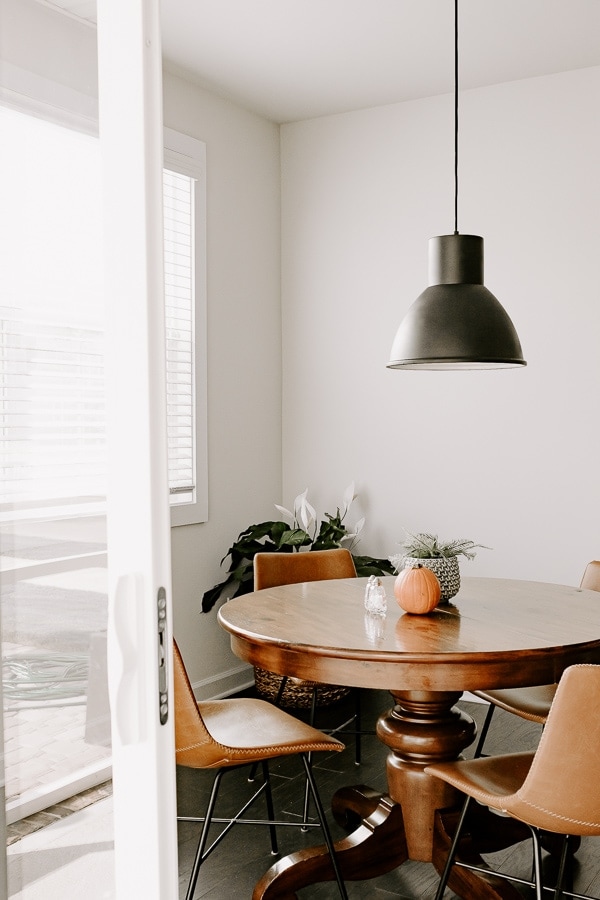
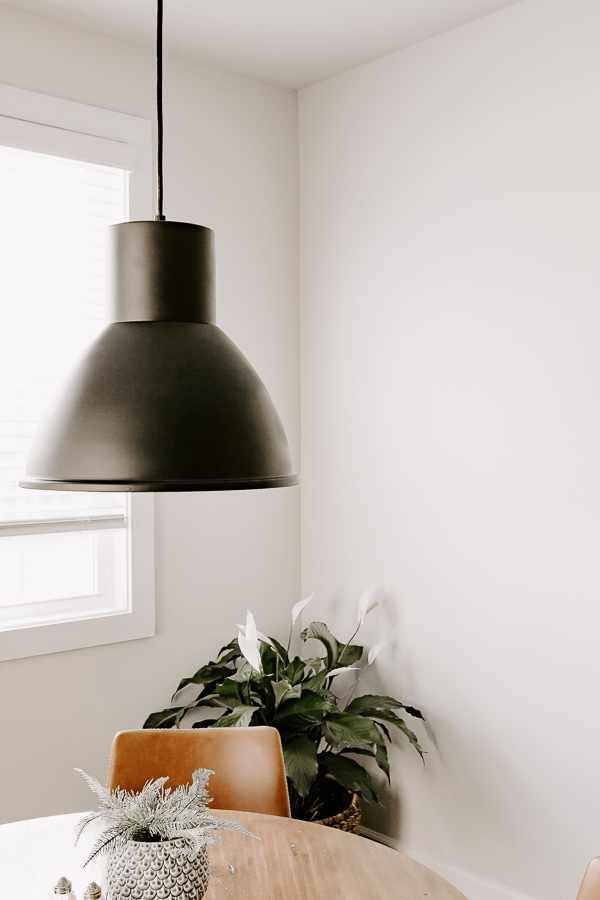
And here’s how our light looks now.
Much better!
It looks like a new light! I just love this new look to our breakfast nook.
Our house is looking pretty bare-bones right now, but I can’t wait to add more character to this nook soon.

Can I spray paint any light fixture?
This sounds a little like an infomercial, but with Rustoleum Spray Paint and Primer, it adheres to plastic, wood, concrete, glass, metal, and more. So I would say yes you absolutely can!
Bathroom vanity lights, pendant lights, chandeliers, and more. It’s so important to carefully prep your fixture. Make sure areas are taped off with painter’s tape – that will ensure a much better end result.

So don’t toss those light fixtures just yet! If the shape is good then just spray paint them. It’s a great way to save money and transform your current lighting!
Xo Karen
Source: https://gardencourte.com
Categories: Outdoor

