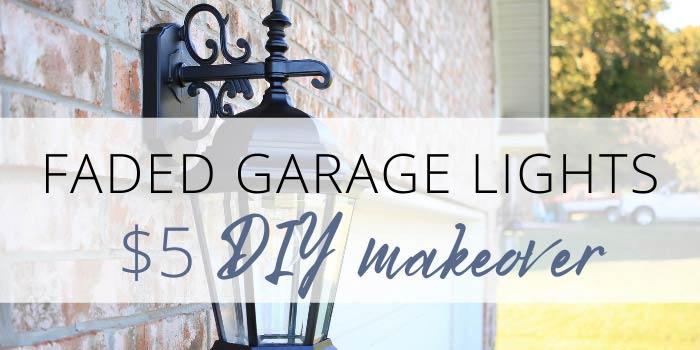
How to paint faded outdoor light fixtures without taking them down. Easy DIY to enhance your curb appeal. Plus what type of spray paint we used on this project.

Outdoor light fixtures play a crucial role in enhancing your home’s exterior aesthetic. Over time, they may lose their luster and become faded and dull.
You are watching: How to Paint Outdoor Light Fixtures + Without Taking Them Down
This can easily be remedied with a bit of spray paint and a few free hours with clear skies and good weather.
After wandering around the home improvement store, we picked up the necessary supplies and headed home to start our easy DIY faded outdoor light fixture makeover. And we were going to do it without taking them down.
Like this idea? Save this project to Pinterest for later by clicking the Pin below!
This post contains affiliate links. As an Amazon Affiliate I earn from qualifying purchases at no additional cost to you.
Whether your looking to refresh the light fixtures’ appearance or just update their color, this simple method allows you to achieve stunning results with little effort.
All without having to take the light fixtures down.
HOW TO PAINT OUTDOOR LIGHT FIXTURES
Materials
- Outdoor spray paint
- Painters tape (to mask off any glass and surrounding area)
- Razor blade (to cut any overflow tape on the light fixtures’ glass)
- Newspaper or cereal boxes (to mask off surrounding area from overspray)
- Cleaning supplies (soap and water to clean the outdoor light fixture)
- Ladder (so you are spray painting straight on and not at an upward angle)
- Safety gear (gloves, goggles, mask as necessary)
Outdoor Spray Paint- Make sure you are using an outdoor spray paint that is appropriate for your light fixtures’ material. Using a paint plus primer will give you the best results.
Read more : The Best Outdoor Wood Sealers of 2023
For this project we used Rust-Oleum 2x Ultra Color in Satin Canyon Black, that can be purchased on Amazon. This paint plus primer works on wood, metal, plastic and more. Is fast drying and able to be used for indoor and outdoor settings.
Clean the Light Fixture
Using soap and water, clean thoroughly with a damp cloth. Remove dust, dirt, cobwebs and rinse with clean water.
Allow to dry completely.
Protect the Surrounding Areas
Carefully use painter’s tape to mask off any glass and areas you don’t want painted.
Take a combination of cereal boxes and newspaper to mask off the surrounding areas from overspray. The cereal boxes provide a thick barrier, while the newspaper is able to tuck around tighter areas surrounding the light fixture. Use tape or other to secure from movement.
Spray Paint the Outdoor Light Fixture
Hold the spray paint can approximately 8-12 inches away from the light fixture. Apply a thin coat of paint using short, even, strokes.
Begin at the top of the fixture and work your way down in a sweeping motion, getting into any groves as necessary.
Allow to dry and apply a second coat as needed.
Tip- By using a step ladder you’ll be able to spray paint the outdoor light fixture straight on and see the top of the light clearly to check for complete coverage.
Related Posts
Remove Painter’s Tape
Read more : Fertilizing and watering container plants
Carefully remove painter’s tape once paint is dry to the touch but not fully cured. This will prevent the tape from pulling off any new paint along with it.
Clean glass once more to remove any smudges or finger prints.
Final Touches
Inspect the light fixture for any imperfections or missed areas and touch up with a small paint brush as needed.
Additional Tips
- Choose a high-quality outdoor spray paint that is both paint and primer. Make sure that it is specifically designed for your light fixtures’ material.
- Check the weather forecast. Choose a day that is mild in temperature with no rain in the forecast. You’ll also want to choose a day that isn’t windy as a windy day is not ideal to spray paint and can become difficult to manage overspray.
- Be patient. Allow coats of paint to dry in between application.
- Wear appropriate safety gear to include a mask, and old clothes for painting.
Before and After
Popular Colors
- Canyon Black
- Satin Espresso
- Oil Rubbed Bronze
- Copper Hammered Metal
By masking off the surrounding areas, you can effortlessly transform your outdoor light fixtures without taking them down. Giving your home more curb appeal and a fresh, vibrant look.
This affordable solution was exactly what our faded outdoor light fixtures needed and only took a few hours to complete.
By reusing our existing light fixtures we were able to save money and were able to enhance our curb appeal for only the cost of spray paint.
You also might like
Follow us on…
Back to Home and Garden
Save this idea to Pinterest for later!

Source: https://gardencourte.com
Categories: Outdoor

