If you’re planning to remodel your kitchen, you may be thinking about including a built-in soap dispenser for the kitchen sink. These dispensers are much more attractive than plastic bottles of detergent, and they add sophistication and polish to your kitchen. But, because installing a built-in dispenser requires you to cut a hole in the countertop and sink base, it’s essential to decide on its placement before you begin cutting. So, which side of the sink should your built-in soap dispenser go? We’ve done the research, and we have the answers for you!
Most people place the soap dispenser on the side of the sink that corresponds with their dominant hand. However, there is no hard-and-fast rule about this. Instead, you should take into account the configuration of your sink, the number and type of dispensers you plan to install, whether or not there is a sprayer separate from the faucet, and your personal preferences when washing dishes.
You are watching: What Side Does The Soap Dispenser Go On?
We’ll address each of these questions in depth in the remainder of this article and explore whether the guidelines are the same for placing a built-in soap dispenser next to a bathroom sink. We’ll also investigate how far apart the soap dispenser and faucet should be, how to hook up a built-in kitchen soap dispenser, and whether installing one is worthwhile. Keep reading to learn more!

What Side Does The Soap Dispenser Go On?
Configuration Of The Sink
The configuration of your sink may pre-determine where the soap dispenser should go. For example, if you have a double-bowl sink, you should place the soap dispenser on the side where you plan to wash dishes so that you won’t be reaching over clean, rinsed dishes for soap. Also, if there is off-center garbage disposal under the sink, its size and position may determine where there is room for the soap container.

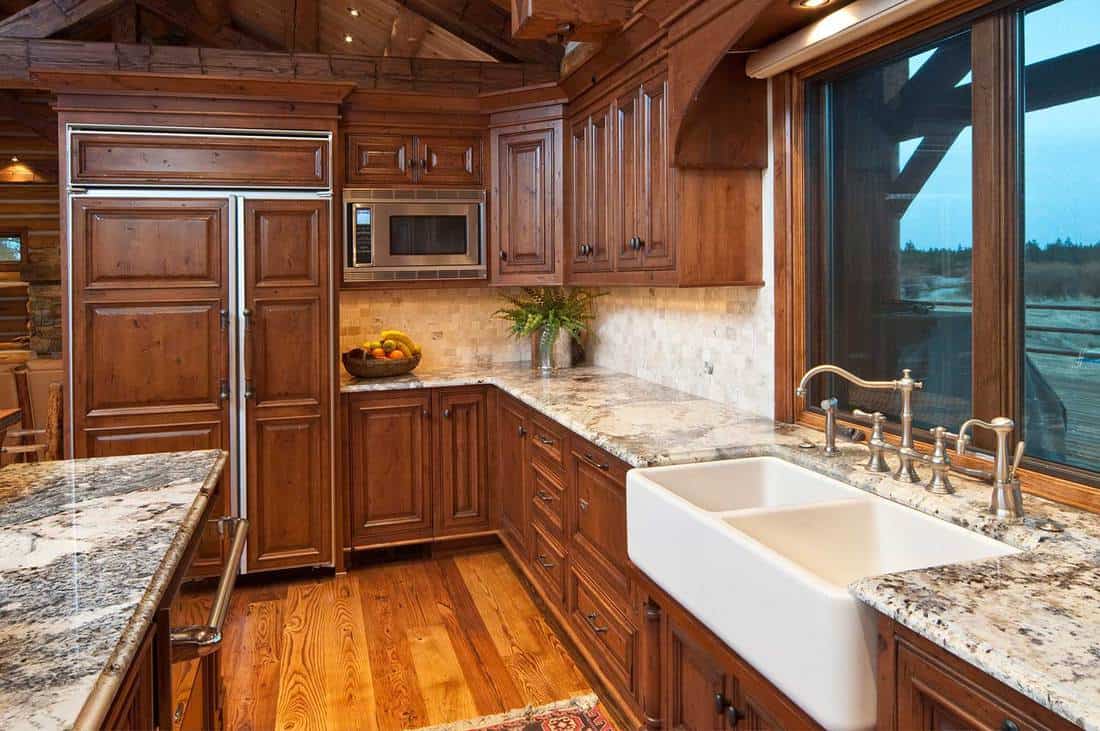
Double sink with soap dispenser on the right and sprayer on the left.
Number And Type Of Accessories
How many dispensers do you plan to install? Just one for dish soap, or do you plan to add others for hand soap and lotion? And what about a sprayer? The number and type of these accessories should help you determine the most strategic placement for each. For example, you’d likely choose to position hand soap and lotion dispensers next to each other; but you might not want a sprayer and your dish soap on the same side of the sink.

Read more : 11 Compounds We Use In Everyday Life
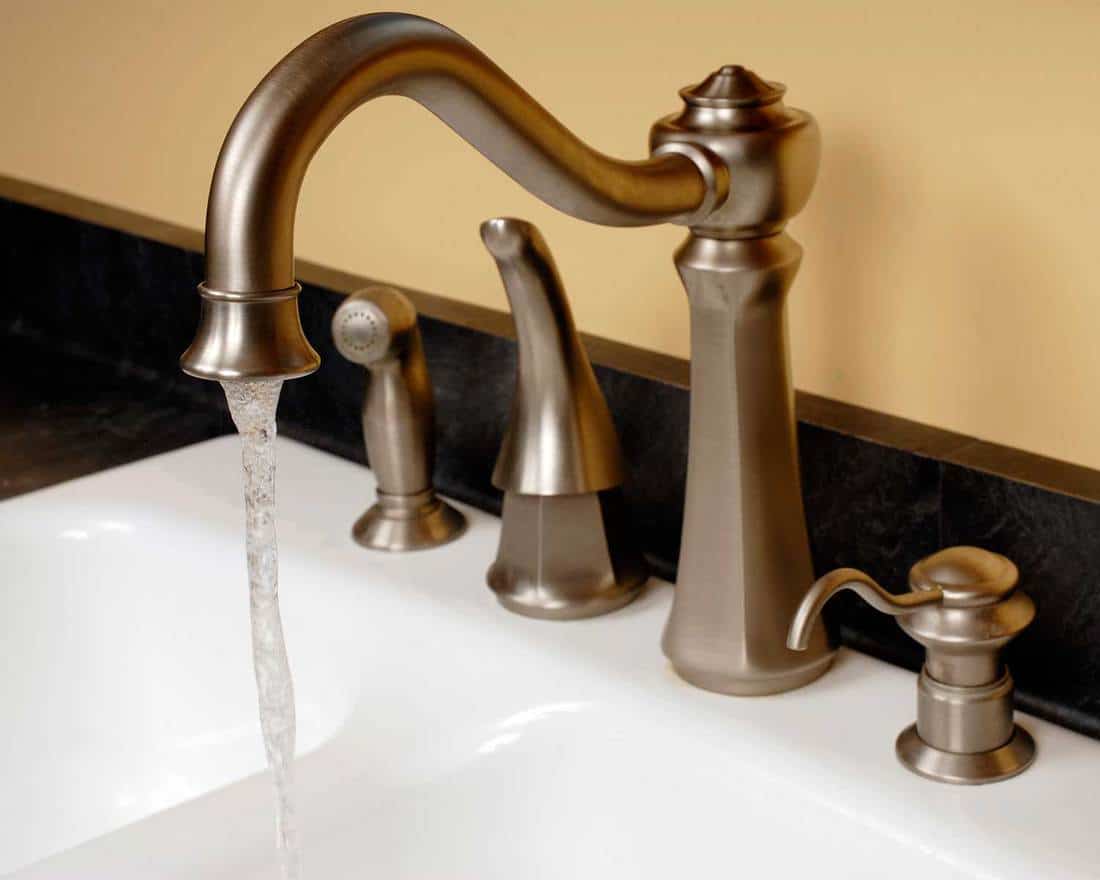
In most kitchen sink setups, the soap dispenser and sprayer are on opposite sides.
Right- Or Left-Handedness Of User
The most important factor in determining where to place your kitchen soap dispenser is its ease of use, and that is mostly a matter of personal preference. Imagine yourself washing dishes: do you carry dishes to the sink in your right hand or your left? Which hand do you typically use to turn on the faucet? When you’re scrubbing pots and pans, do you tend to hold them with your left hand and wash with the right, or vice-versa? Most people place their soap dispensers on the side of the sink that corresponds with their dominant hand, but this is certainly not a universal choice.
Click here for a built-in kitchen soap dispenser on Amazon.
What About Bathroom Sinks?
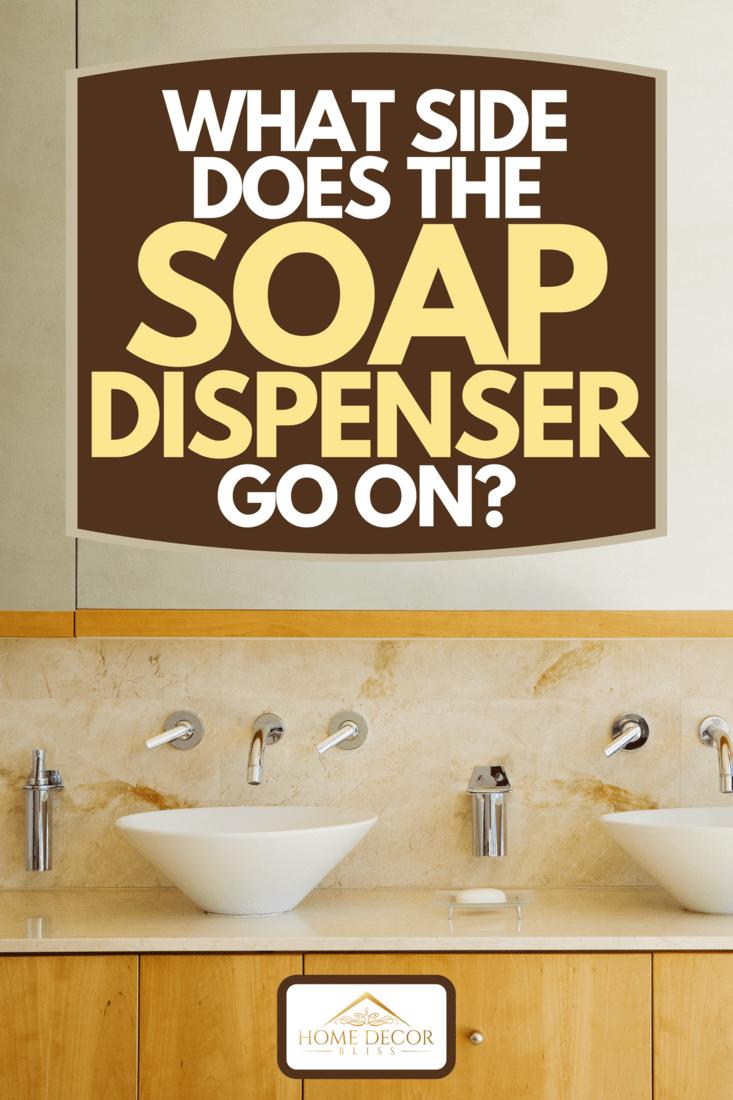
The decision is much simpler for bathroom sinks because handwashing is the only activity for which soap dispensers are needed. In addition, other accessories like sprayers, hot water shot dispensers, and garbage disposals don’t impede the placement. Built-in soap dispensers are almost always positioned to the right of the faucet assembly unless the main users of the sink in question are left-handed.
Click here for a built-in bathroom soap dispenser on Amazon.
How Far Apart Should Faucet And Soap Dispenser Be?
Stainless steel kitchen sinks have from one to four holes pre-cut in them; these holes accommodate the faucet, handles if applicable, and accessories such as a sprayer or soap dispenser. They are “8-inches on-center,” meaning that the measurement from the center of one hole to the center of the next one is 8 inches. In almost all installations, the 8-inch rule is a good guideline for the placement of your soap dispenser; however, if you have a wide-mount faucet with lever handles, you may need to place the dispenser farther from the faucet to allow the handles clearance.
Click here for a built-in kitchen soap dispenser on Amazon.
How Do You Hook Up A Soap Dispenser?
Hooking up a built-in soap dispenser may seem like a job for a plumber, but it’s quite easy. Just follow these simple steps:
- Using a flat screwdriver, pull up the metal disc covering the opening on your sink.
- Unscrew the bottle from the dispenser mechanism; set the bottle aside.
- Unscrew the locknut (a circular plastic or metal piece threaded onto the brass fitting).
- Apply a bead of silicone caulk to the underside of the metal flange above the brass fitting. The caulk will adhere to the surface of your sink and prevent water from seeping through.
- Lower the dispenser into the opening on the sink until the metal flange is resting atop the sink base. The housing and pump will be above the sink, and the brass fitting and plastic tubing will be out of sight below it.
- Press the flange firmly against the sink base to ensure that the silicone caulk adheres to the base.
- Beneath the sink, thread the locknut back onto the metal housing; screw it all the way to the top of the housing until it holds tightly against the underside of the sink.
- Screw the bottle onto the brass fitting until it fits closely to the locknut. Don’t overtighten it, or it may crack.
- Above the sink, unscrew the pump and lift pump and tubing away.
- Pour liquid soap into the dispenser from above; when the dispenser is full, replace the pump and tubing and screw the pump back in place.
- Press the pump firmly down two or three times to prime it.
Are Soap Dispensers Worth It?
Soap dispensers have three major functions: eliminating messy clutter on your kitchen countertop, saving you money by allowing you to refill them with bulk liquid soap, and protecting the environment from disposable plastic bottles. The highest-quality dispensers cost $100 or more but last for many years and add a polished, sophisticated look to your kitchen. You can also choose a less-expensive option, which may not last as long but will still pay for itself over time.
What Can You Use For A Soap Dispenser?
If you have a creative bent, you can build your own soap dispenser. Unless you have the technical skills to negotiate the constraints of sizing your dispenser to fit the hole in your sink, the following ideas are best used to create soap dispensers that sit on the countertop of your kitchen or bathroom. You can buy pumps in a variety of sizes and styles to fit your homemade dispensers.
Empty Alcohol Bottles
Read more : Water Hammer: What Causes It and How You Can Stop It
Attach a store-bought pump to the top of a bottle of Jack Daniel’s; use melted wax to seal the deal. You can add black ribbon or other embellishments or let the bottle’s label speak for itself. For the best effect, choose an amber-colored soap that mimics the hue of whiskey.
Mason Jars
You can make a soap dispenser to fit any rustic decor by spray painting a Mason jar and distressing the paint, as shown below. You can buy screw-on lids to fit the jars, with tubing included, making this one of the simplest DIY dispensers to create.
Click here for Mason jar lid soap dispenser pumps on Amazon.
Antique Tea Boxes
For a unique twist, use an old metal tea box for your soap dispenser. This is another simple project: punch a hole in the top of the tea box for the tubing to fit through, and run a bead of silicone caulk along the bottom of the pump’s flange to cement it to the top of the box.
Glass Bottle With Natural Wrap
Create a dispenser with a natural feel by wrapping a glass bottle in jute or twine. Dress it up with antiqued lace, as shown below.
Put Herbs Inside
Buy a bottle and pump at your local craft store; then choose a clear handsoap and submerge a large sprig of a hardy herb inside for visual appeal.
In Closing
Adding a built-in soap dispenser to your kitchen sink provides convenience, cost savings, and aesthetic appeal. Choosing the best dispenser to meet your needs is a complex decision, but you can ensure that you select the right product for your kitchen by following the guidelines above.
You may also enjoy the following articles:
13 Gorgeous Polished Brass Kitchen Faucets
How To Decorate Kitchen Counters [14 Actionable Ideas]
Source: https://gardencourte.com
Categories: Kitchens

