Last week in one of my favorite Facebook groups, I saw some women asking how to remove a tile backsplash. I was kind of shocked to see lots of comments with complex answers-yall, removing tile from a wall is REALLY not that hard!
In fact, in my personal opinion, it’s extremely therapeutic to destroy something. You can see me yelling and actin’ a fool (as per usual) the first time I removed tile:
You are watching: How to Remove Tile Backsplash in 5 EASY Steps
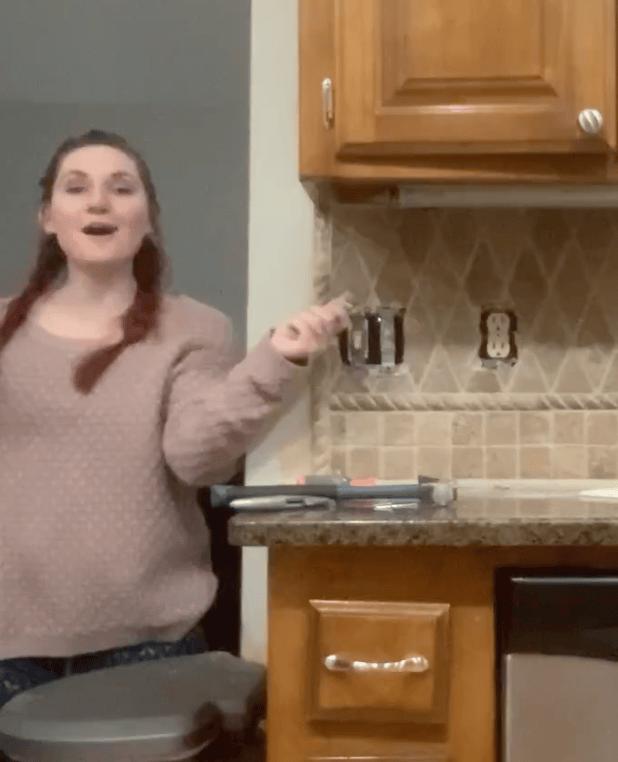
Anyway, there are two main ways to remove tile from a wall, and this post will go in detail about one of the ways (my preferred method). Read on for all the tips!
Related: If you’re looking for an in-depth and honest tutorial about installing your own kitchen tile backsplash, make sure you save this post: DIY Subway Tile Backsplash Tutorial
Here are the steps to remove kitchen tile backsplash that we’ll cover:
- Tools & Supplies
- 2 Ways to Remove Tile (and which one to choose)
- Protect Counters, Floors, and Yourself
- Turn off the Power & Remove Covers
- Cut Caulk/Grout Lines
- Remove Tile
- Repair or Replace Drywall
- Install New Tile
Tools & Supplies to Remove a Tile Backsplash
To make your tile backsplash removal as easy as possible, I’ve attached links to the materials on Home Depot, Lowe’s, and Amazon. Both Home Depot and Lowe’s offer online ordering and usually do same-day pickup.
Need more details on the best tools & supplies for your projects? Check my Incomplete List of the Best Tools & Supplies for DIYers. It includes ONLY tools & supplies that I’ve personally used and recommend, plus some honest notes about each product and what you really need (and don’t need).
Tools:
- Utility knife: (Lowe’s | Home Depot | Amazon)
- Steel putty knife or 3-in-one tool: (Lowe’s | Home Depot | Amazon)
- Current finder: (I have this Kobalt one: Lowe’s | Home Depot | Amazon)
- Screwdriver: (Lowe’s | Home Depot | Amazon) (Probably will need flathead and phillips head)
- Rubber mallet: : (Lowe’s | Home Depot | Amazon)
- Hammer: (Lowe’s | Home Depot | Amazon) (The mallet and hammer are interchangeable)
Supplies:
- Trash bags or something to protect counters
- Mask: (Lowe’s | Home Depot | Amazon)
- Safety glasses: (Lowe’s | Home Depot | Amazon)
To repair drywall, you’ll also need:
- Joint compound: I used DAP Wallboard Compound and really liked it (Lowe’s | Amazon)
- Drywall knives or putty knives: (Lowe’s | Home Depot | Amazon)
- Sandpaper – multiple finishes
Pssst, want to show off your love for DIY? Check out my product designs I made specifically for DIYers! (and ADHDers… and moms 😉 Visit my Etsy shop Black Door Fits. You can even get 20% off your order!

Two Ways to Remove Tile Backsplash from Drywall
There are two main ways to remove an old tile backsplash from drywall:
- Use a steel knife and separate the tile from drywall
- Use a multi-tool or oscillating tool and cut drywall off of the wall completely
This post is going to cover method #1, and there are a few reasons for that.
First, cutting into drywall is not physically a hard task-but this is the kitchen. There are many electrical and plumbing components behind your wall, and you run a big risk of cutting into something.
Unless you’re experienced with plumbing and electrical (in which case you’re probably not reading this post), I DON’T recommend that method.
The other reason is because I don’t think it’s necessary. I’ve also never done it, so I’m not going to write a post about something I’ve never done. I’ve cut drywall out, so I think I know how to do it-but hey, INTEGRITY here.
Here’s why I think #2 is the best way to remove tile backsplash:
- It’s not difficult
- It’s fun
- The drywall can almost always be repaired
- It’s not a permanent decision (Meaning that if the drywall can NOT be repaired, you can tear the drywall out even more easily)
Here’s what you need to know: when you remove a tile backsplash, the drywall WILL be damaged.
There is no way around that. However, it’s easy to repair with spackle or joint compound. If you choose to use method 1, you’ll have to put new drywall up before installing your tile. Drywalling is not difficult at all, but overall it’s more time-consuming.Until I write a more thorough post on drywalling, you can see a quick video tutorial in my Instagram highlights.

Related: How to Apply Stonecoat Countertop Epoxy (DIY Marble Countertops)
Step 1: Protect Counters, Floors, and Yourself
Tile removal is an inevitably messy and dusty process.
Read more : Kitchen Curtain Ideas: 41 Ideas For A Beautiful Space
Depending on your kitchen backsplash, the tiles may be heavy and large, so make sure that your counters are protected from any damage. I didn’t do this immediately, but do as I say and not as I do, right?
I simply used trash bags and painter’s tape to cover mine. Make sure to also cover your sink area-you don’t want itty bits of tile crumbs going down your drain.
You could also add a layer of cardboard if you’re removing some especially heavy-duty tile.
Make sure you’re also prepared-physically, mentally, and emotionally-for the dust. This part is not super fun. Having the trash bags was helpful, because once we were done, I just rolled them up and there was minimal dust left.
And don’t forget a mask or a respirator and safety glasses! I am honestly NOT great at this and I still don’t own a respirator. But you for sure at LEAST need a mask to protect your lungs.
Step 2: Turn the Power Off & Remove Outlet Covers
Obviously, you can’t remove a tile backsplash if it’s covered by outlet covers. That’s as easy as unscrewing the covers.
Then, shut the power off to any outlets or light switches you’re working around and double check with a current finder.
Step 3: Cut the Caulk or Grout Lines
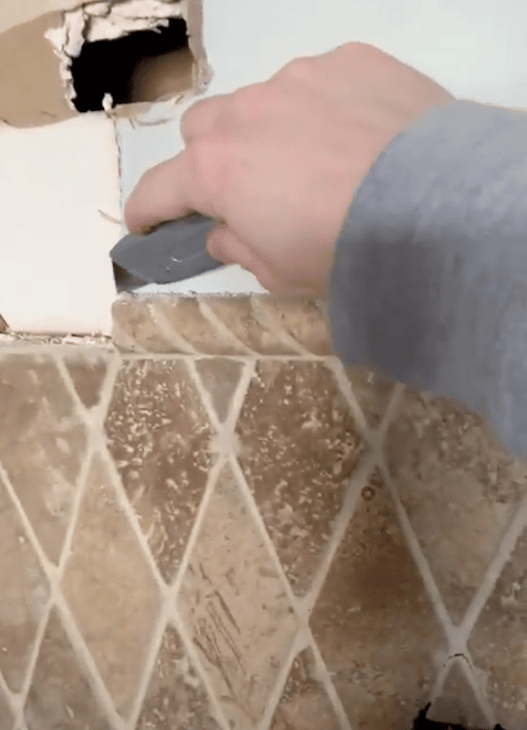
Okay, time to start the process! Get your utility knife and cut the edge of the backsplash.
You don’t have to cut all the grout or caulk out, you just need to make enough of a dent for you to wedge your steel knife or chisel into.
The first time I removed tile, I also cut into the grout in between the tile pieces. In hindsight, this is almost never necessary. Once you wedge something between one side of the tile and the drywall, you should be able to get it out.
However, if you have trouble with any spots of your kitchen backsplash, try cutting the grout in between.
Important Note: Tile with a Schluter Strip or Metal Trim
If the edges of your backsplash tiles have a thick metal piece, it’s most likely a Schluter strip.
I used a Schluter strip on both of the kitchen backsplash tiles I installed-it’s a great way to finish it! However, removing it might be slightly more challenging than removing regular tile edging.
I’ve never actually had to do this, but it would be done by following the same steps.
Just keep in mind that if the installers screwed the Schluter strip into the wall, it may take some more elbow grease than the rest of the backsplash tile. But don’t give up-YOU GOT THIS, I BELIEVE IN YOU.
And as I mentioned before, if anything goes wrong with this method of removing backsplash tile, you can then cut the drywall out with an oscillating tool. But you don’t have to start with that.
Step 4: Start Removing Tile
THE FUNNEST PART! (Yes, I worked for years as a professional writer, and I still use language like this. I’m hopeless.)
Place your steel knife or 3-in-1 tool (or whatever you choose to use) in the crack you just cut. Then use your hammer or wooden mallet to push it further behind the tile.
You will slowly see the first tile separate from the wall until IT’S OFF!
***Optional step to stop and scream like a gladiator. OR dance the tile dance. I did both.***
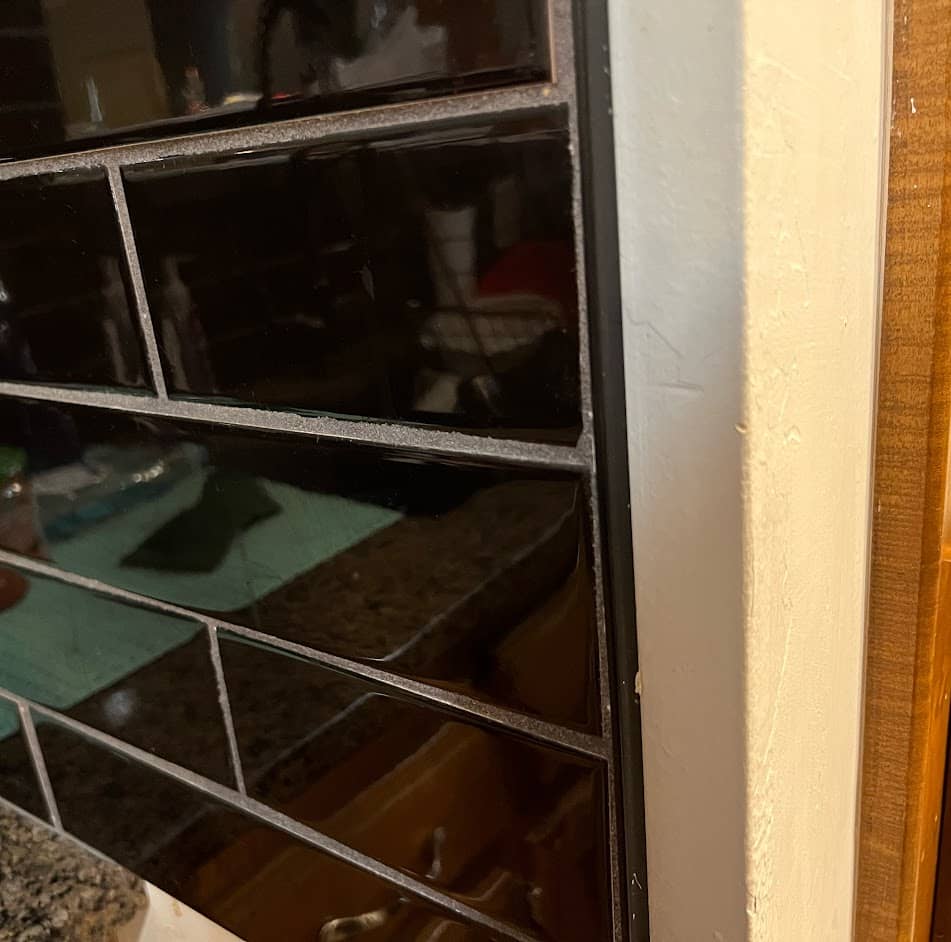
And then guess what-you’ve learned how to remove the tile from the wall!
Seriously! Now you just keep on keeping on, doing the same thing with your entire backsplash.
Read more : Revolutionize Your Kitchen Cleaning with Steam: Effortless and Germ-Free
I fully recommend taking a timelapse video-even if you never share it!-because it helps you see how much progress you’ve made.
Related: How to Paint Countertops Like Granite
Step 4: Repair Drywall (or Replace)
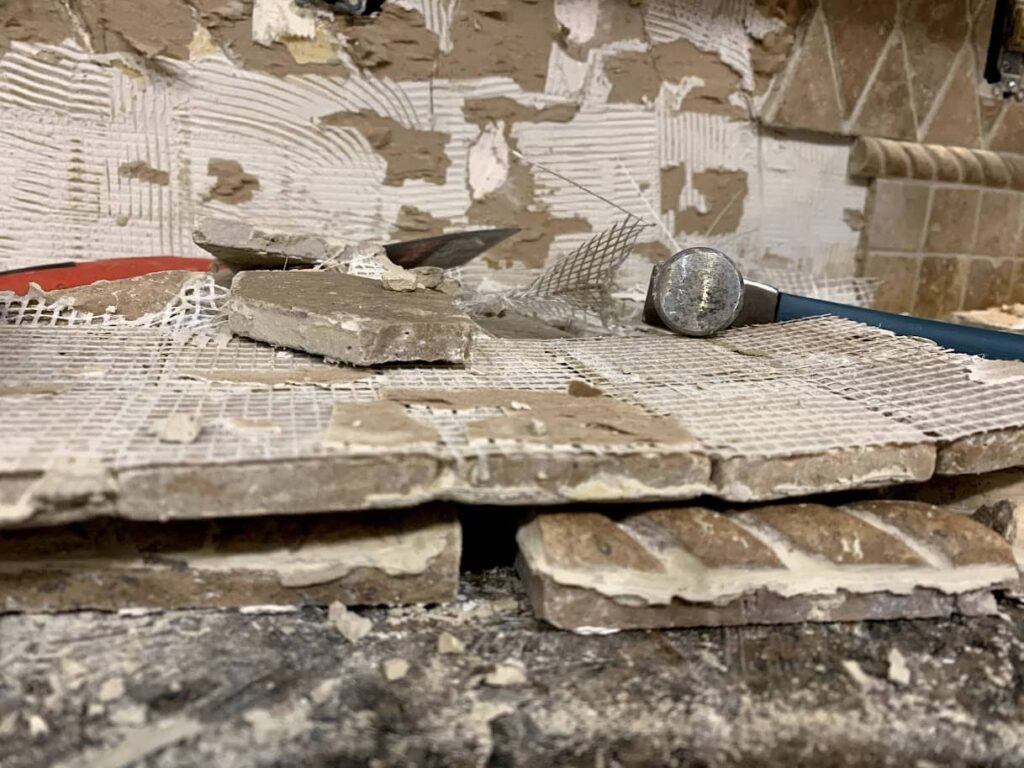
Now. Once your kitchen tile backsplash is fully removed, the wall will look something like this:
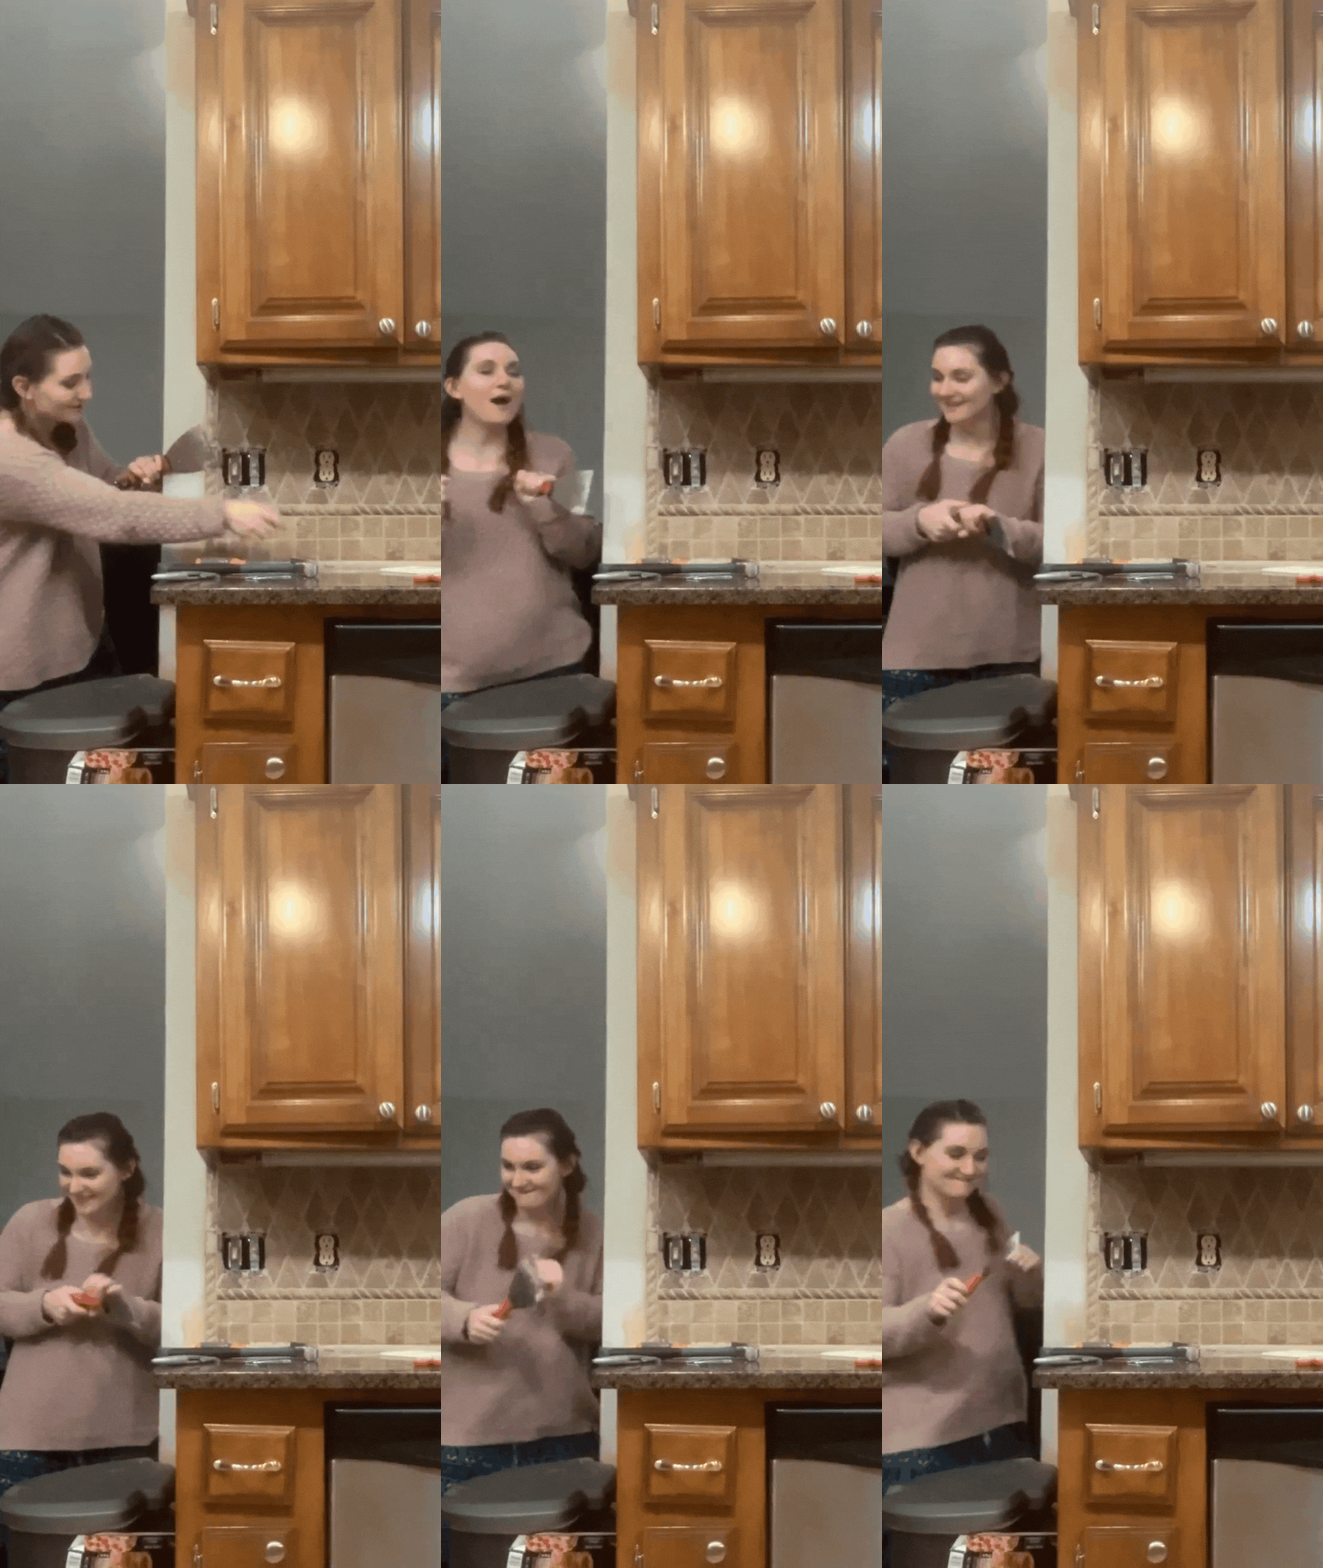
It’s definitely not pretty-but in reality, it’s an easy fix. This wall was easily repaired and replaced with new tile!
The brown stuff there is the back of the old tile, and the white stuff with streak marks is the tile adhesive (mastic or grout).
To repair the drywall, you need to start with as clean of a surface as possible. That means remove the brown stuff (or as much as you can) and any other loose pieces or debris.
I literally used a kitchen knife to do that (not necessarily a recommendation), then I sanded. Use a low number of sandpaper, like 60 or 80, because those are the roughest.
However, you do NOT need to sand it until it’s completely smooth or perfectly clean. Just so there aren’t any protruding pieces.
Then, you’re going to add multiple coats of drywall joint compound. I may have done three or four.
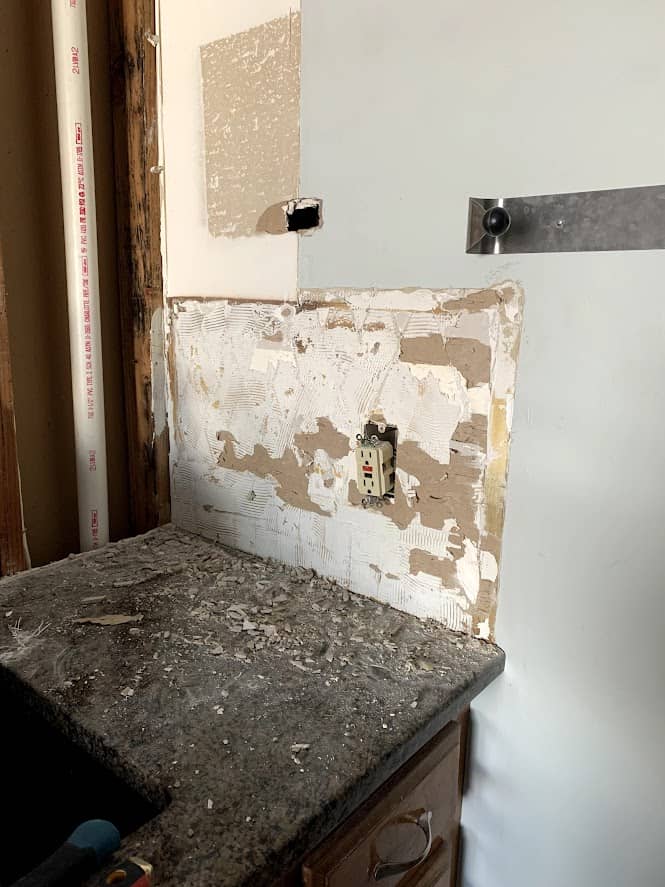
Make sure to give it a LIGHT sand in between coats. For this, use more fine sandpaper, like 120-200. This makes a big difference in making the finish smooth.
Why does it matter if the drywall is smooth if you’re just going to cover it with new tile?
Great question, I would love to tell you. (I’m an Elyse Meyers fan)
Honestly, the drywall does NOT have to be *perfectly* smooth to the touch in order to have tile installed over it. However, installing tile on lumpy walls-especially if you’re a beginner-is NOT for the faint of heart. It will pretty much always lead to crooked and uneven tile.
And backsplash tile is not something you can easily adjust afterwards. That is something that’s scary for me, as a very mistake-prone DIYer.
Related: Complete Kitchen Makeover on a Budget
Step 5: Install New Tile
And finally, your wall is ready for your new backsplash!Like I just mentioned, installing a kitchen tile backsplash was one of the scariest projects I’ve done because it’s not very mistake-friendly. For that reason, I worked really hard on writing a DETAILED tutorial about how to install a subway tile backsplash.
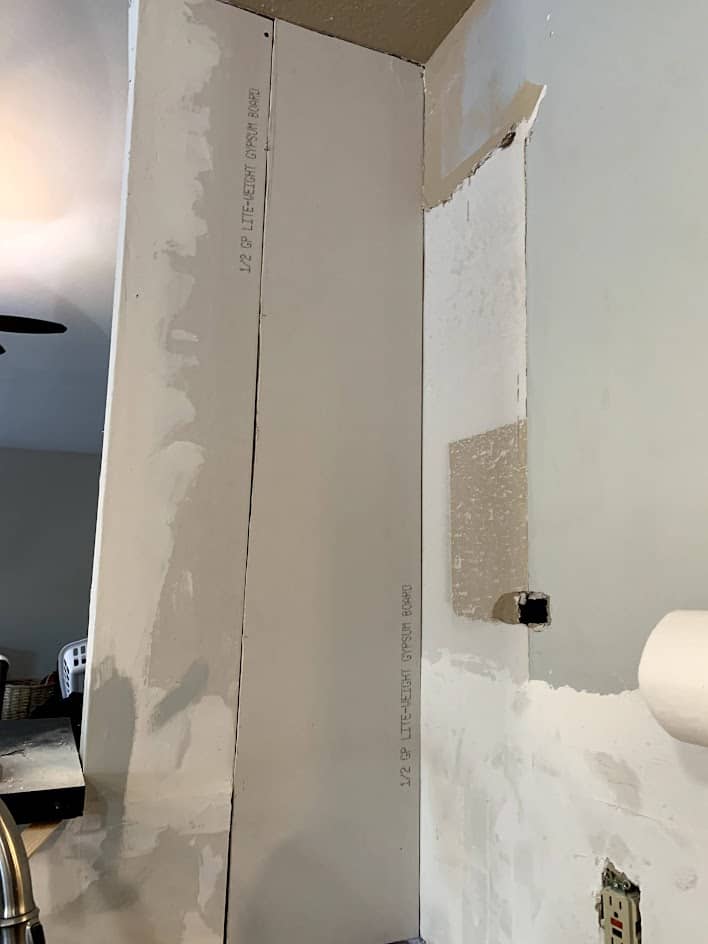
I legitimately spent weeks making sure I included every detail, so I truly hope and believe it will be helpful to you.
If you’re considering how to remove kitchen tile backsplash, I hope you feel much more confident after reading this post!
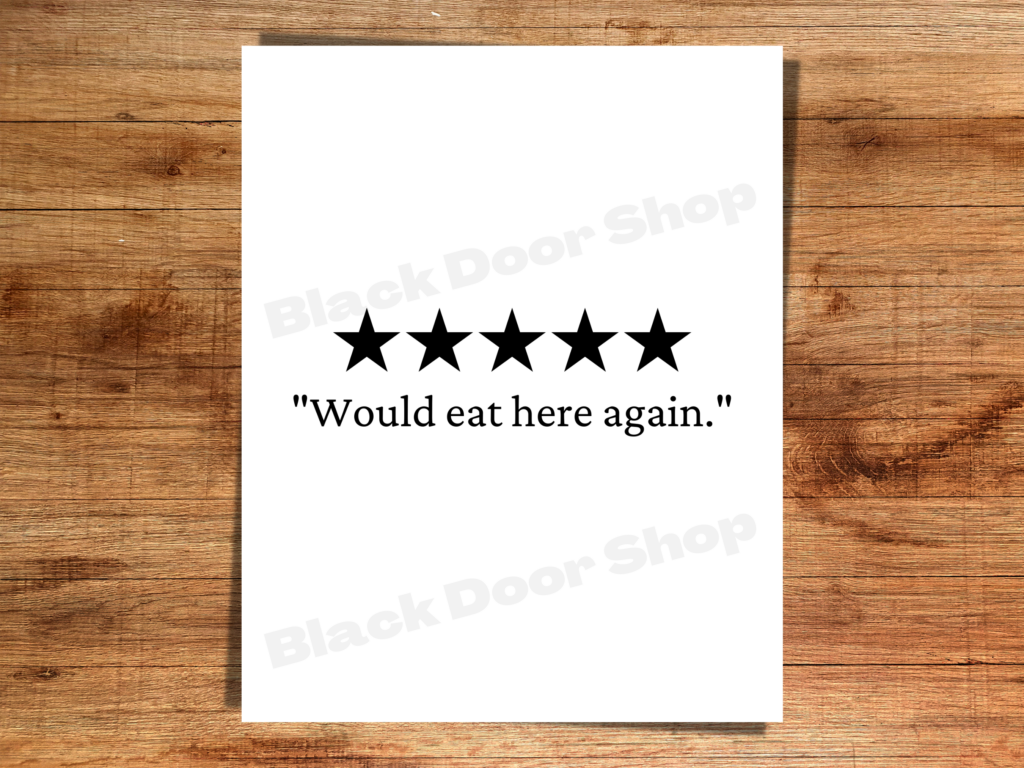
Let me know what other questions you have on Instagram or TikTok. Make sure to also decorate your beautiful brand new kitchen with some of my digital wall art, like the kitchen conversions chart or the kitchen review sign. Find these products in my Etsy store, Black Door Shop!
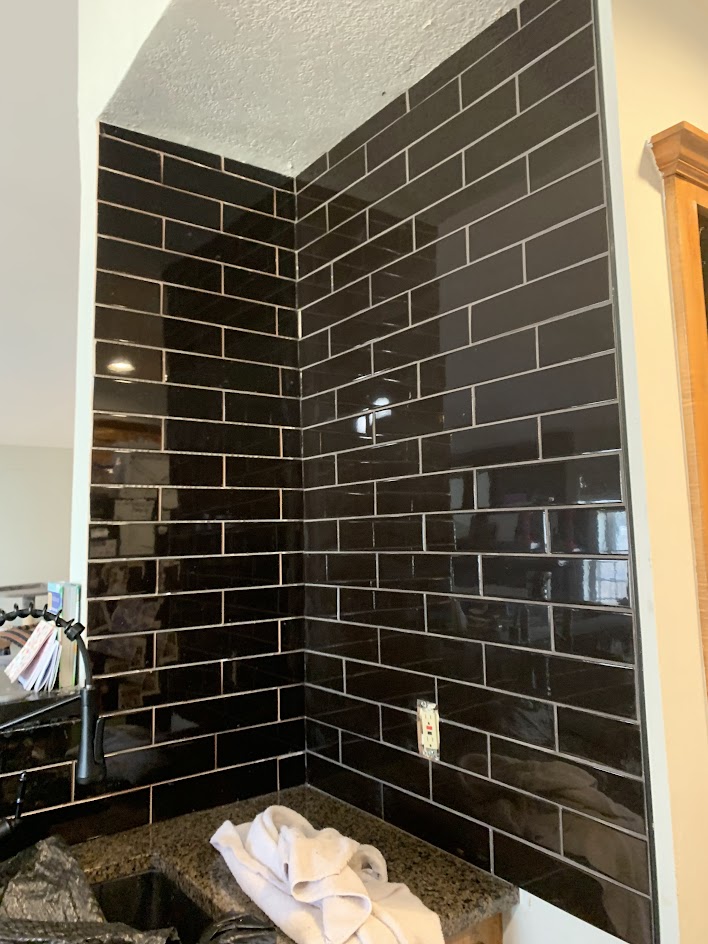
I can’t wait to hear from you 🙂
More related posts:
- How to Use Peel & Stick Backsplash over Tile
- DIY Hanging Fruit Basket
- Unique Board & Batten Wall Ideas
Related: Want another way to make your home reflect YOU-for insanely cheap prices? Check out my printable wall art on Etsy in the Black Door Shop. You can even get 20% off your order with the code 20OFF. 🙂


Source: https://gardencourte.com
Categories: Kitchens

